Overview
Creating users and assigning appropriate roles is a foundational task in Oracle Fusion Cloud. This guide walks through the complete process — from creating a new user account in the Security Console, assigning the necessary roles, running the required scheduled processes to sync the changes, and verifying the new user can log in successfully. If you want the full setup context behind user access, role design, and security administration, you can also explore the complete Oracle Fusion Security Training.
Creating New Users
Credentials: To log in to the Fusion instance, fetch your credentials from https://portal.oracleerpguide.com/oracle-fusion-cloud-instance-access/
Before creating a user in Fusion, make sure the associated worker record already exists. In many implementations, that setup starts in HCM, so teams often pair this process with broader Oracle Fusion HCM Cloud Training when they need to understand person records, worker lifecycle, and user linkage end to end.
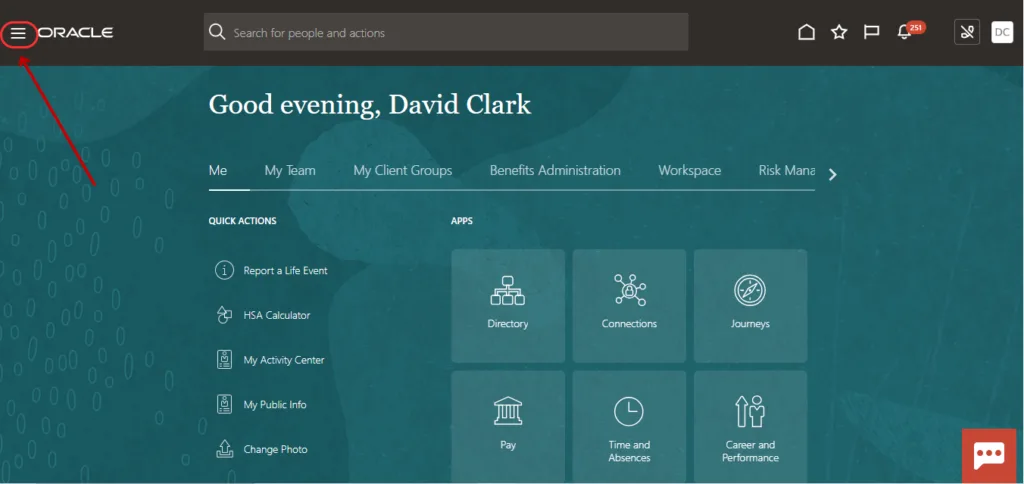
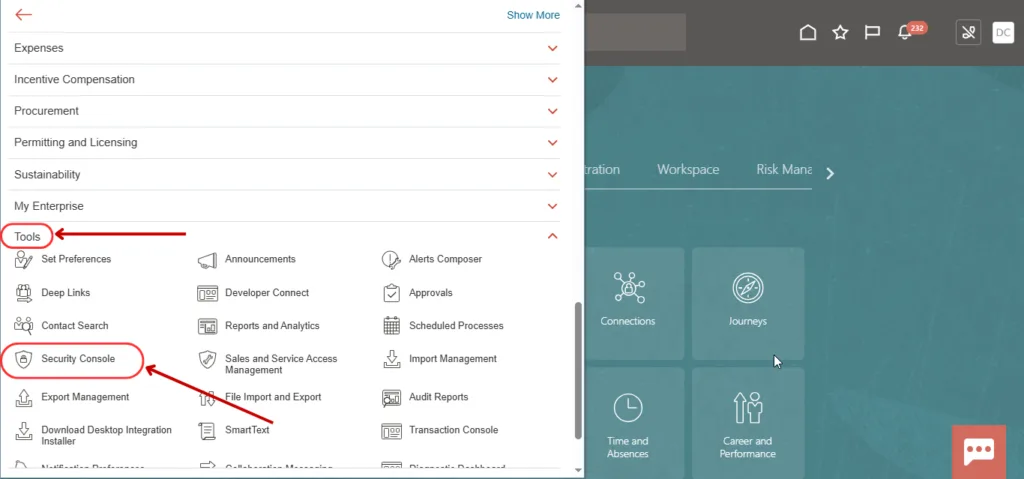
1. Click on the Navigator.
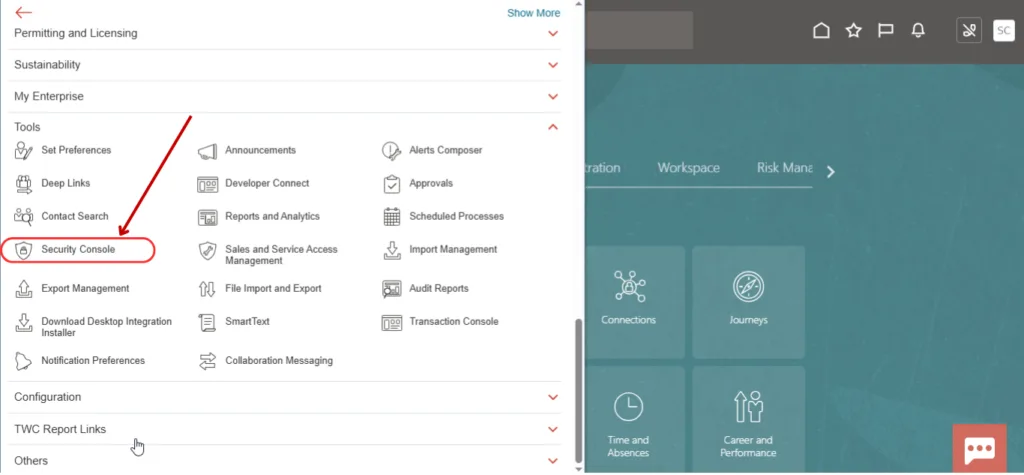
2. Scroll down and click on Tools, then select the Security Console.
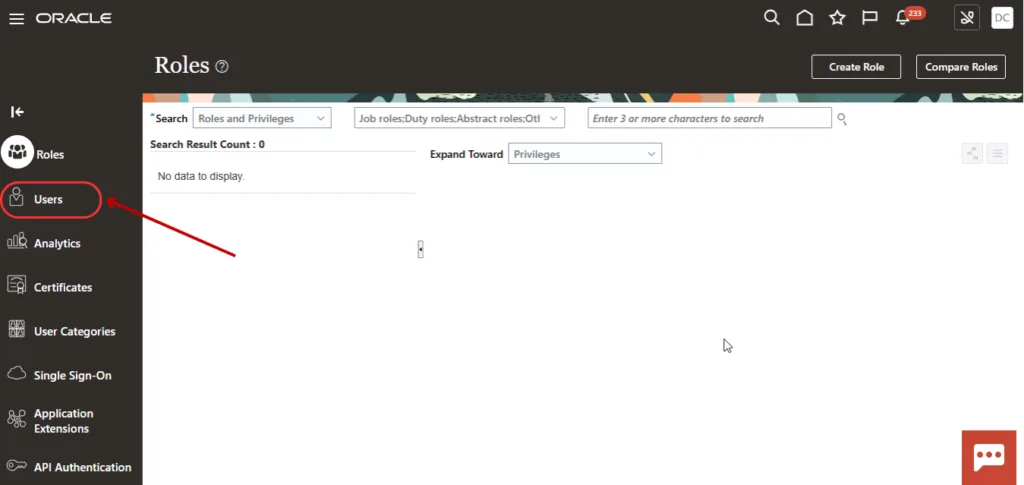
3. Select the Users tab.
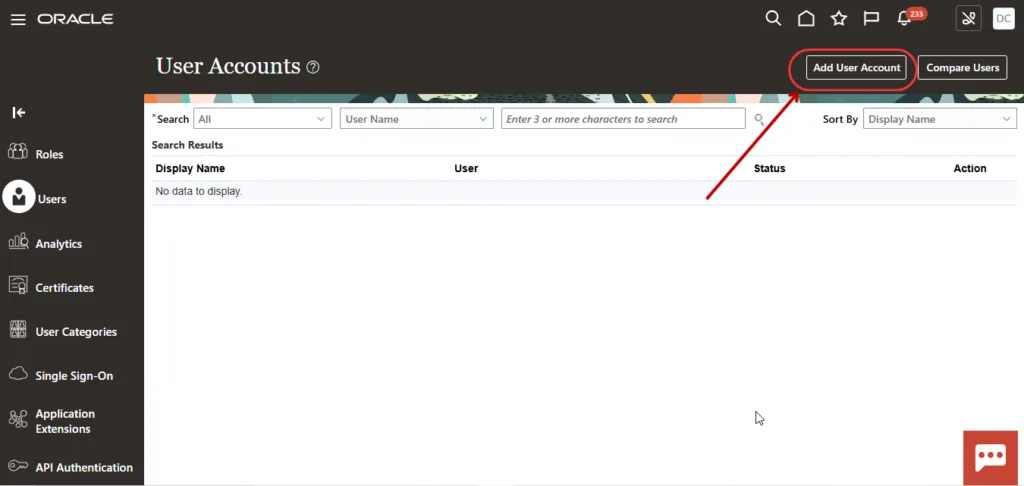
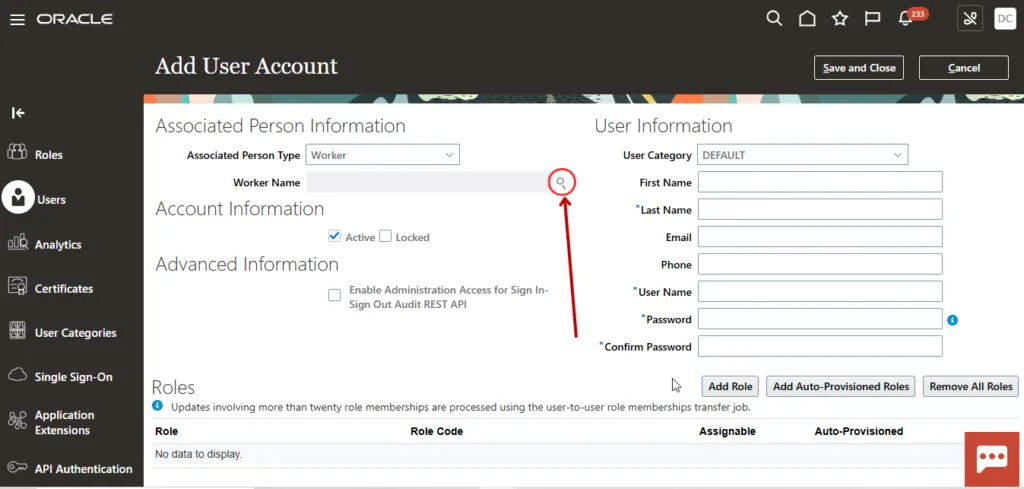
4. Click on Add User Account to create a new user.
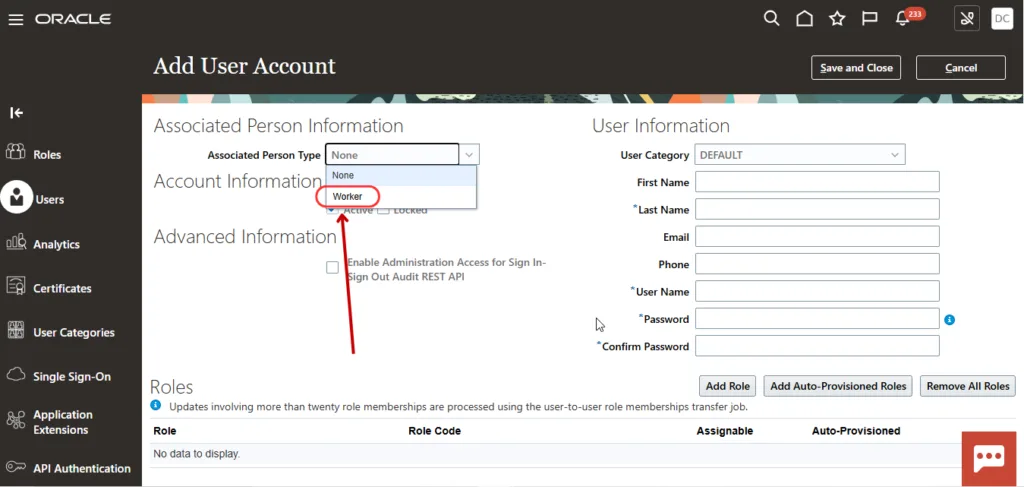
5. Select the Associated Person Type as Worker.
6. Click on the Search icon.
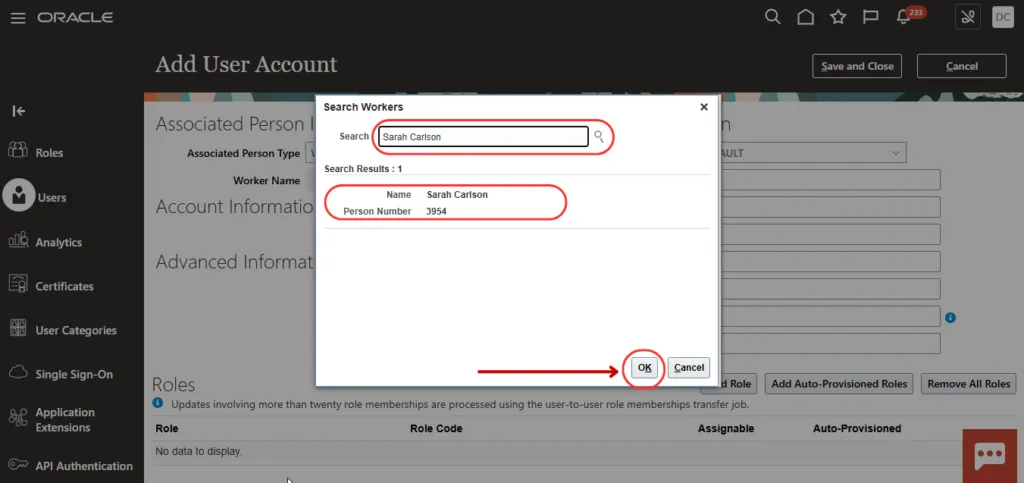
7. Search and select the Employee from the list and click on OK.
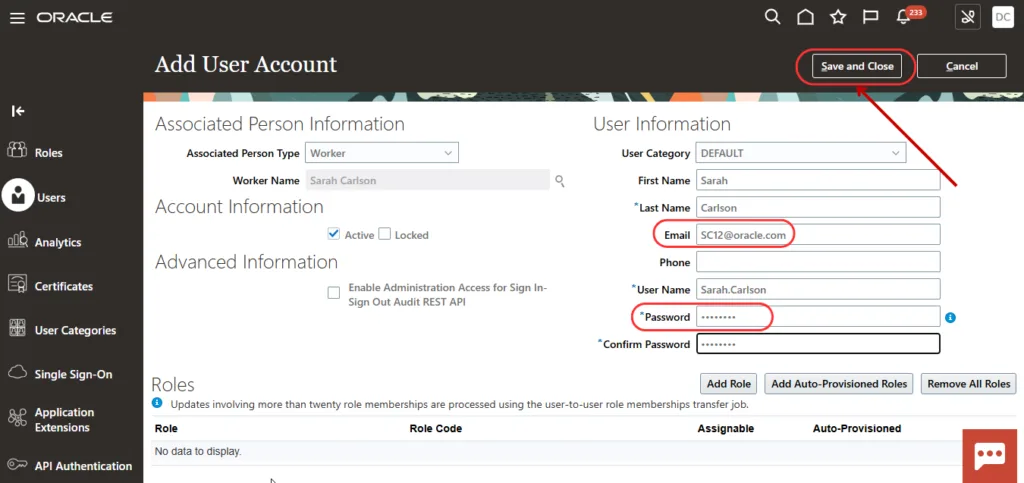
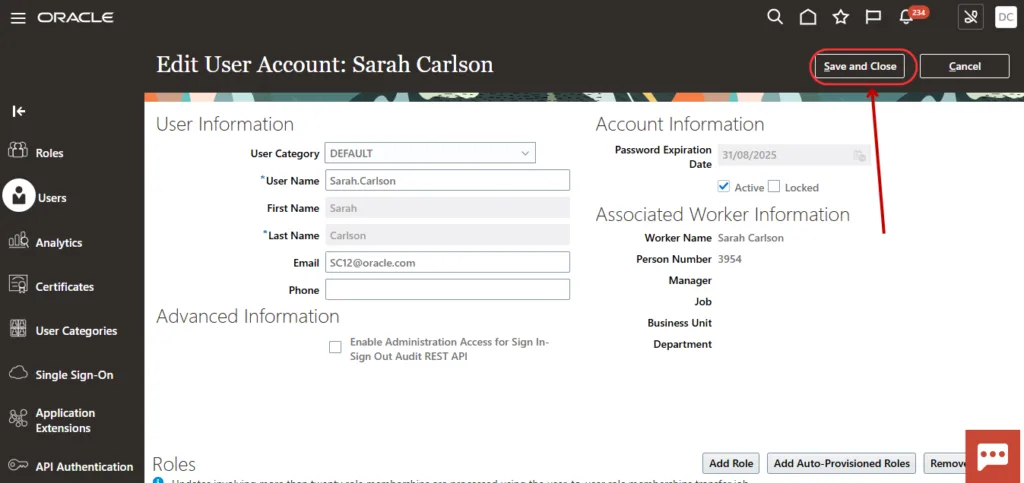
8. Enter the Email ID and Password in User Information, then click on Save and Close.
9. To find the user, enter the Username and click on the Search icon.
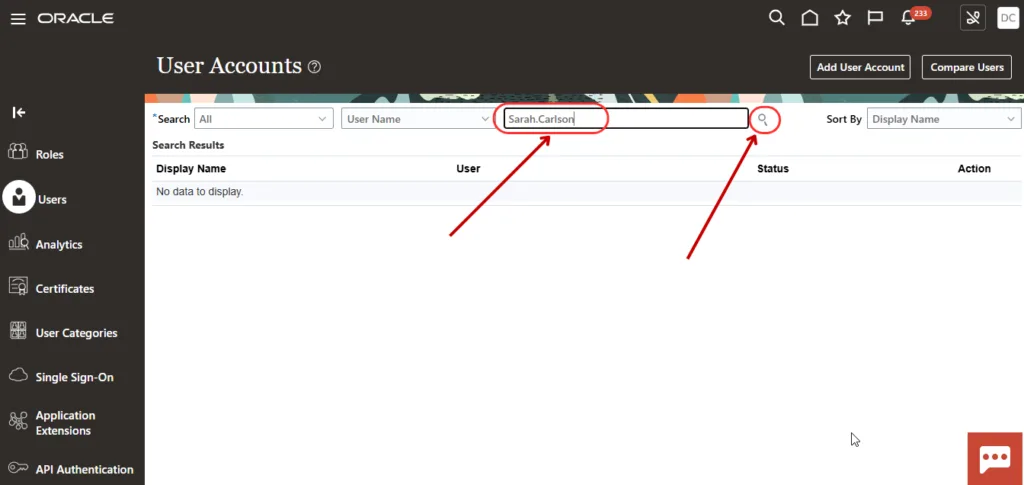
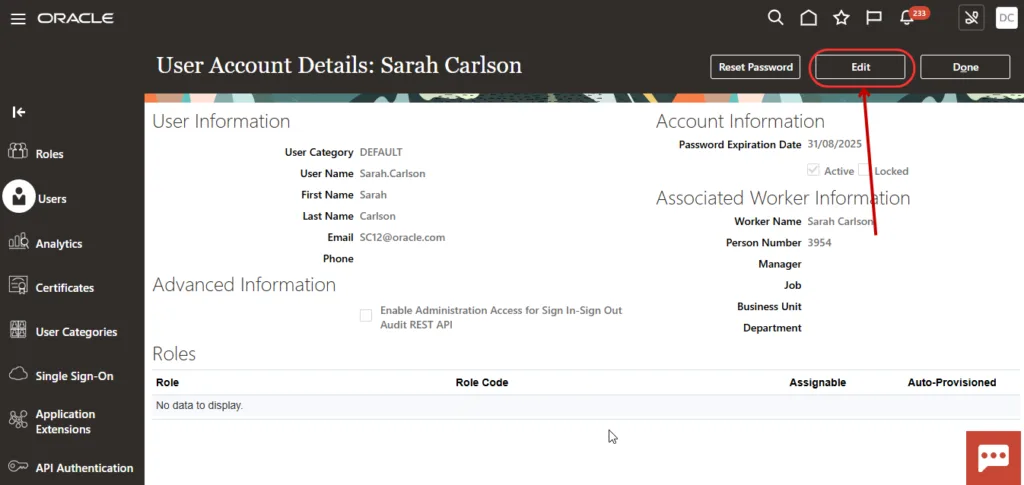
10. The user will appear in the search results. Click on the username to assign roles.

11. Click on Edit.
12. Click on Add Role.

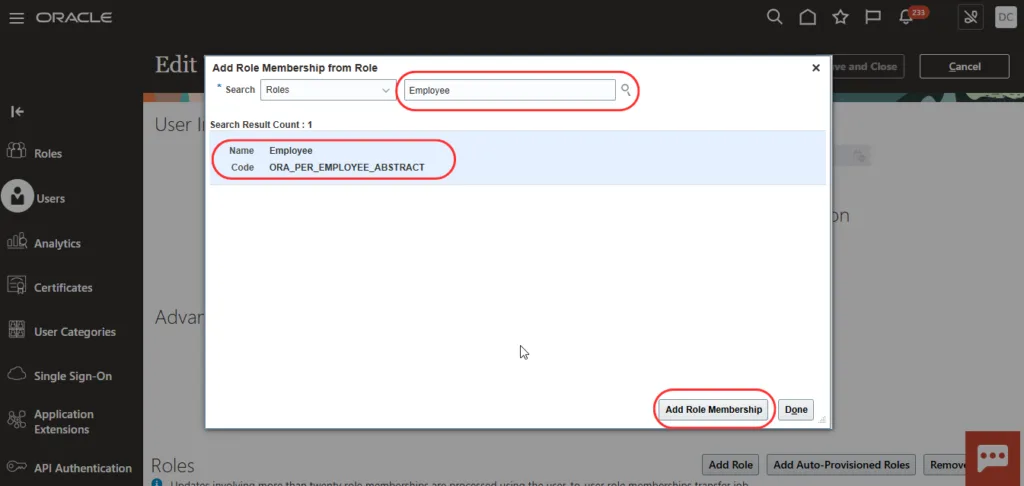
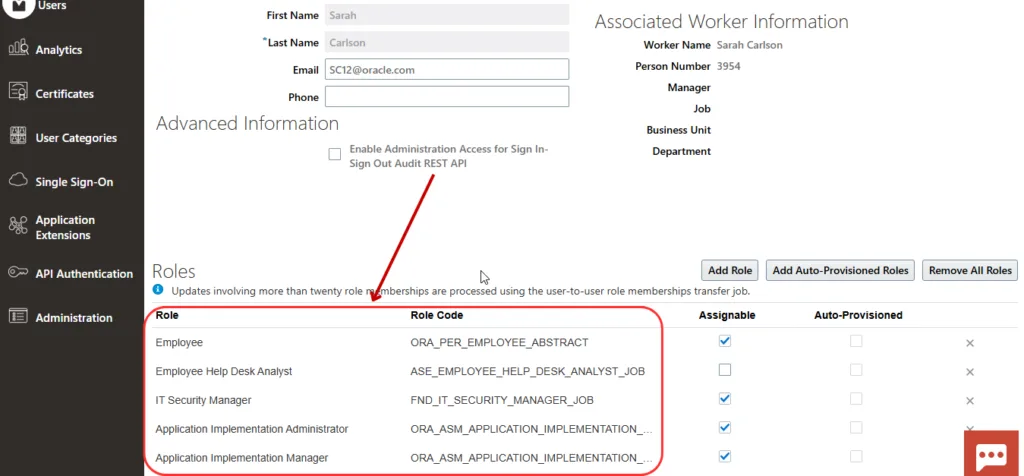
The following roles should be added to this user. These are implementation and security-heavy roles, so they should be assigned carefully and only where justified by the user's responsibilities:
| Role Name | Role Code |
|---|---|
| Employee | ORA_PER_EMPLOYEE_ABSTRACT |
| Employee Help Desk Analyst | ASE_EMPLOYEE_HELP_DESK_ANALYST |
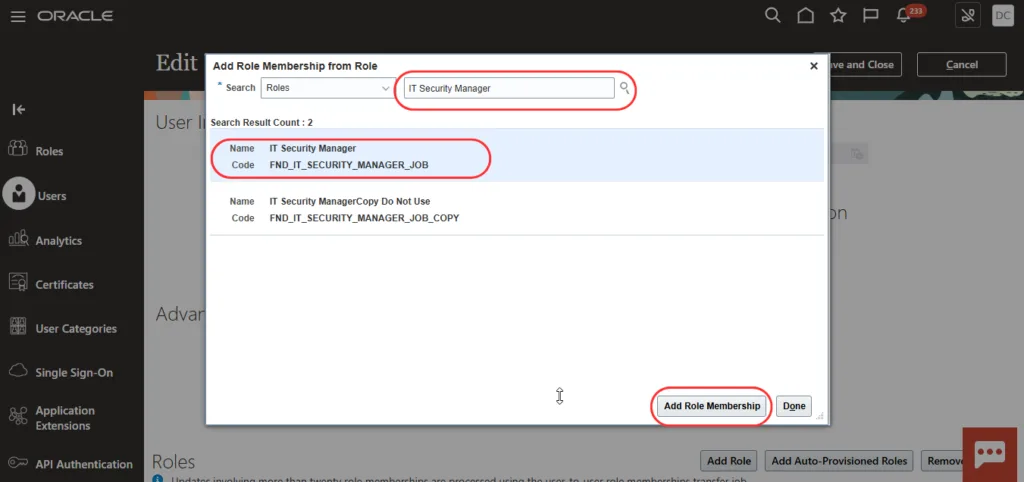
| IT Security Manager | FND_IT_SECURITY_MANAGER |
| Application Implementation Administrator | ORA_APPLICATION_IMPLEMENTATION_ADMIN_ABSTRACT |
| Application Implementation Consultant | ORA_APPLICATION_IMPLEMENTATION_CONSULTANT |
| Application Implementation Manager | ORA_APPLICATION_IMPLEMENTATION_MANAGER |
13. Click on Add Role Membership.
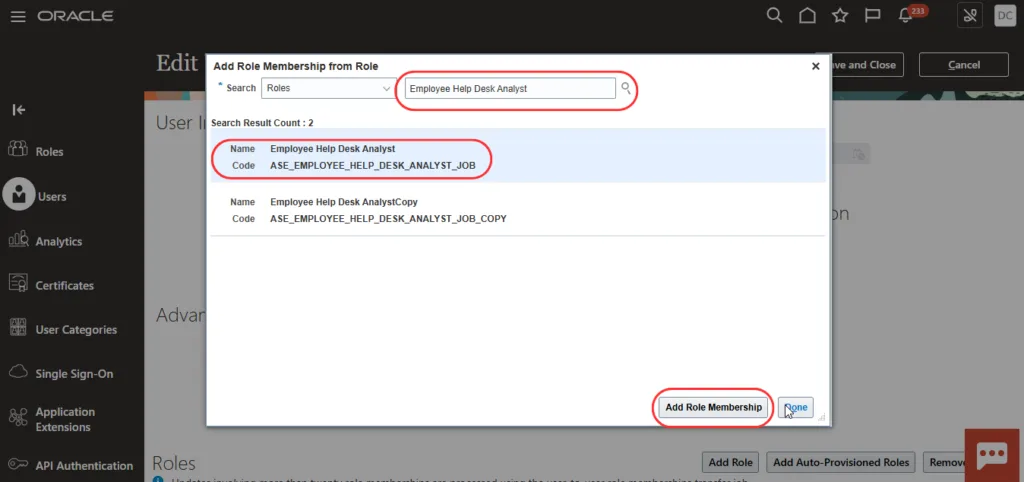


14. Click on Add Role Membership and click on Done.

15. Added roles are listed here.
16. Click on Save and Close.
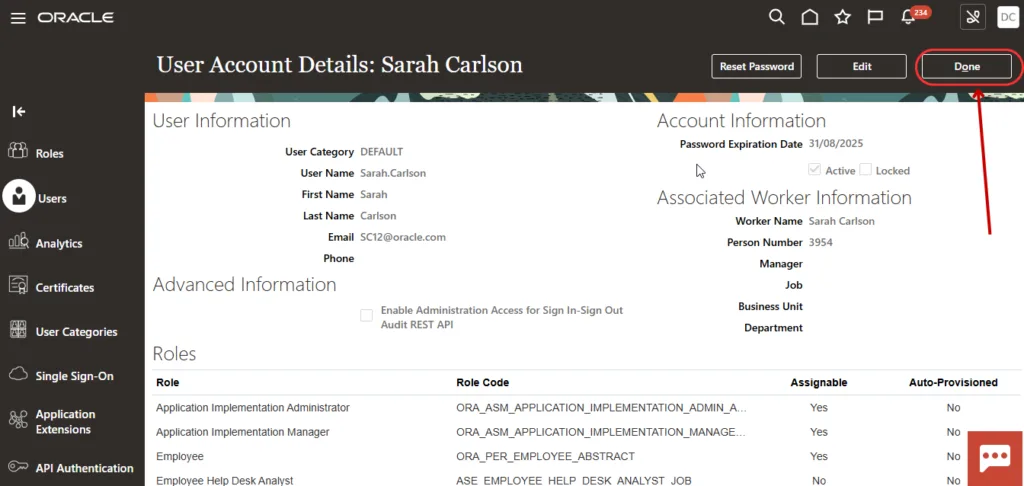
17. Click on Done.
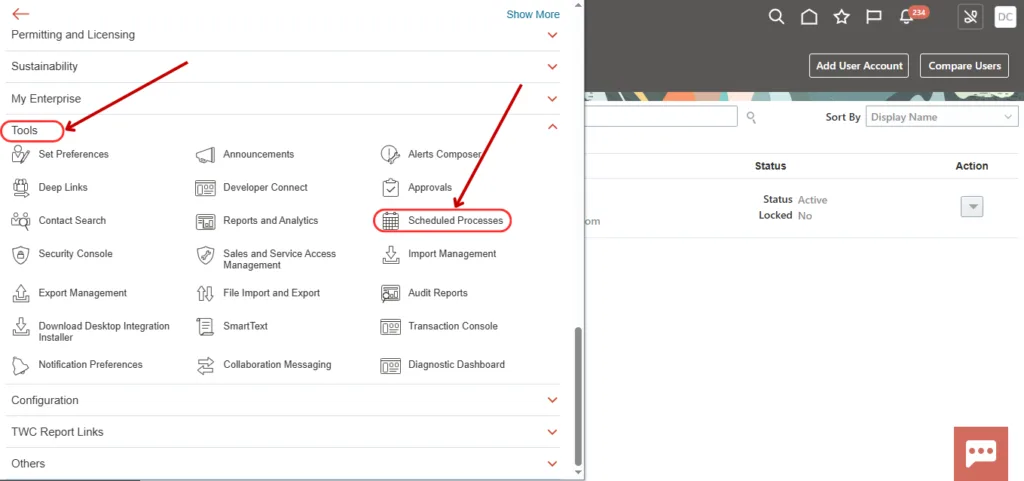
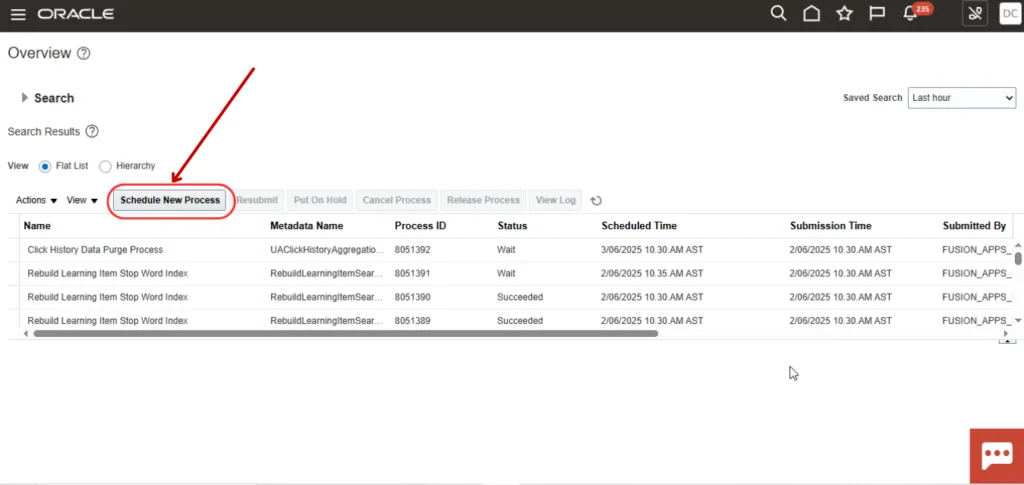
18. Click on Navigator icon, open Tools and select Scheduled Process.
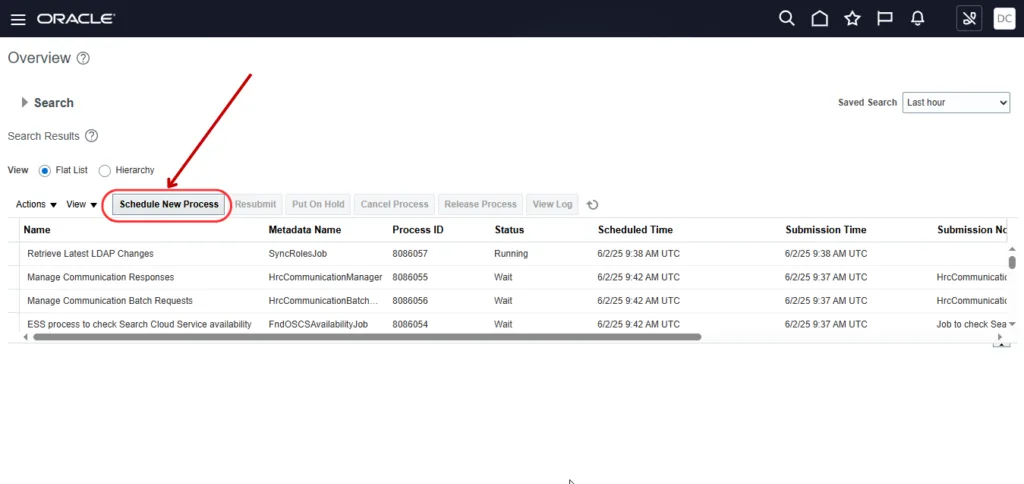
19. Click on Schedule New Processes.
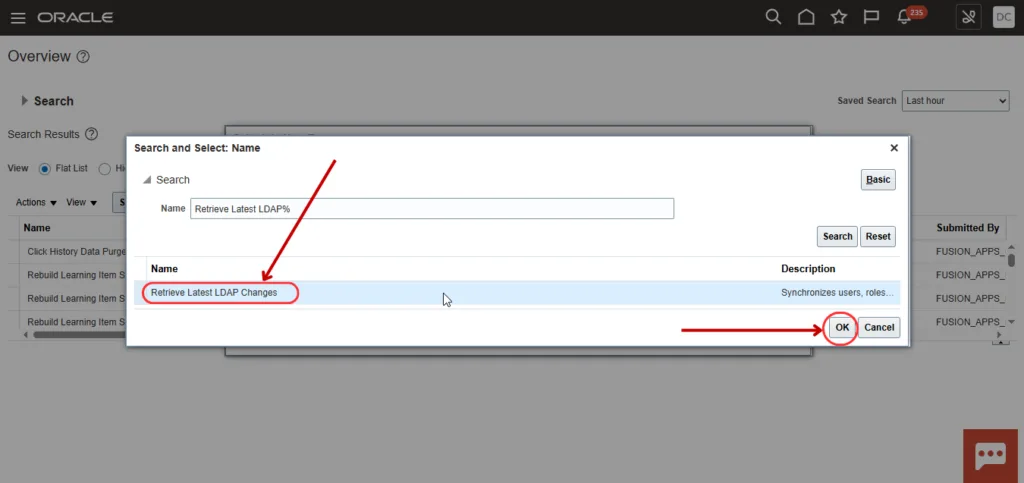
20. Select Retrieve Latest LDAP Changes and click on OK.
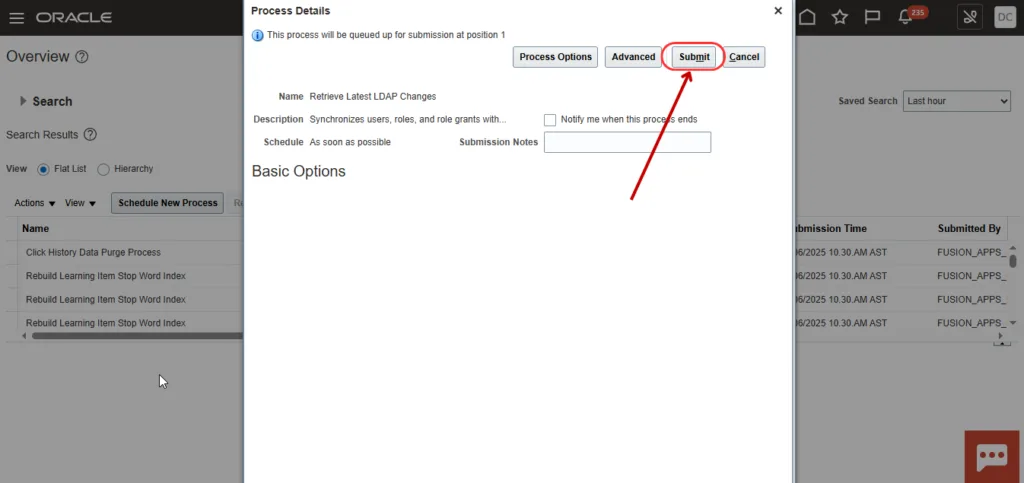
21. Submit the process.
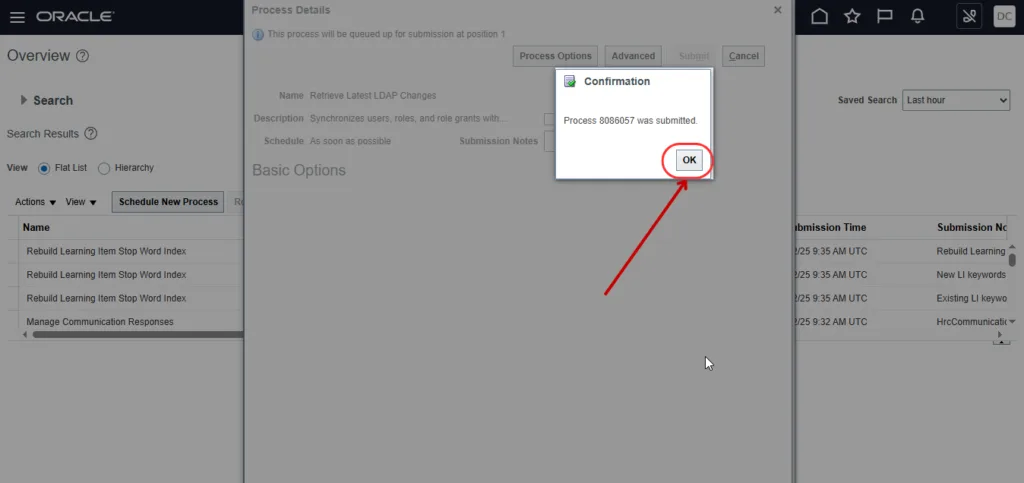
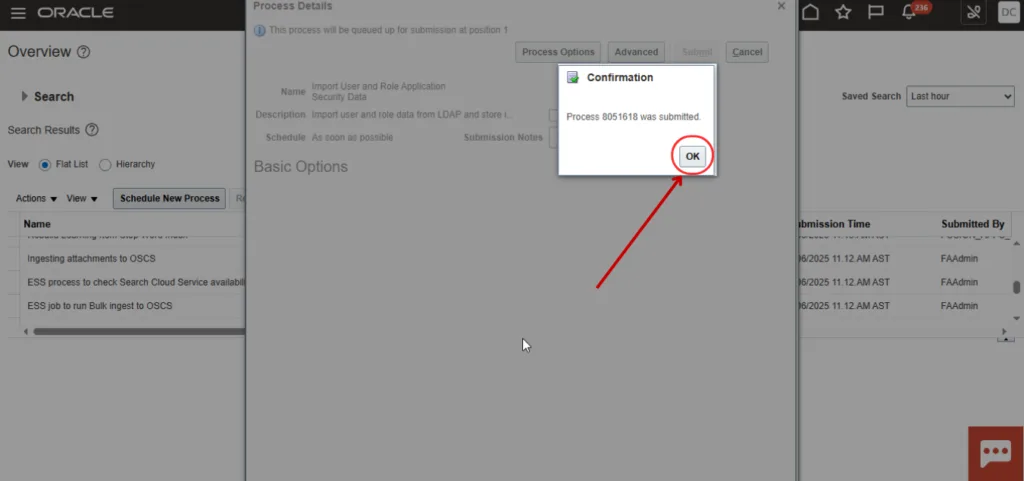
22. Click on OK.
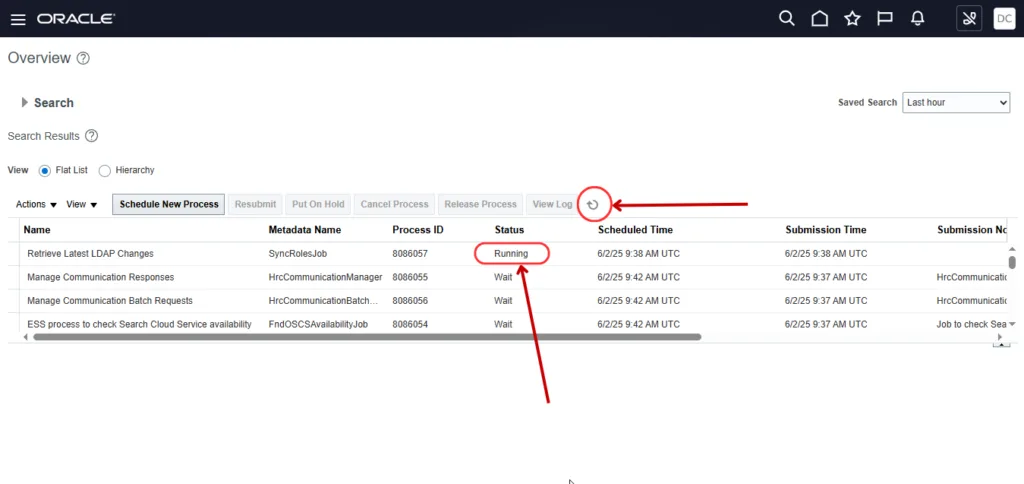
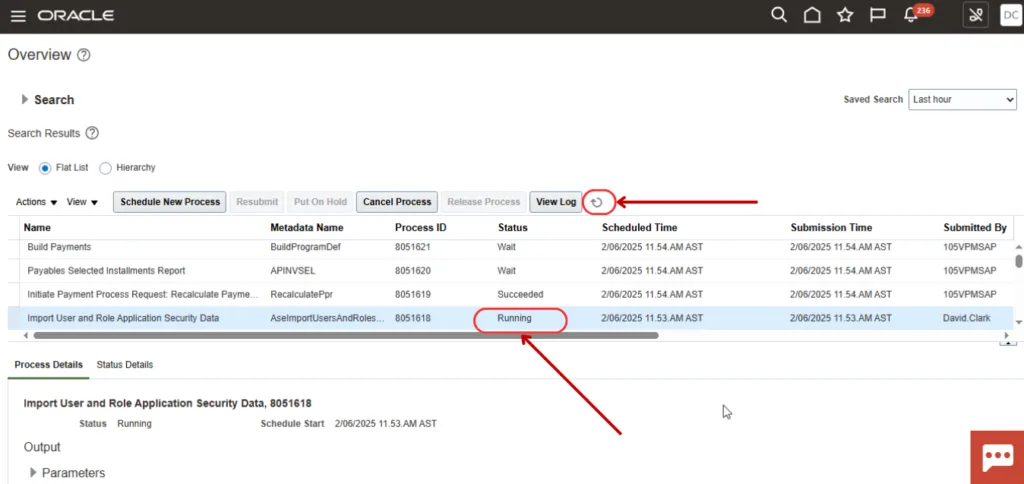
23. Click on Refresh icon and see that the Process Status is Running.
24. Click on Schedule New Processes again.
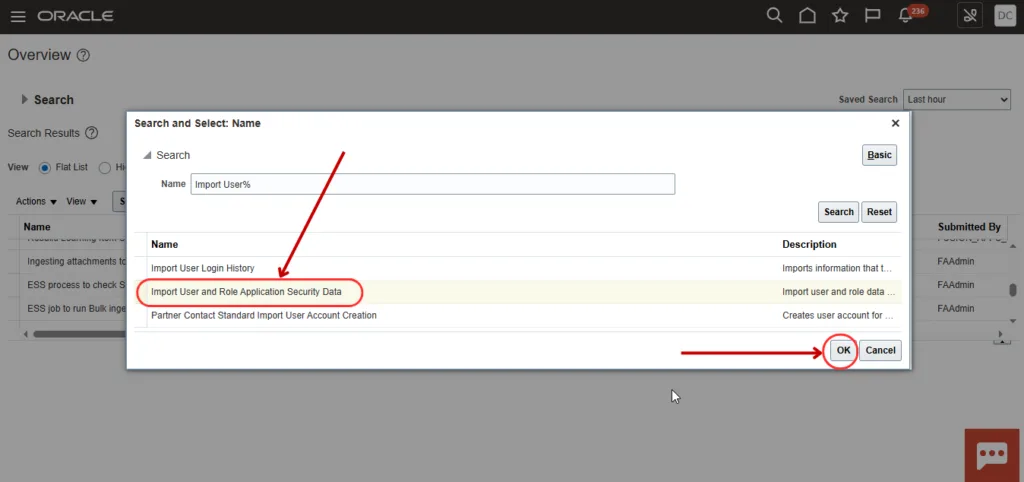
25. Select Import User and Role Application Security Data and click on OK.
26. Submit the process.

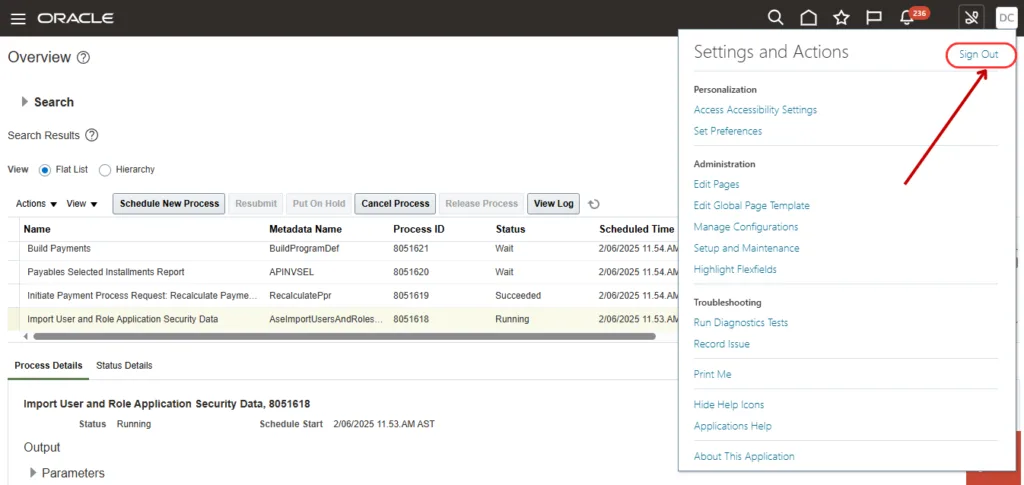
27. Sign out with the current user.
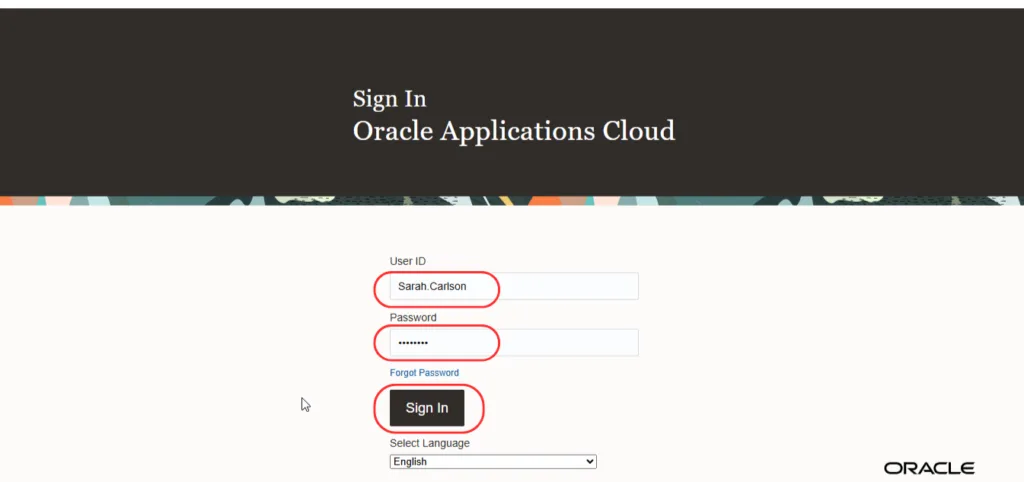
28. Enter the new user credentials and click on Sign In.
Note: Fetch the new user's credentials from https://portal.oracleerpguide.com/oracle-fusion-cloud-instance-access/
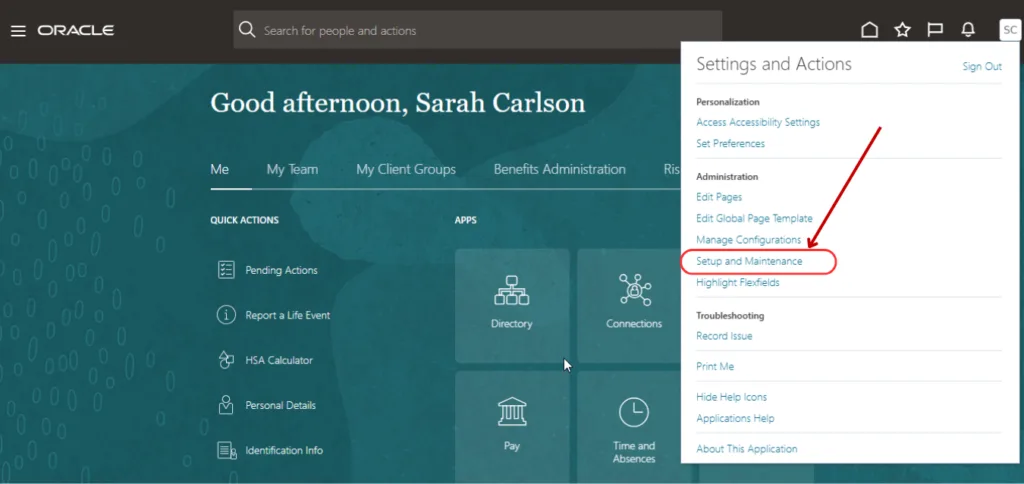
29. The new user has been successfully created, as the Setup and Maintenance menu as well as Security Console are visible. If the user also needs access to functional setup tasks such as ledgers, legal entities, and implementation projects, this security setup is often used alongside broader setup flows like Oracle Fusion General Ledger setup.