Overview
This guide covers how to configure parallel approvals in Oracle Fusion Cloud Procurement. Parallel approvals route approval requests to multiple approvers simultaneously, unlike serial approvals which route sequentially. You will learn the difference between Consensus (all must approve) and First Responder Wins (first decision is final) parallel approval types, and walk through configuring both in the BPM Worklist with real Purchase Order examples.
If you want related context before building approval rules, review the full Oracle Fusion Purchase Order Accounting guide and the setup logic behind Transaction Account Builder in Oracle Fusion. For official product reference, Oracle publishes setup material in the Oracle Procurement documentation and broader platform guidance in the Oracle Applications documentation.
If this is directly relevant to your day-to-day procurement work, the Oracle P2P Procure-to-Pay Cloud Learning Subscription is the best follow-up because it covers PO approvals in the context of the full transaction flow.
Note: To follow along with this tutorial, you need access to an Oracle Fusion Cloud instance. Get your login credentials from the OEG Portal.
Concept
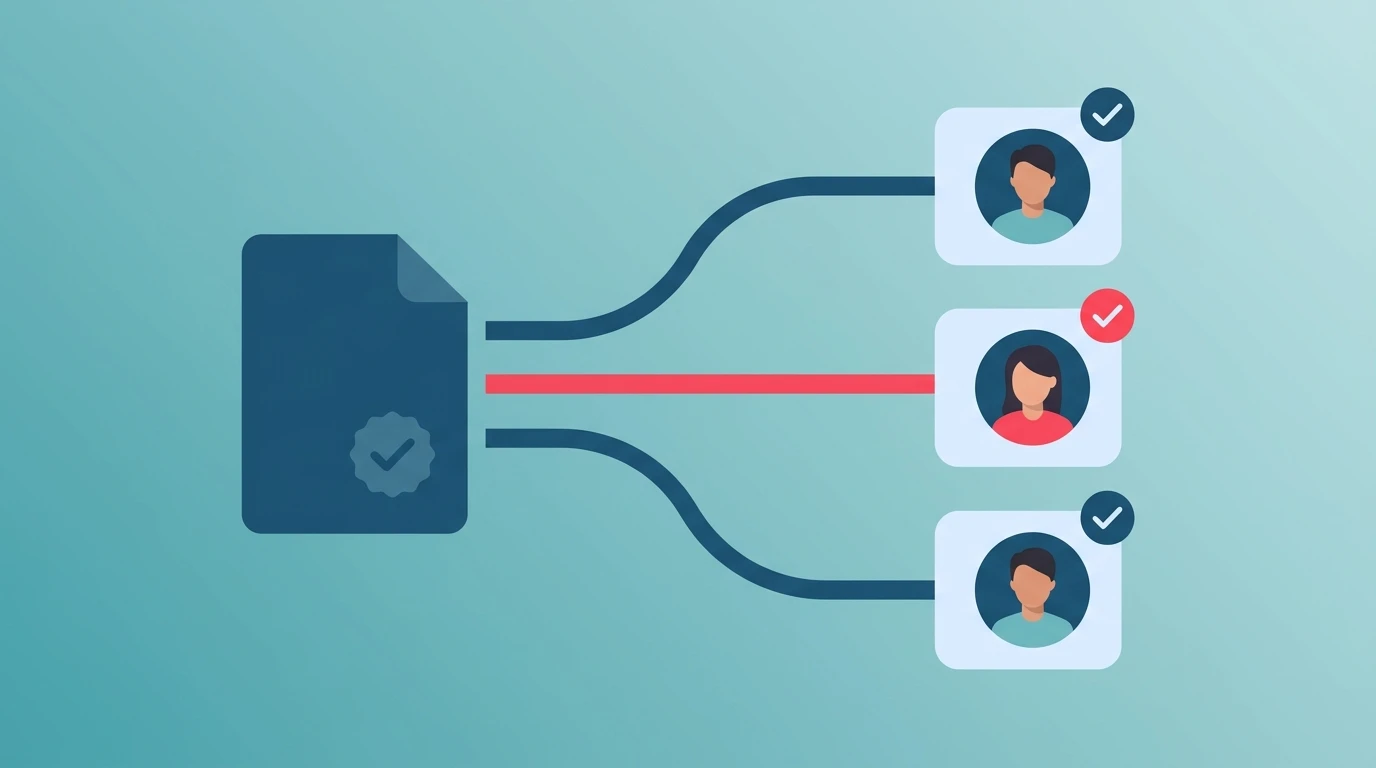
In parallel approval, the approval requests will be routed to all the concerned approvers at the same time (whereas in serial approval, the approval requests will be routed to one approver / approval group at first. Once this approval is satisfied, the request will be routed to the next approver / approval group in line as per the defined sequence and so on). For example, if there are 3 approvers, in a Parallel Approval Scenario, all 3 will receive the Approval Request at the same time.
Parallel Approval: All at once
Serial Approval: One after the other
Parallel approvals can be further split into 2 types:
1. Consensus: All the relevant approvers need to approve or else the approval will be rejected
**2. First Responder Wins: **Decision (whether approve or reject) of the first responder will be final
Scenario
We will execute 2 example on the fusion instance.
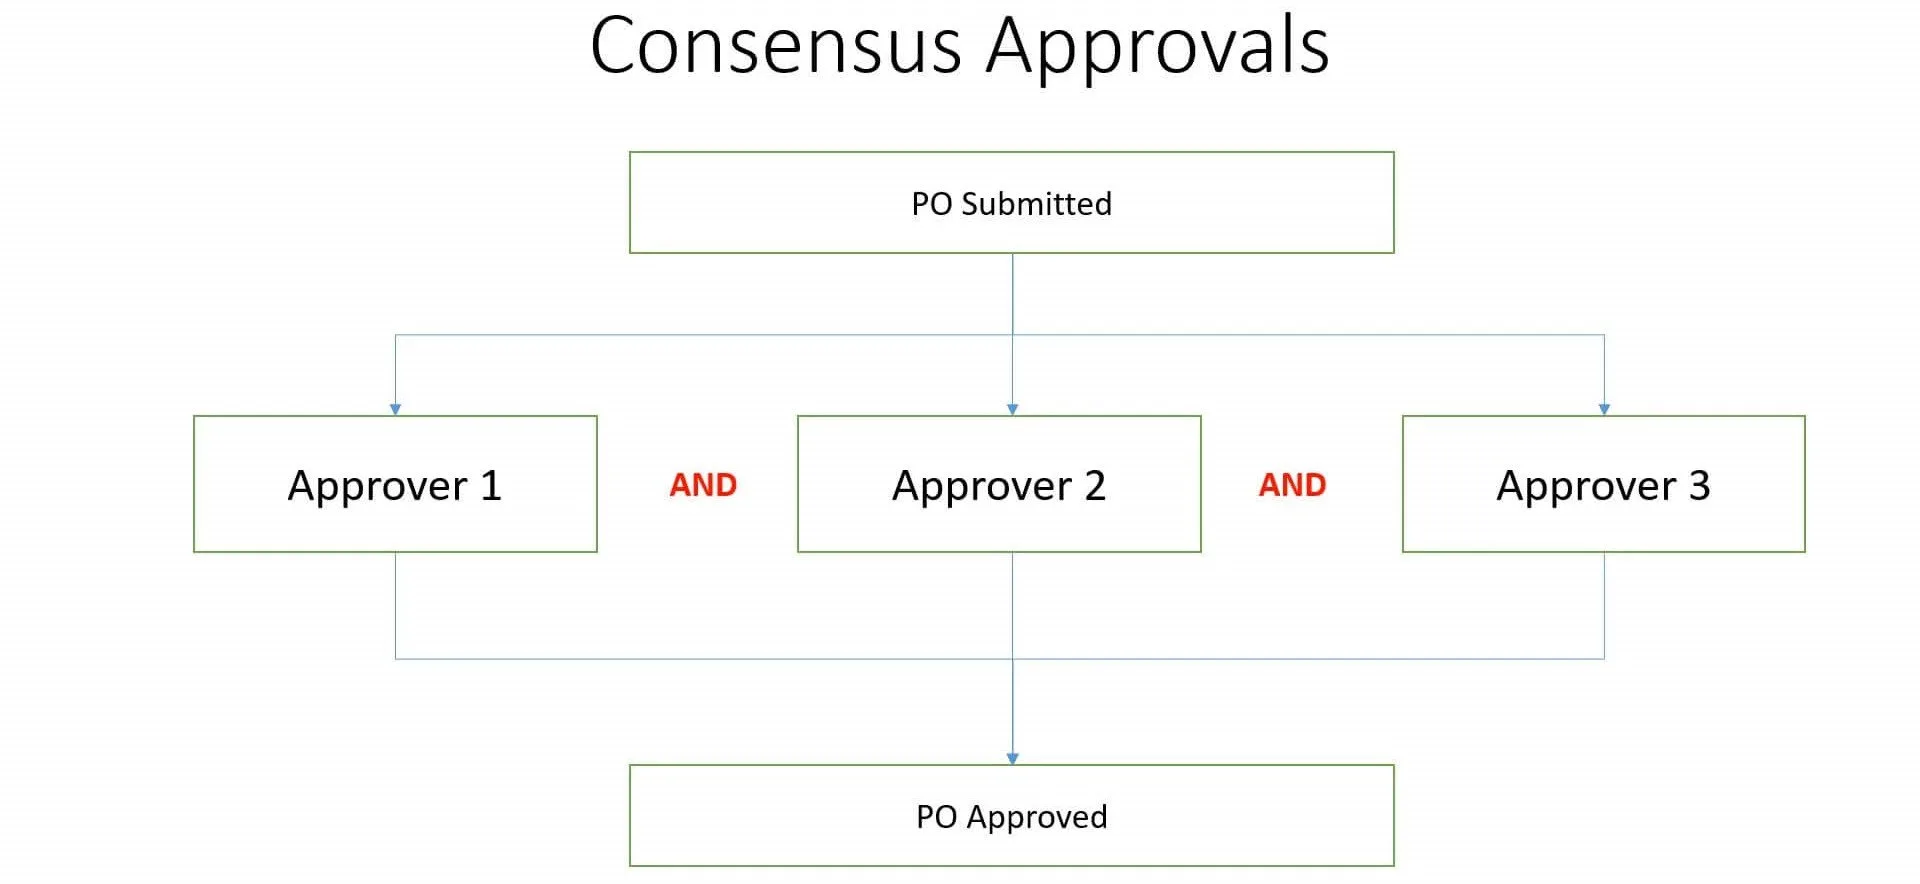
1. Parallel Approval – Consensus:
The client requires every PO with Procurement Business Unit as "US1 Business Unit" to be routed to 3 approvers. The PO status should become "Open" only after all the 3 approvers approve the PO
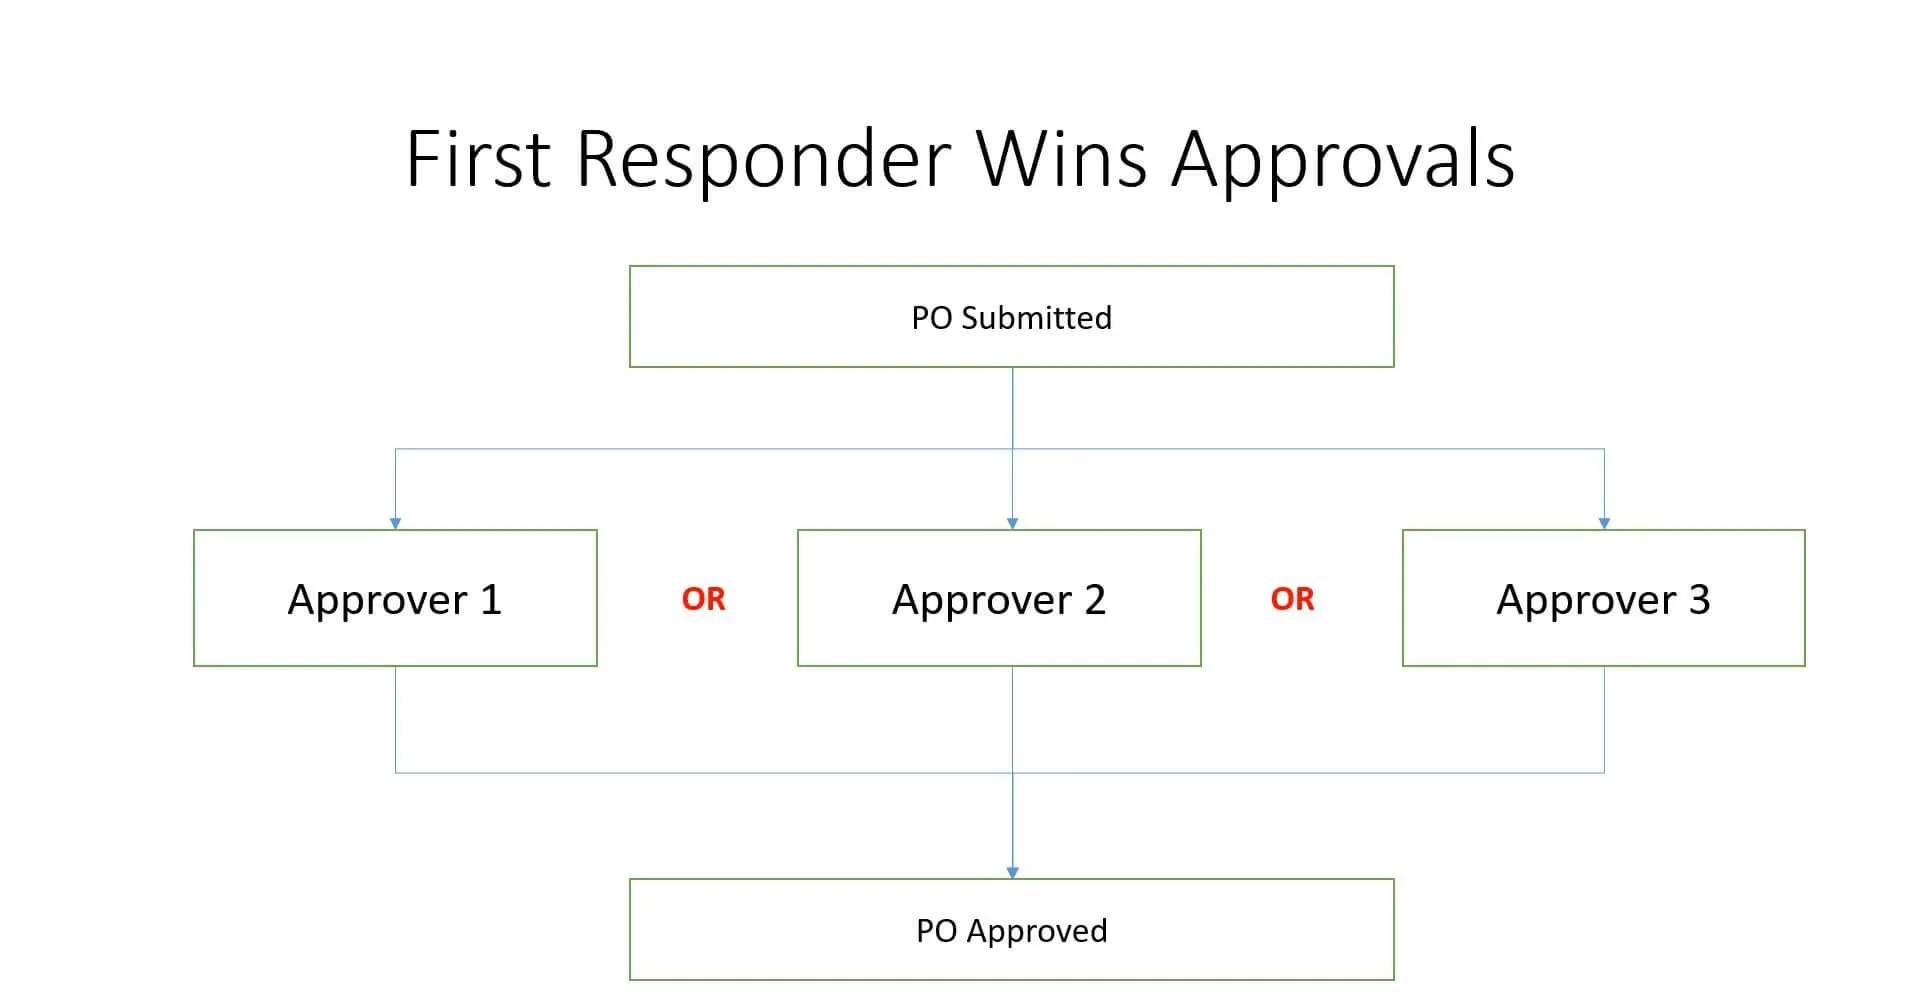
2. Parallel Approval – First Responder Wins:
The client requires every PO with Procurement Business Unit as "US1 Business Unit" to be routed to 3 approvers. The PO status should become "Open" after any one of the 3 approvers approve the PO
See below the executed examples.
Parallel Approval - Consensus
Configuration
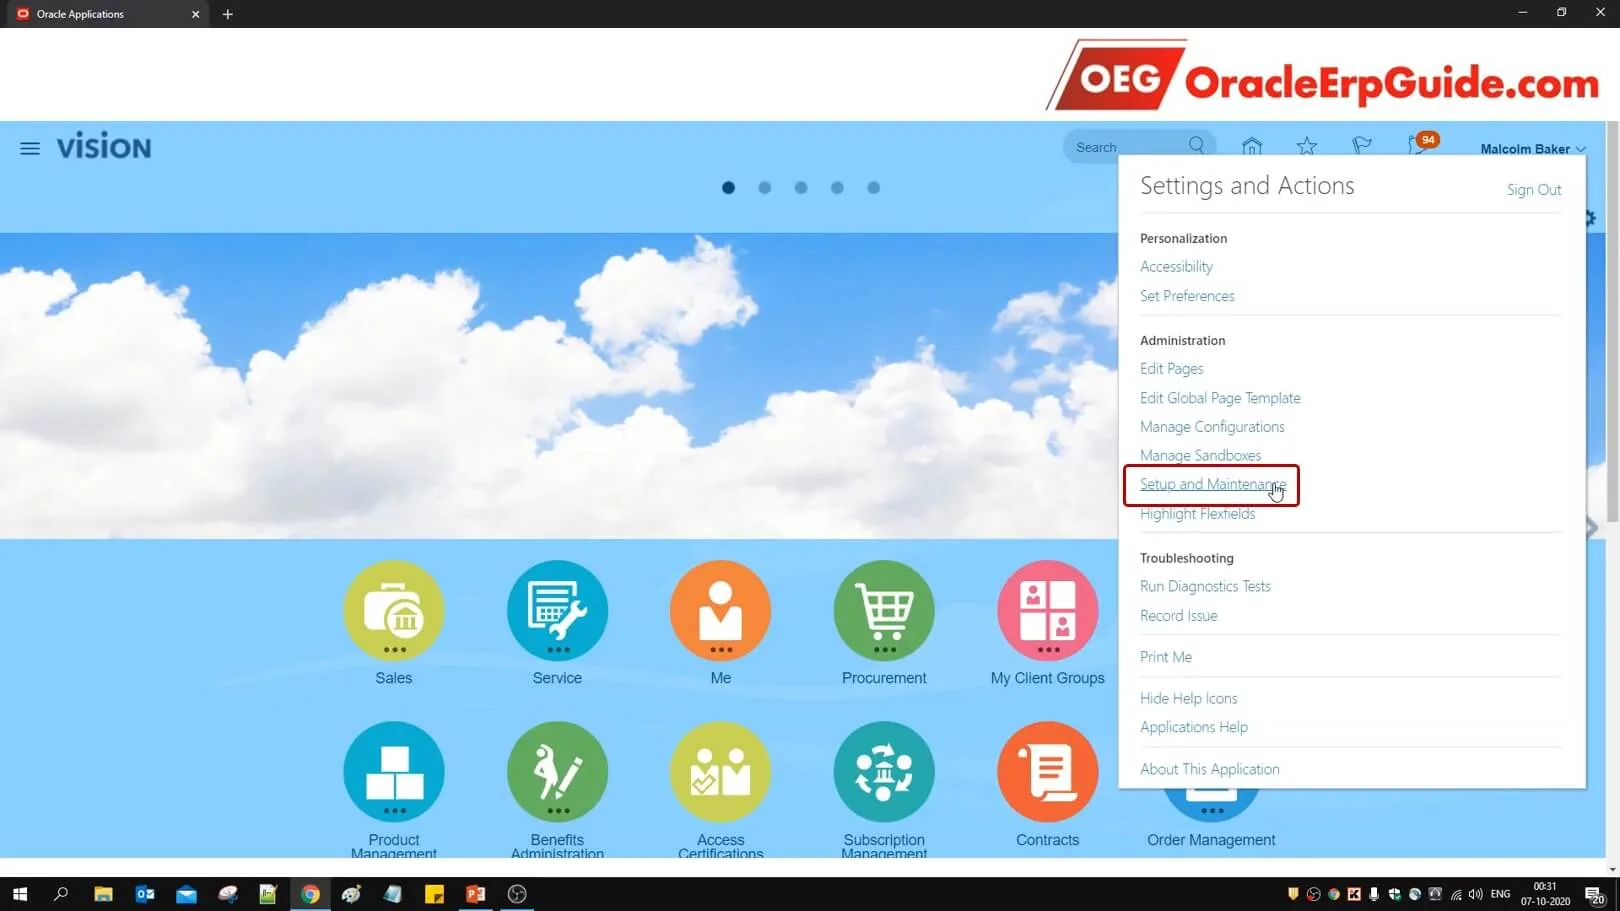
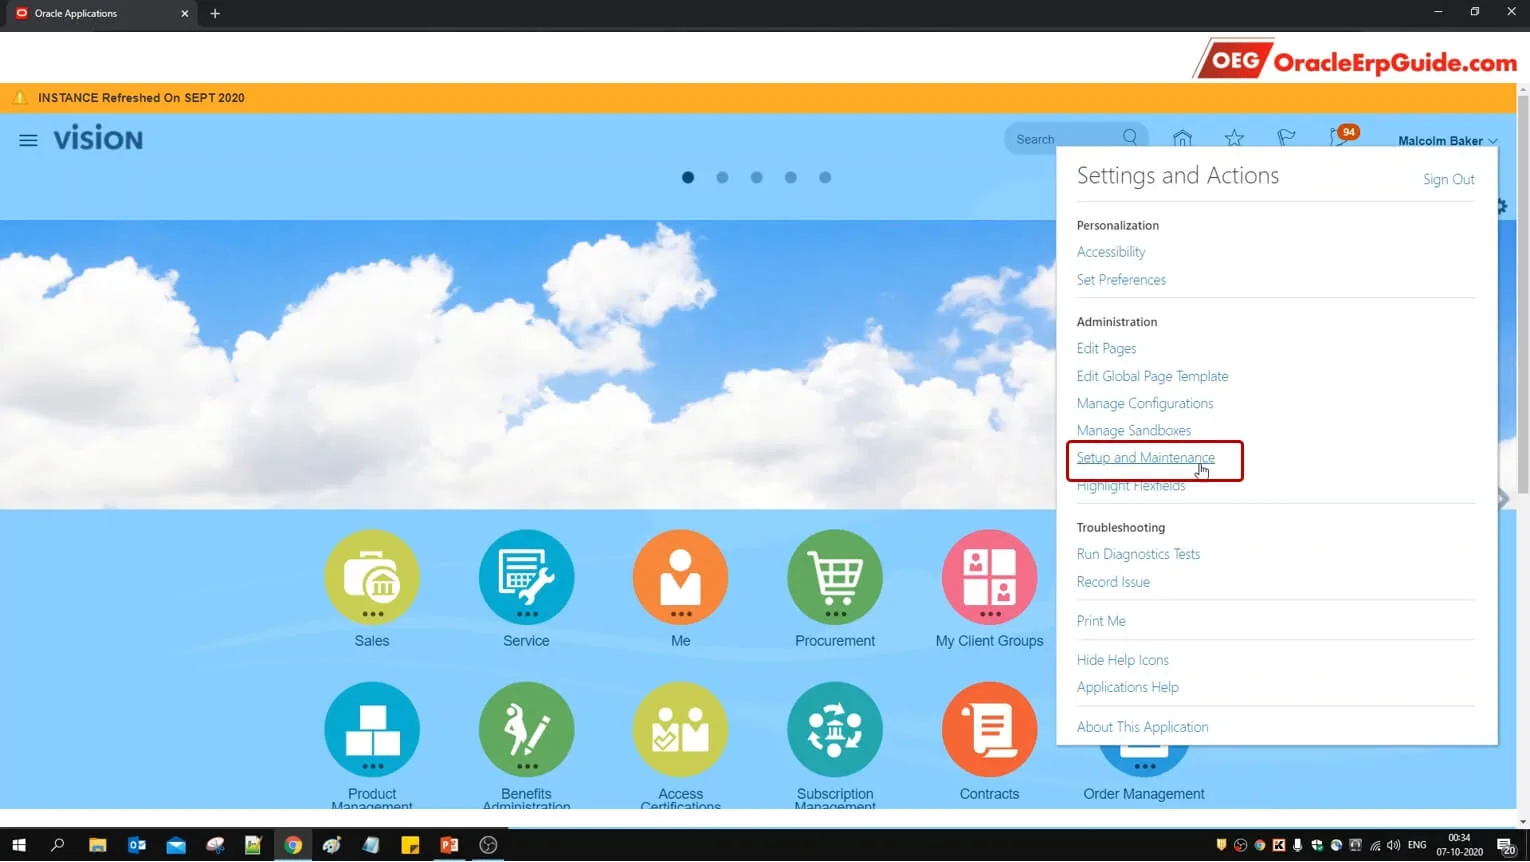
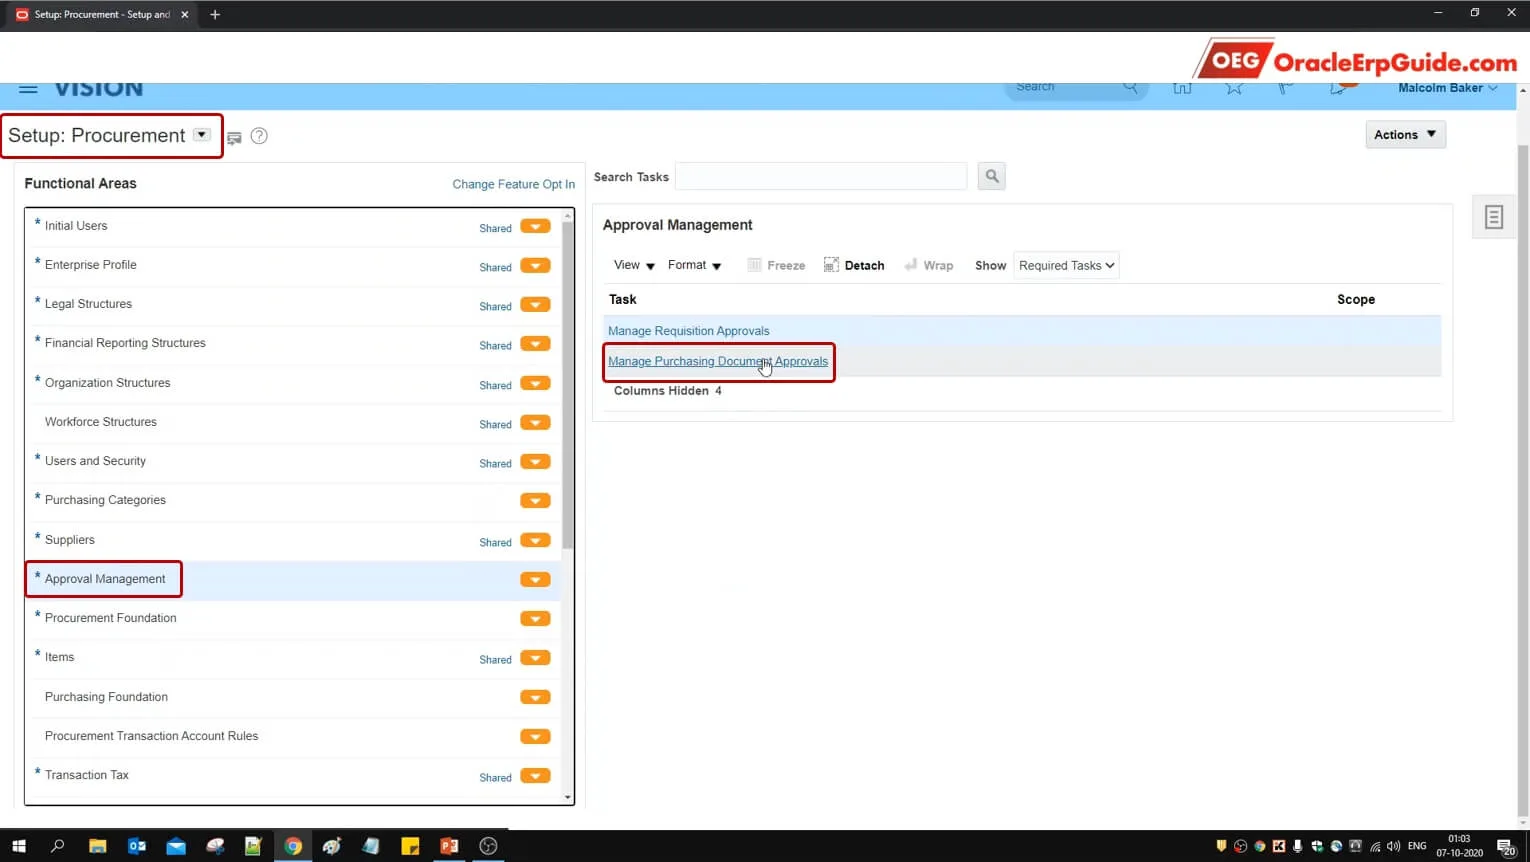
- Go to "Setup and Maintenance" work area
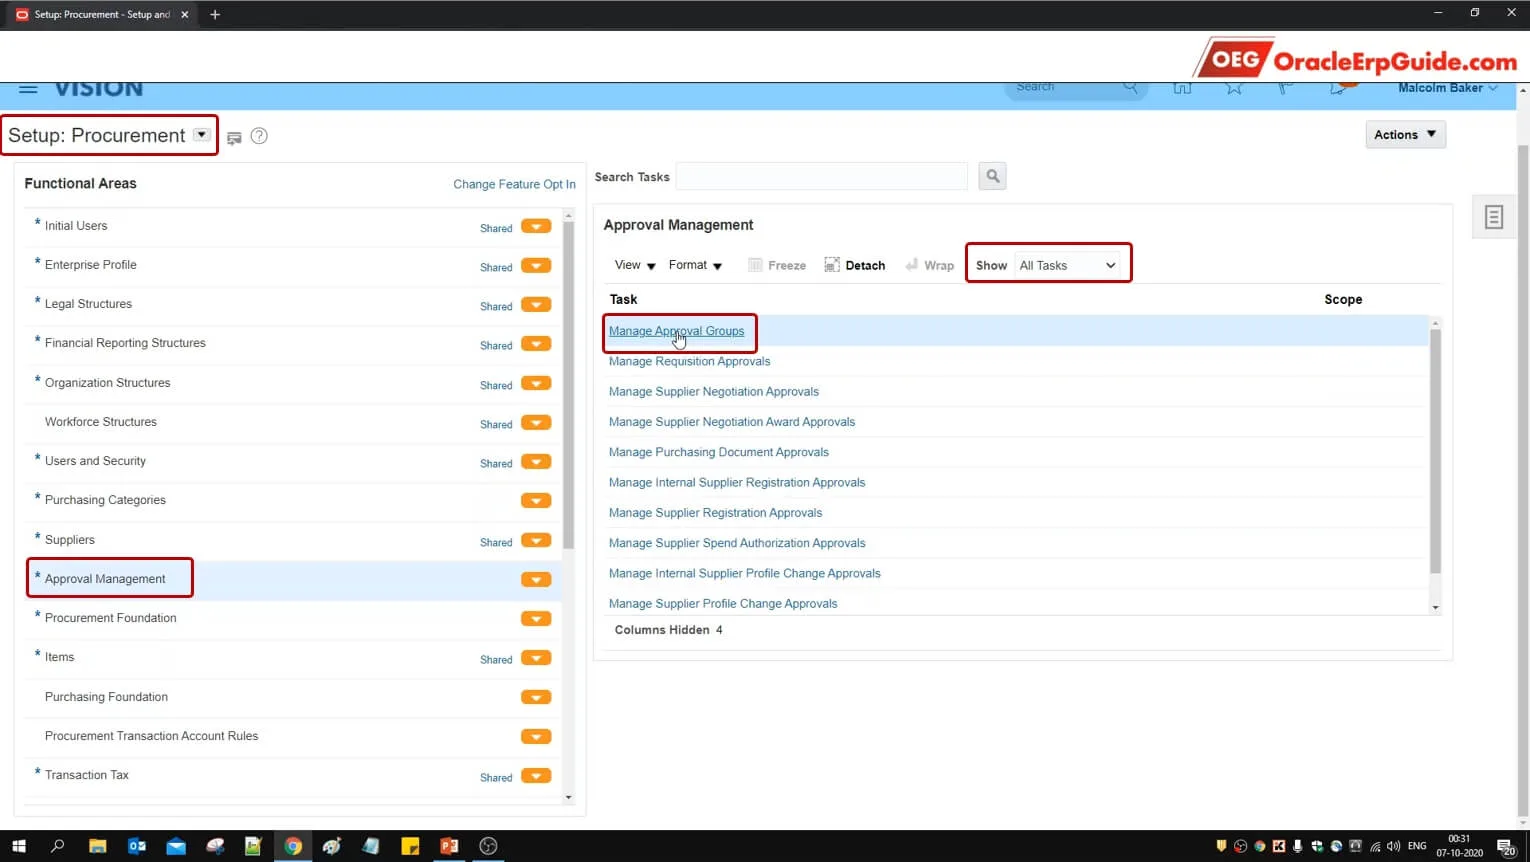
- Select "Setup:" as Procurement. Select the functional area as "Approval Management". Select "Show" as All tasks. Go to task Manage Approval Groups. This will take you to the "BPM (Business Process Management) Worklist

- Click +
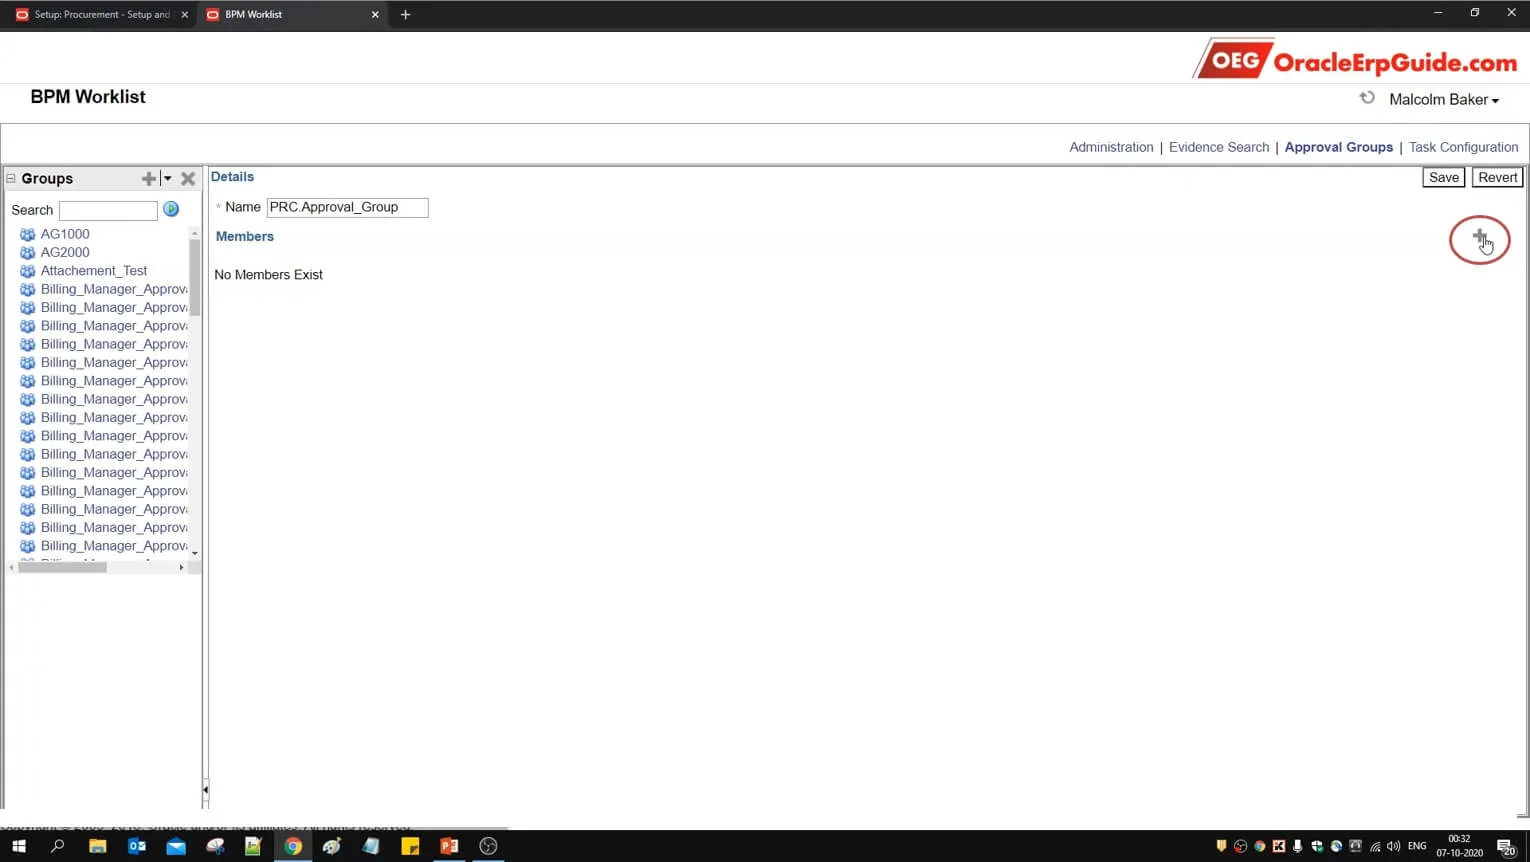
- Enter the desired name. Click +

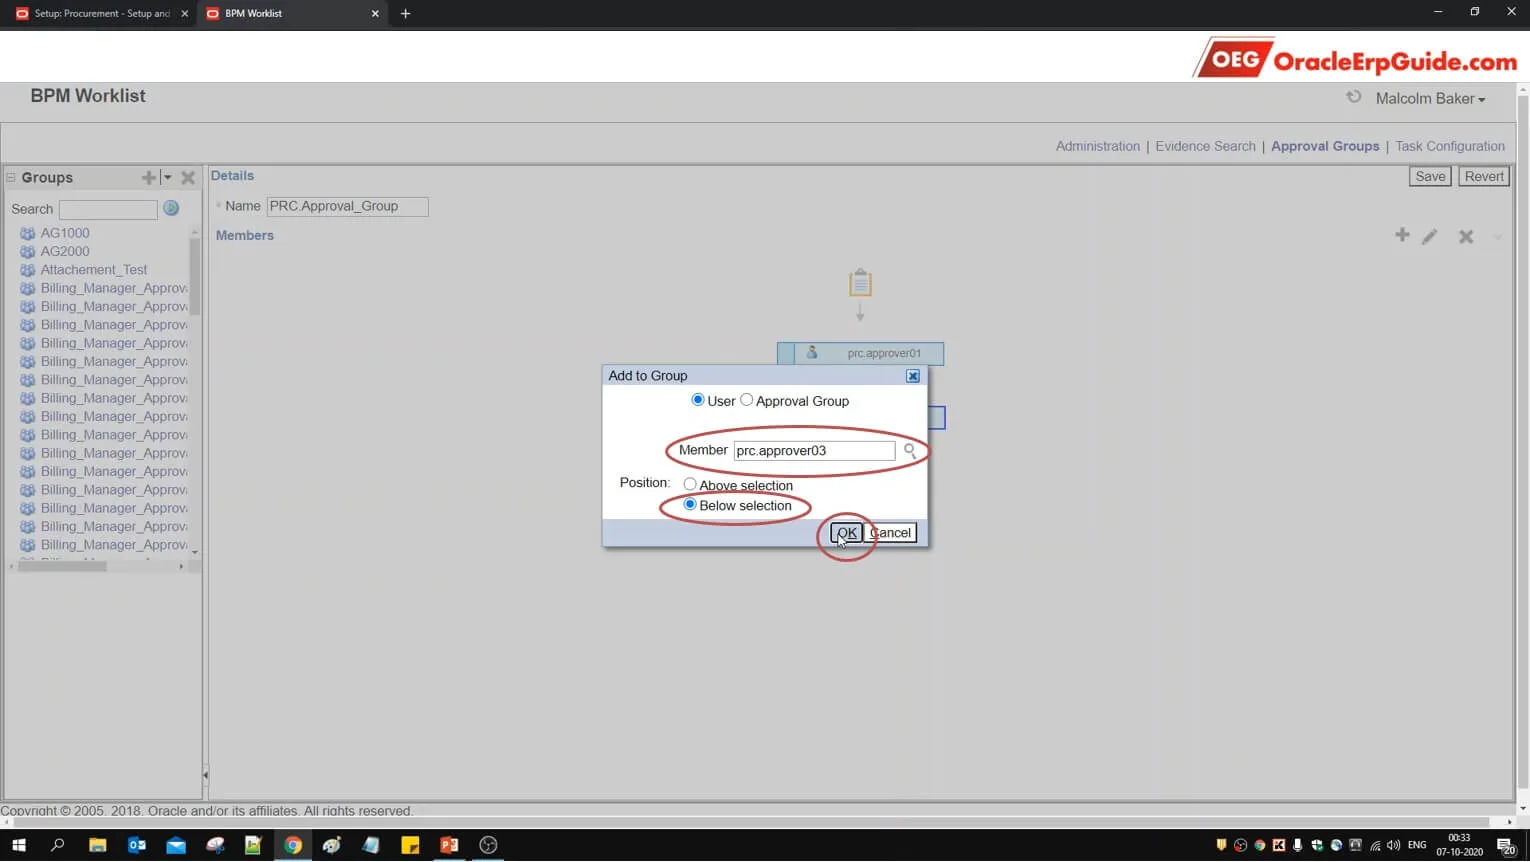
- Click on the lens icon
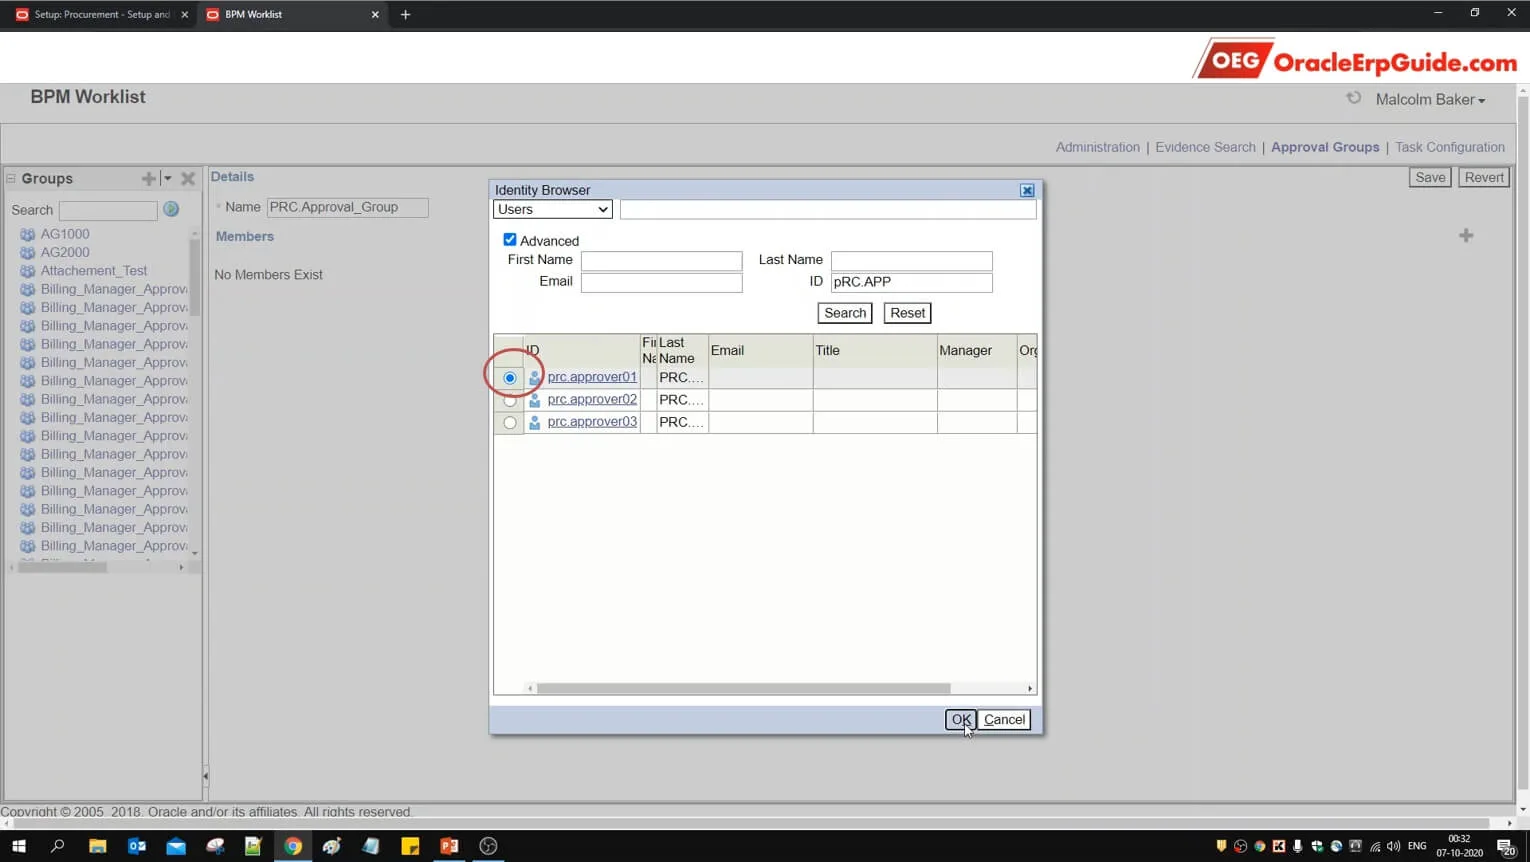
- Search for the relevant user. Select the radio box for the required user from the search results and click OK
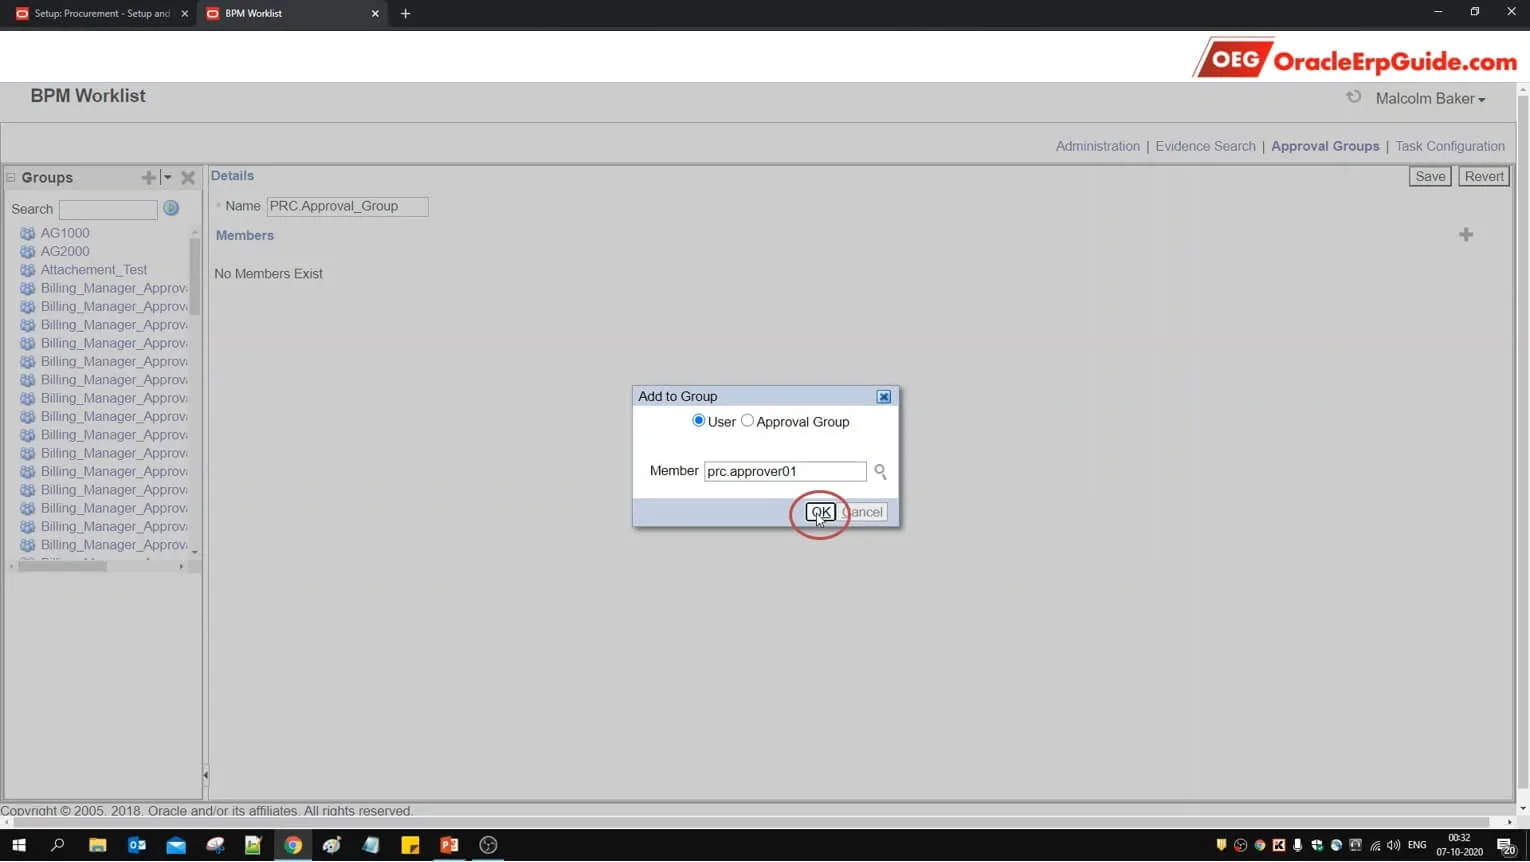
- Click OK
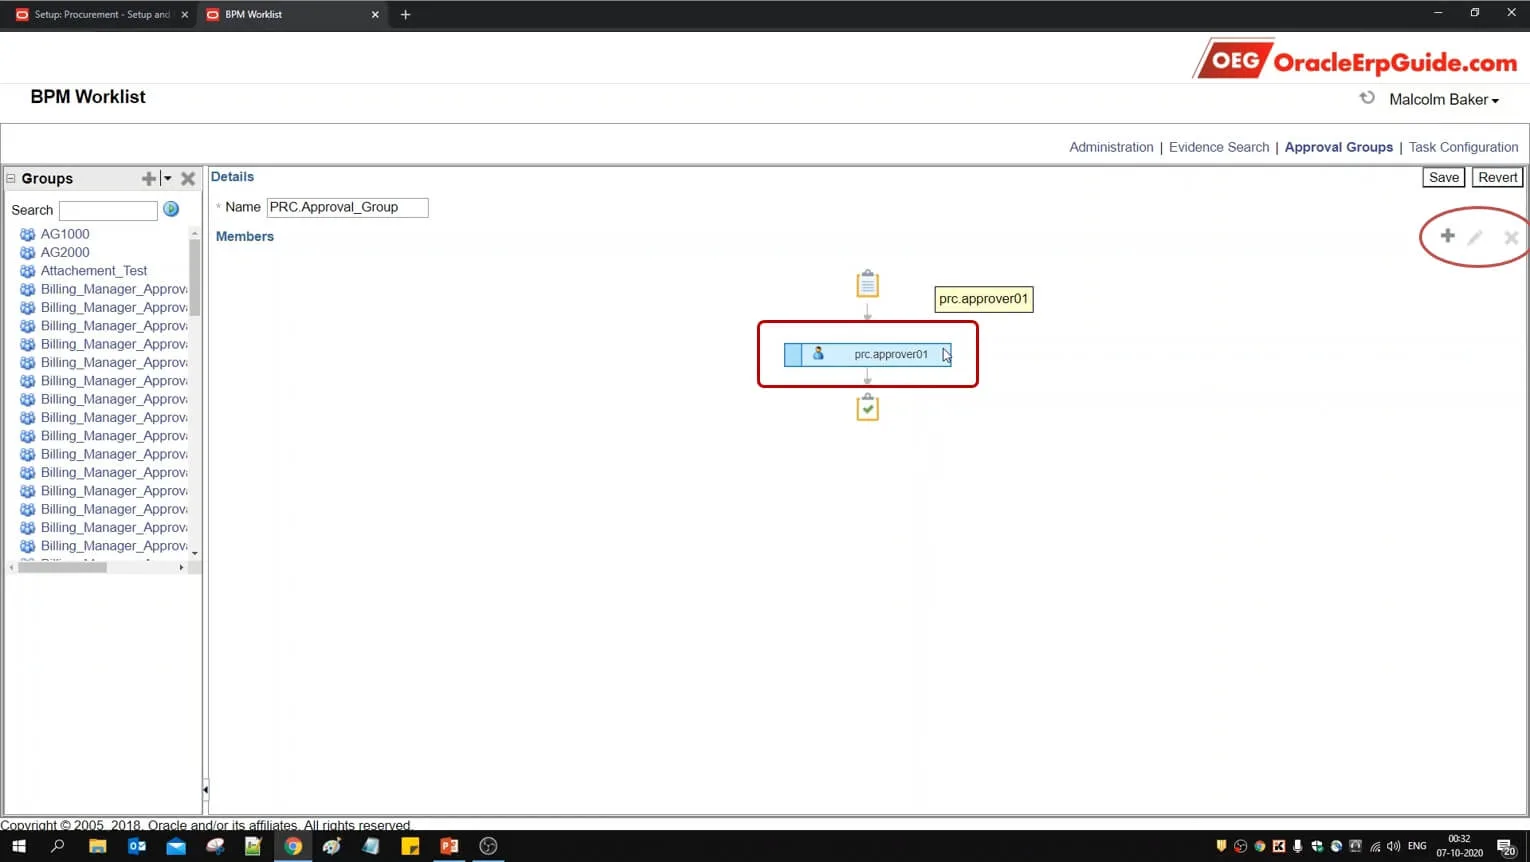
- Select the approver box to enable the buttons on the right
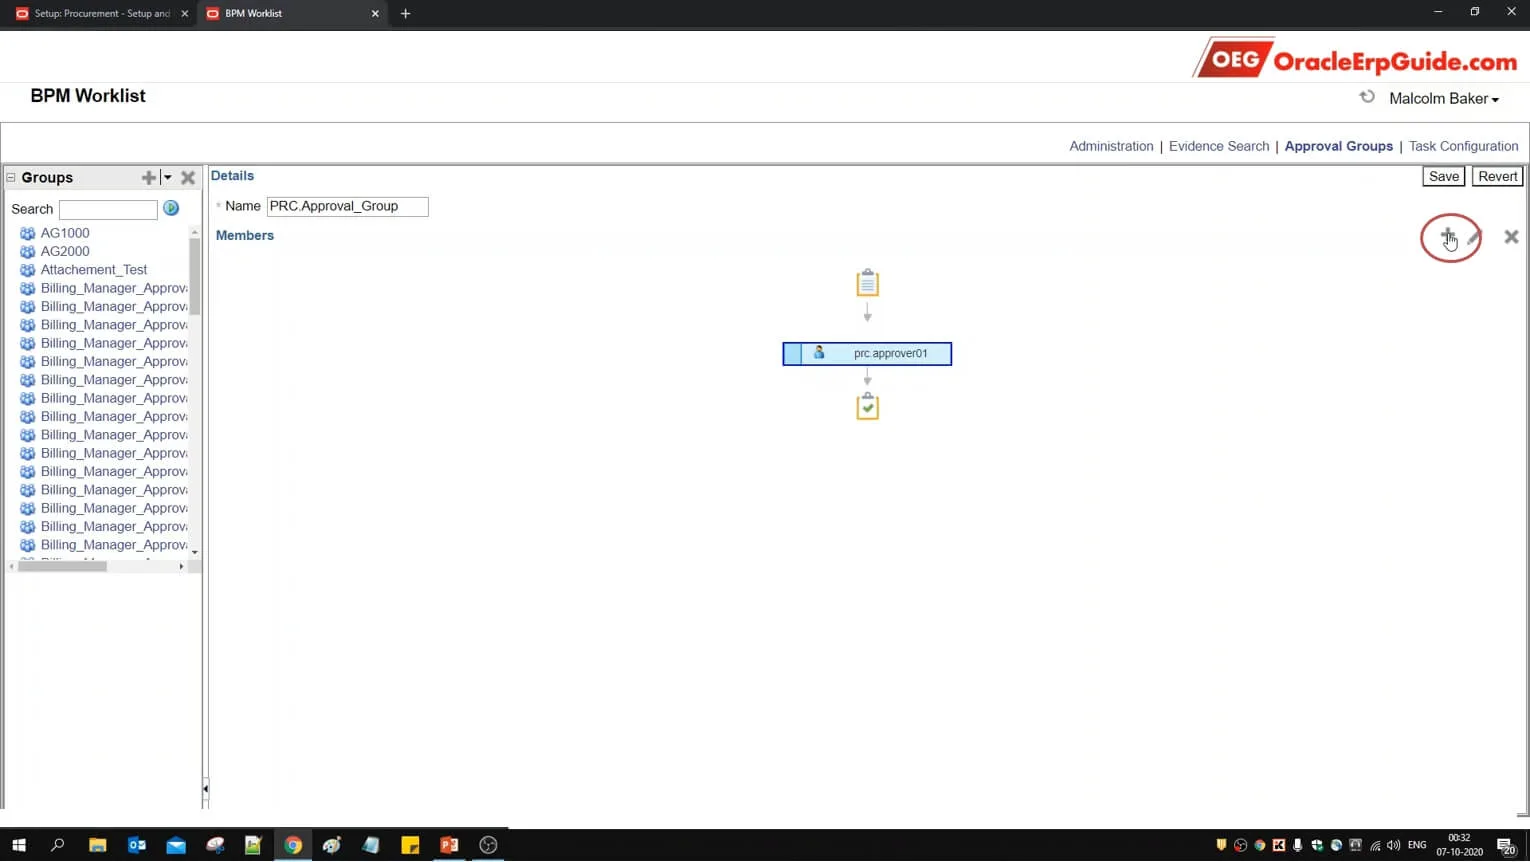
- Click +
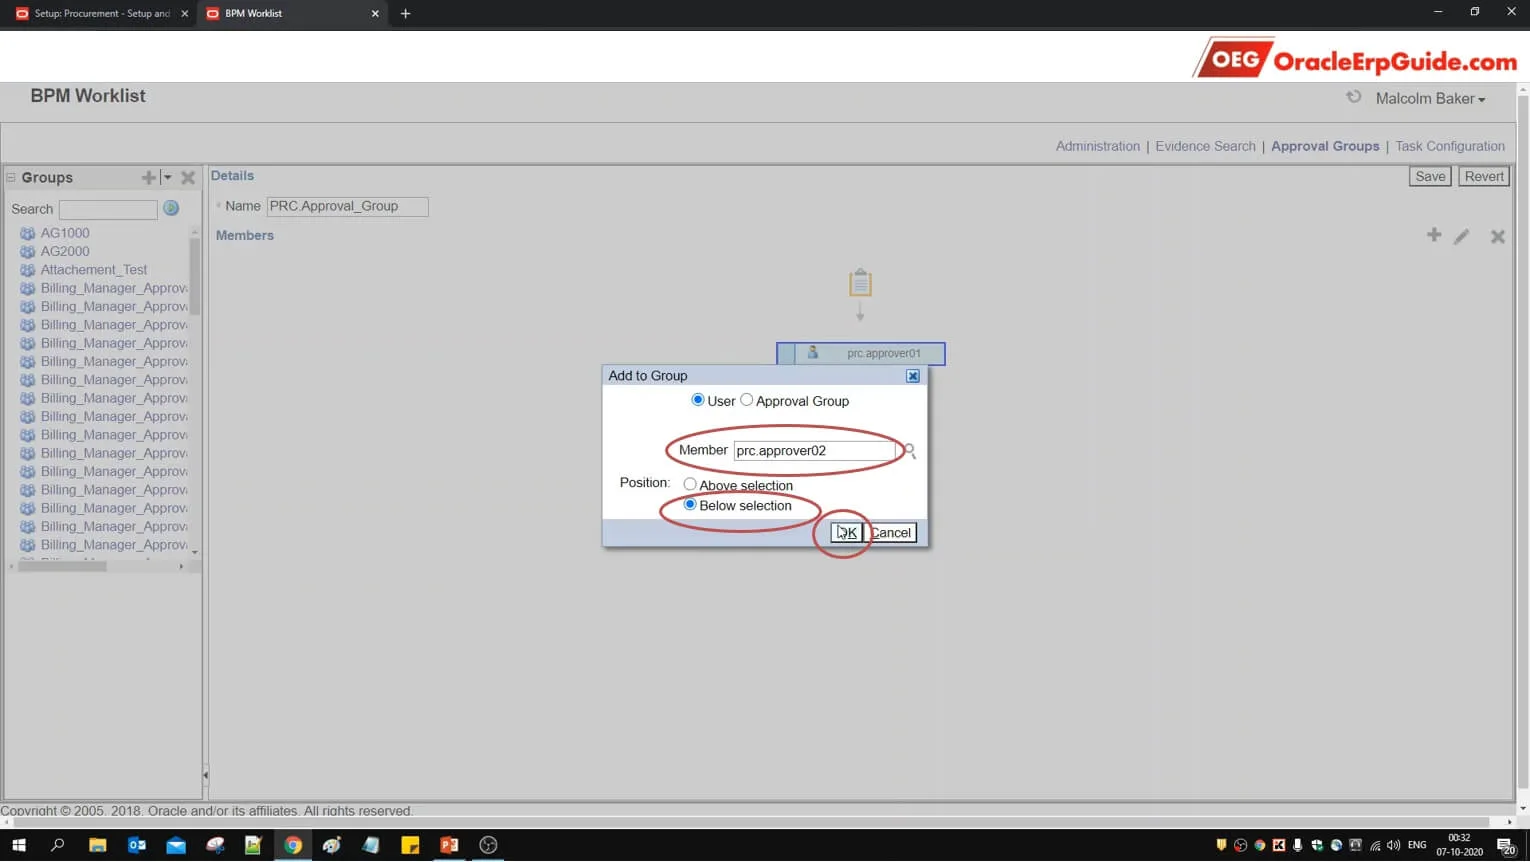
- Select the next required user by following the same steps mentioned earlier. Select the position as below selection and click OK
- Select the approver box to enable the buttons on the right
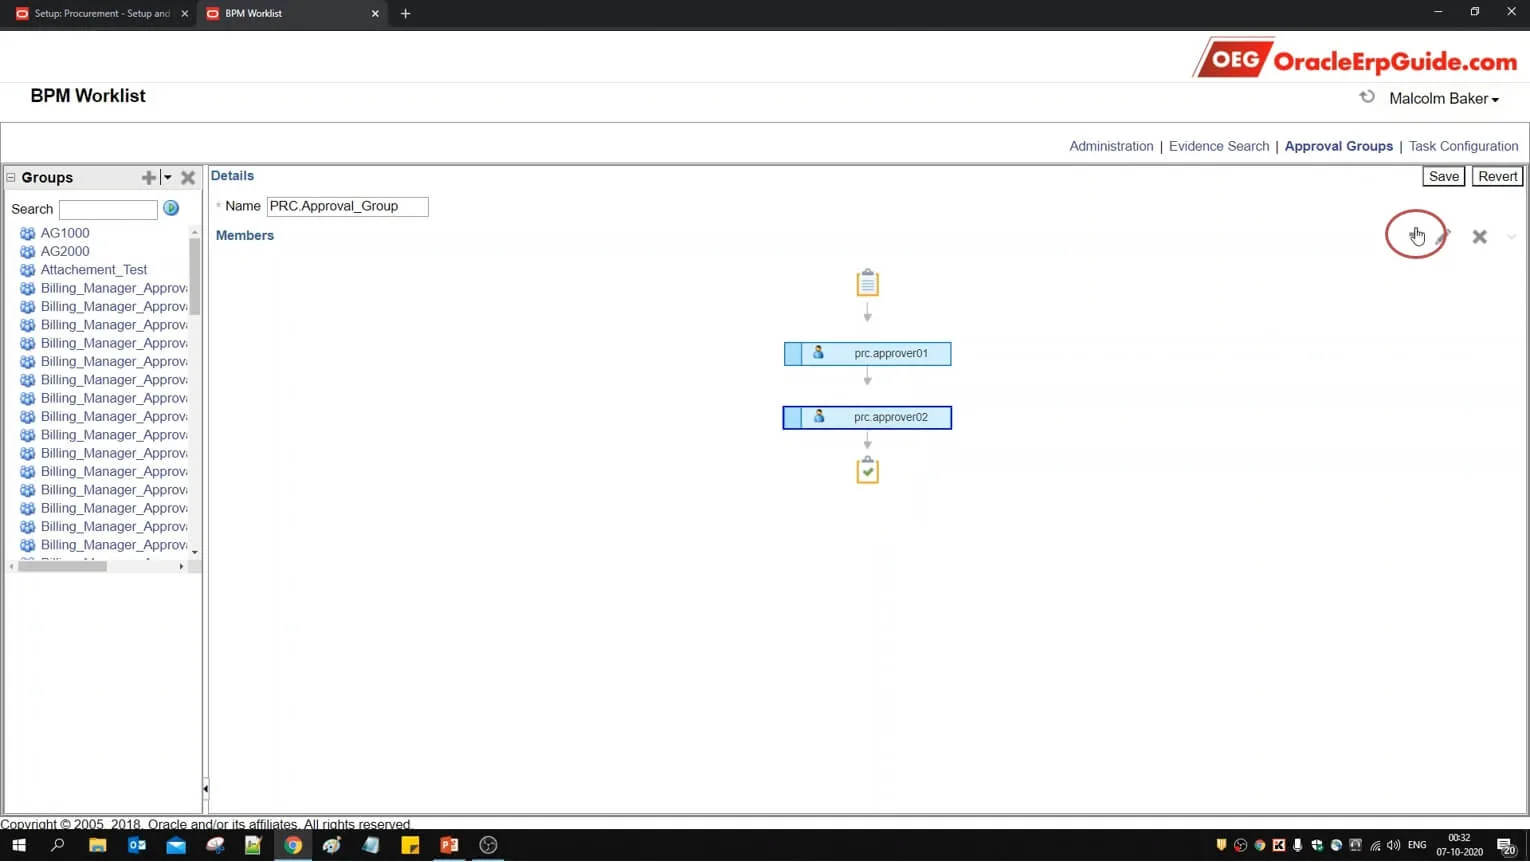
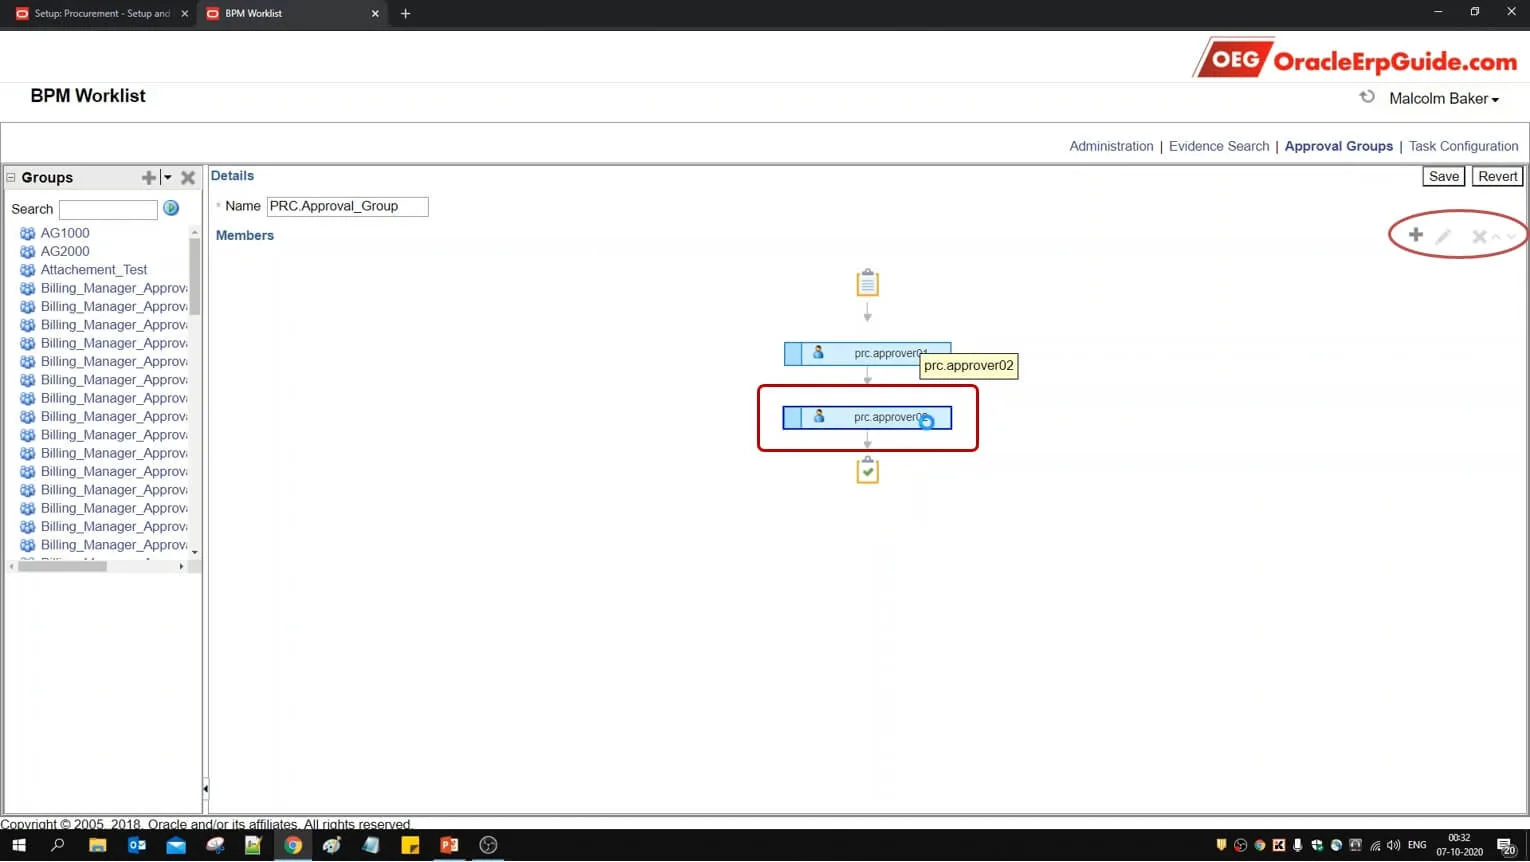
- Click +
- Select the next required user by following the same steps mentioned earlier. Select the position as below selection and click OK

Review the Approval Group.
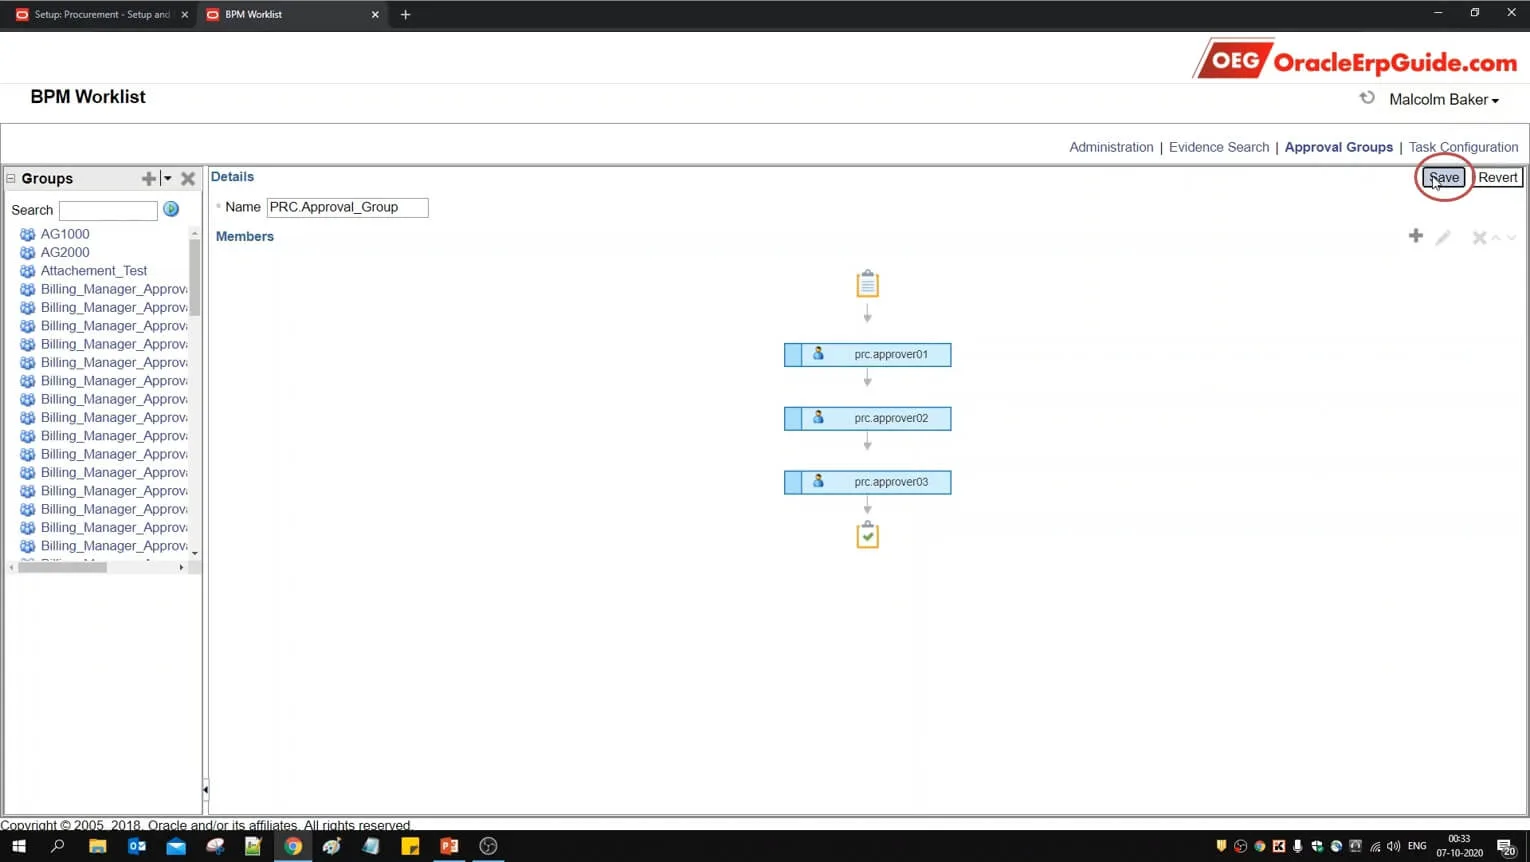
- Click Save. The approval group is successfully created
- Go to Setup and Maintenance work area
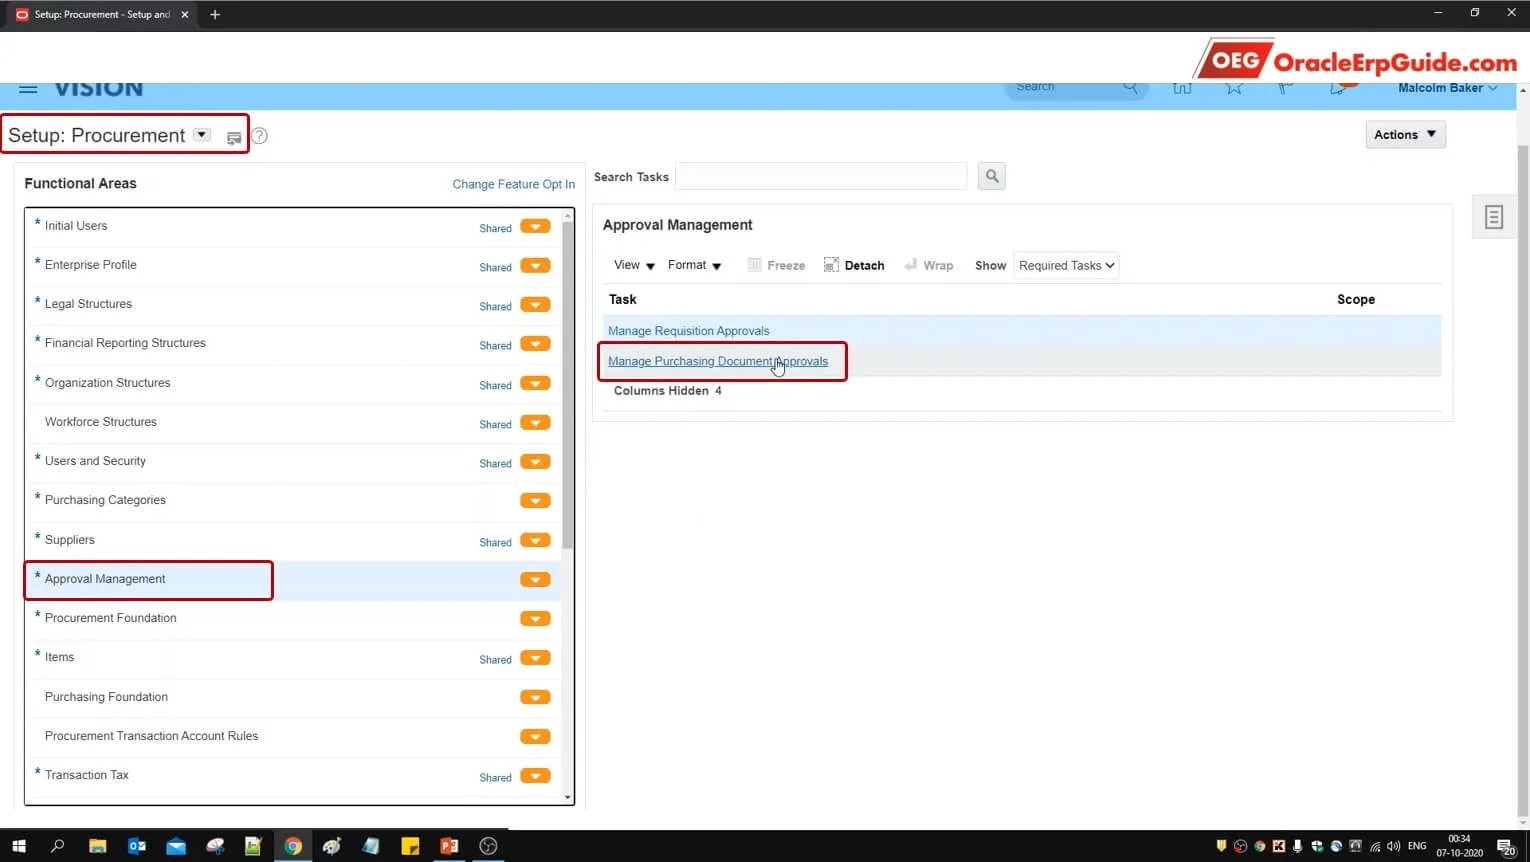
- Go to task "Manage Purchasing Document Approvals"
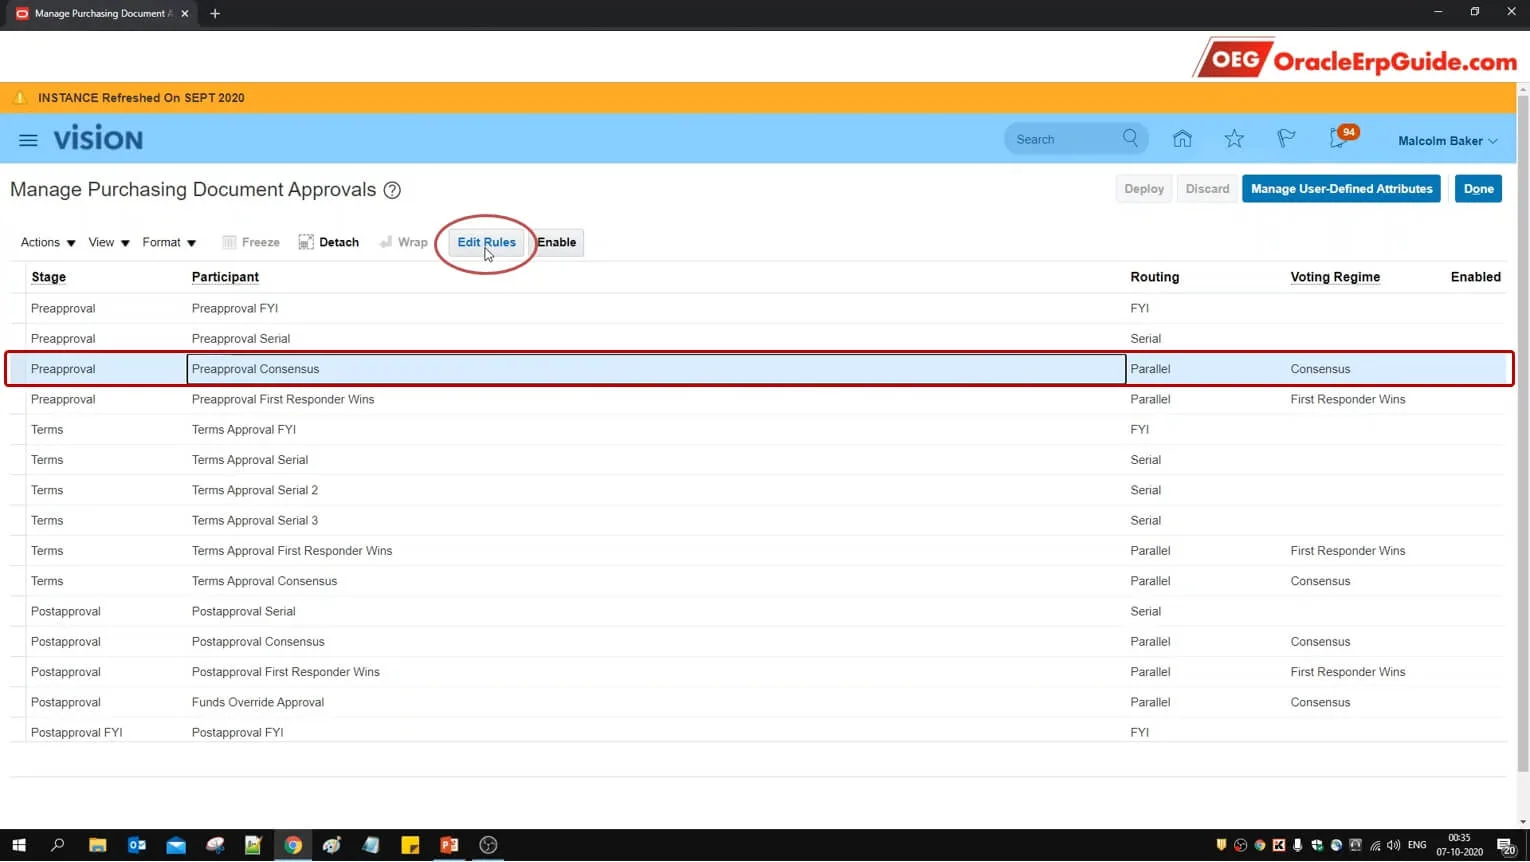
- Select the Preapproval Consensus row. Note that the Routing is "Parallel" and Voting Regime is "Consensus"
Approval Rules - Components
1. Rules: Determines name and priority (precedence) of the rule.
2. Conditions: Determines the trigger for the rules
3. Actions: Determines the actions to be taken after the rules are triggered
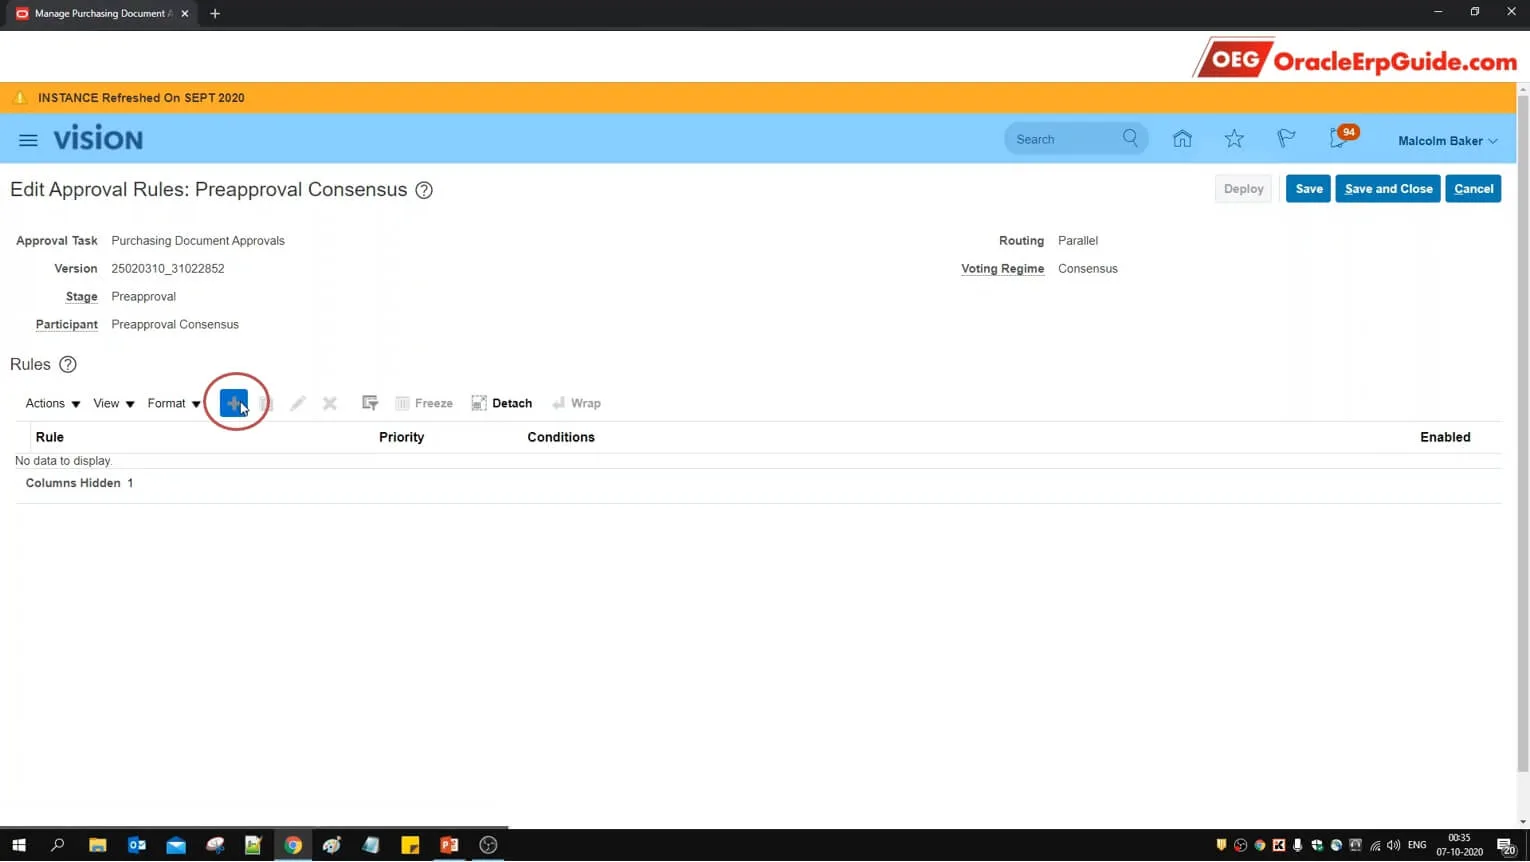
- Click +
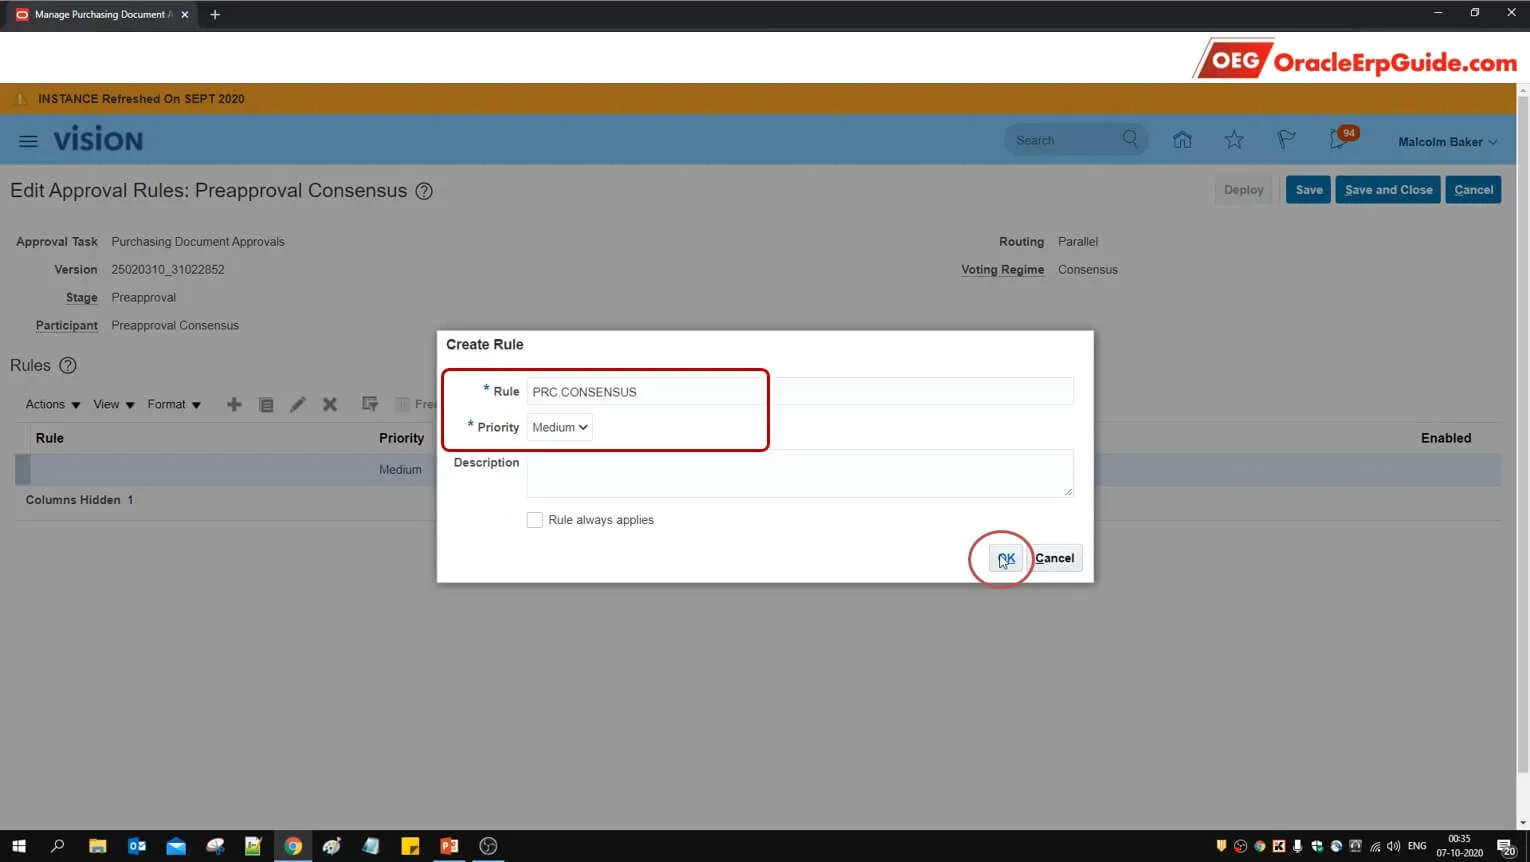
- Enter the name and priority of the rule. Click OK
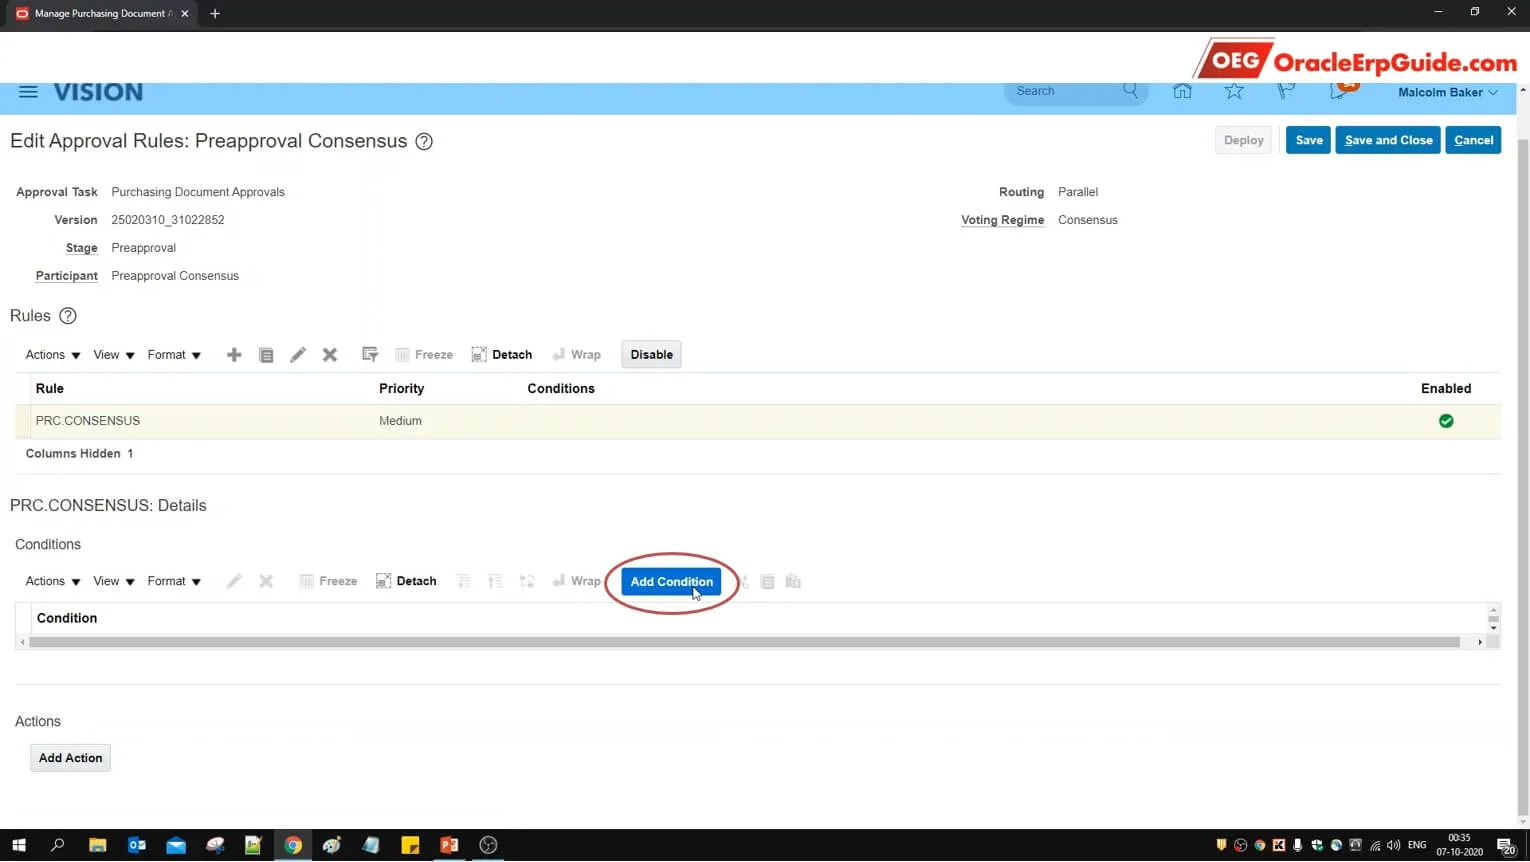
- Click "Add Condition"
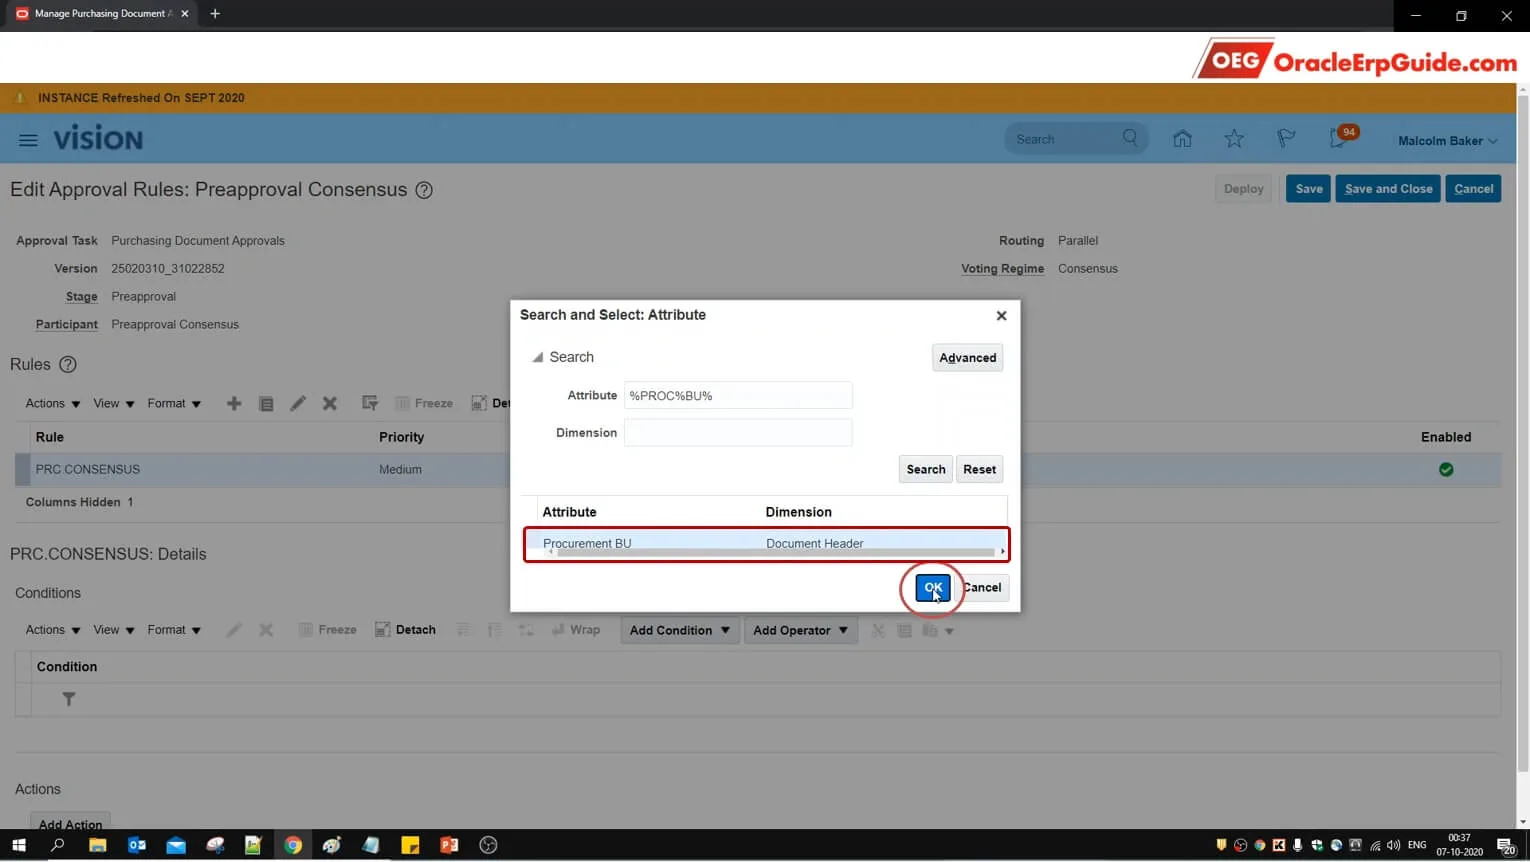
- Select the type as "Approval task attribute". Click on the lens icon
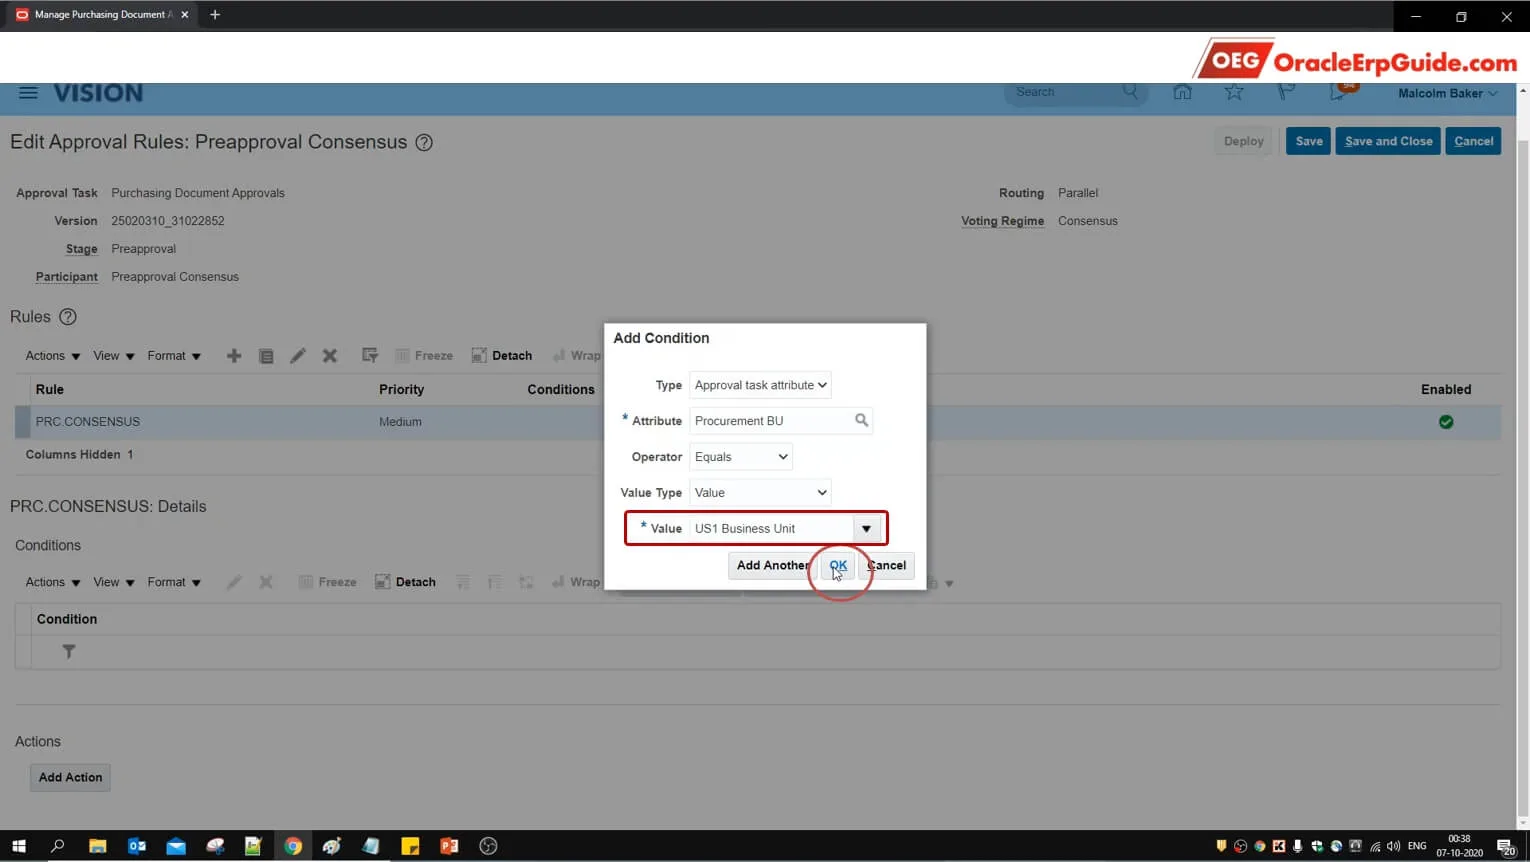
- As per our scenario, enter the details as above and enter the "Value" as US1 Business Unit. Click OK
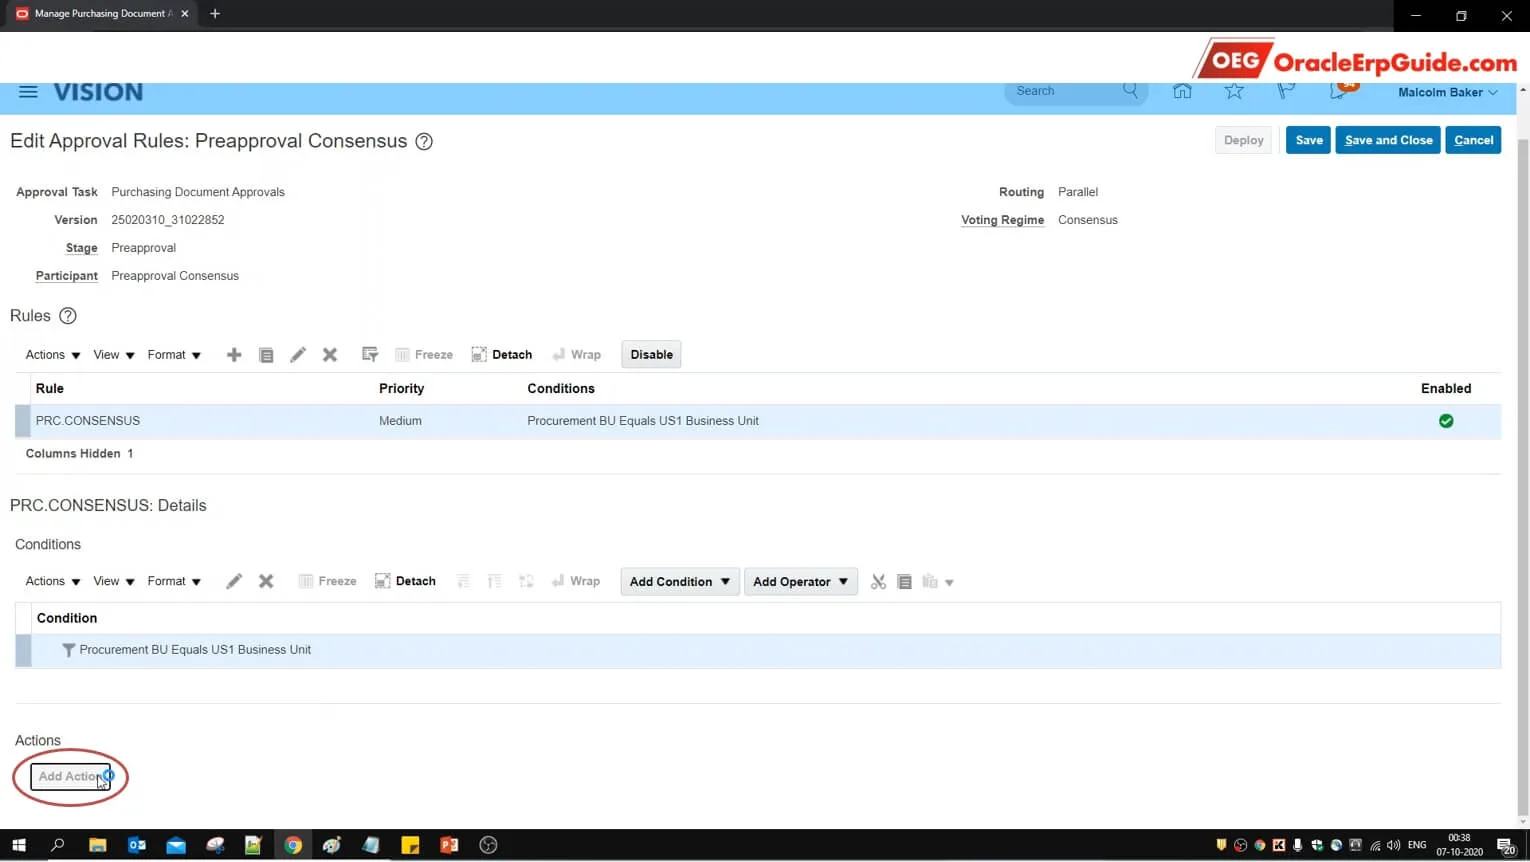
- Click "Add Action"
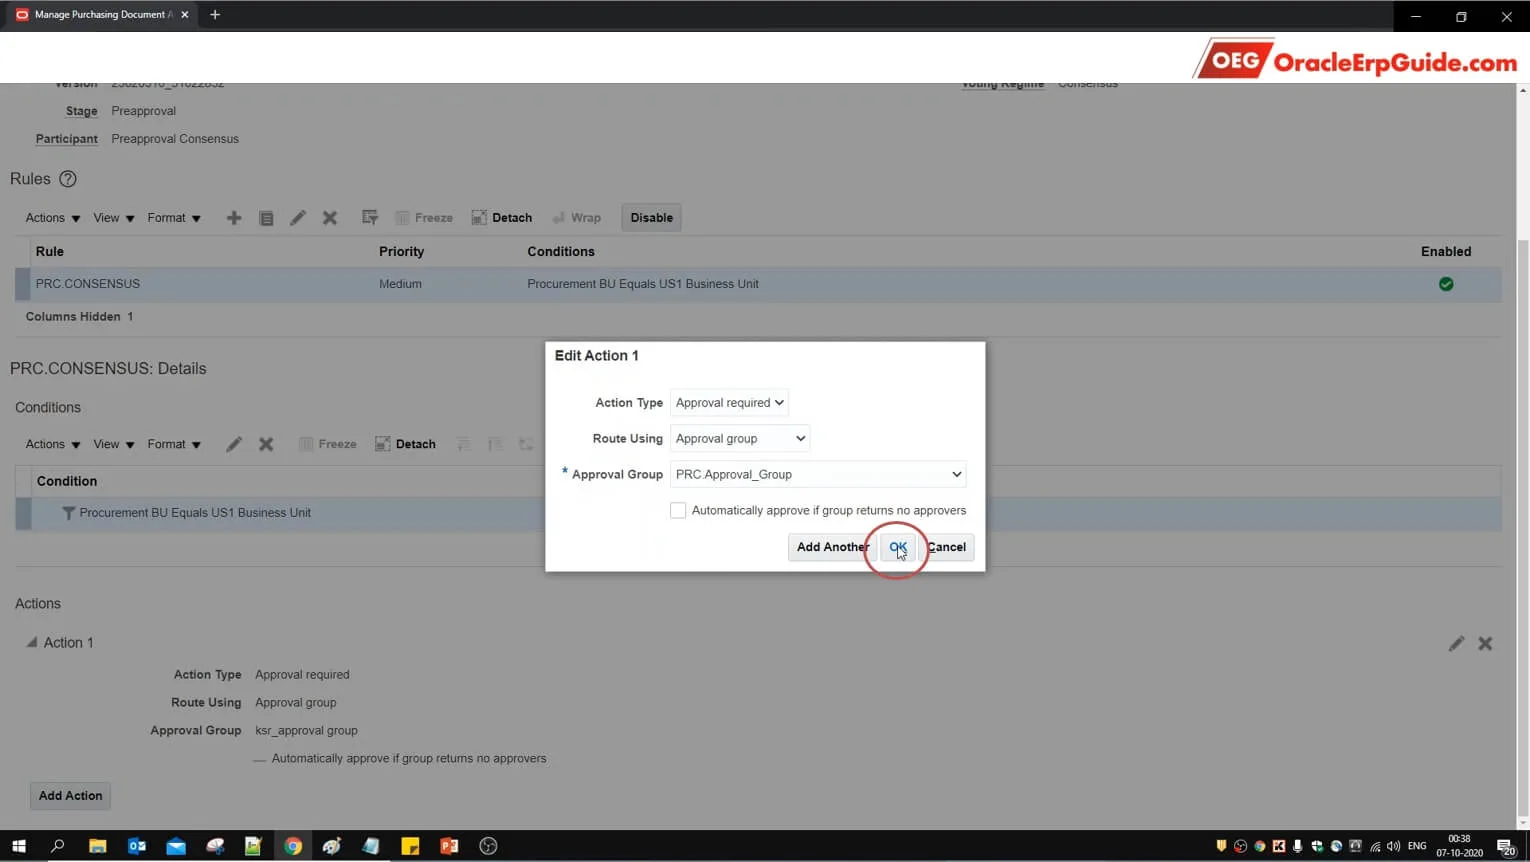
- Select the action type as "Approval required", Route using "Approval Group" and select the approval group that we created in one of the earlier steps. Click OK. Scroll up and click "Save and Close"
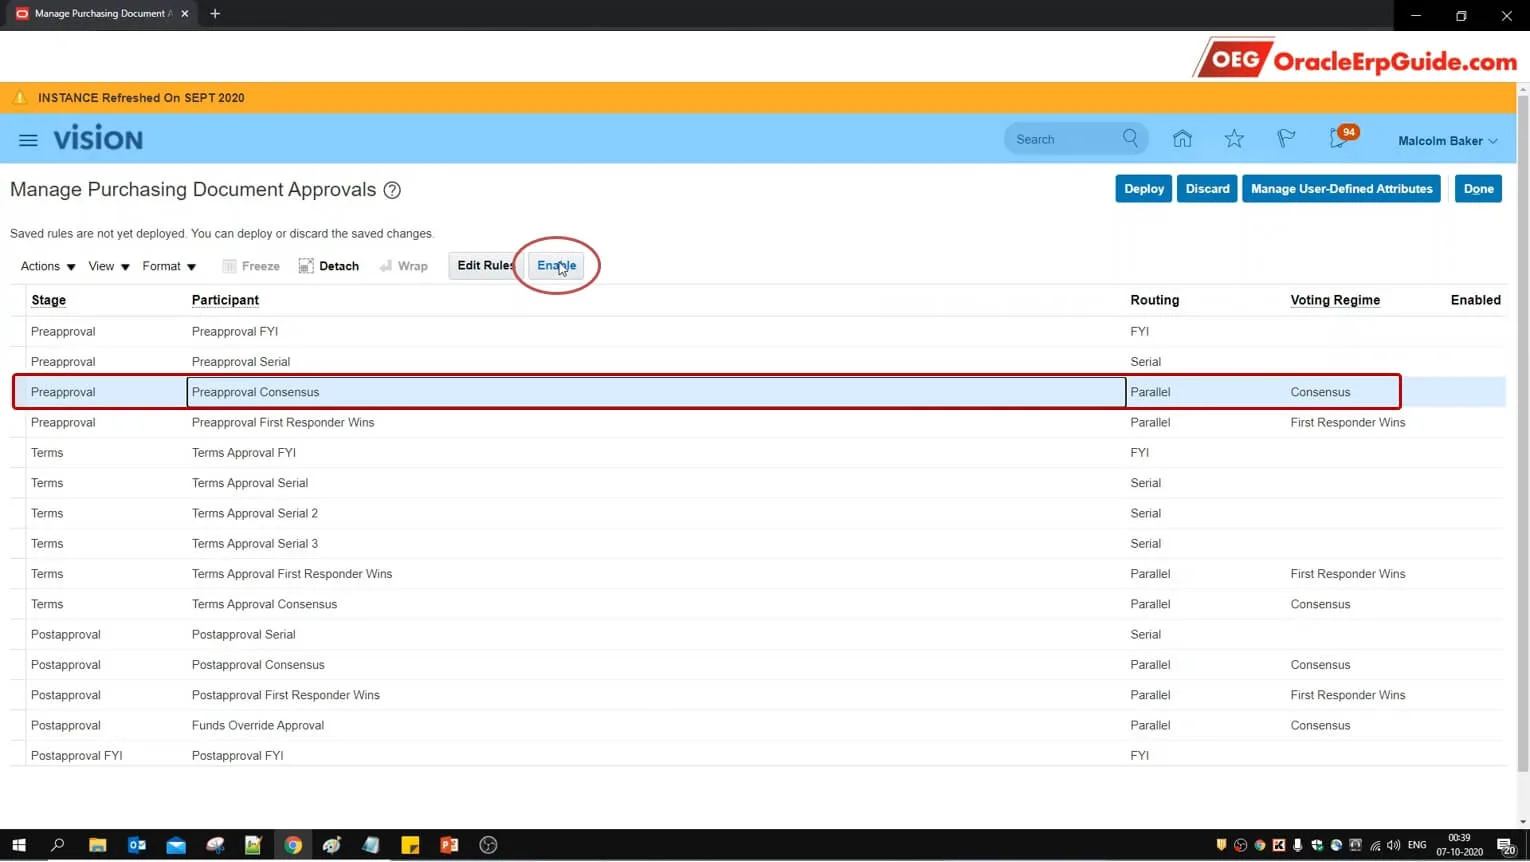
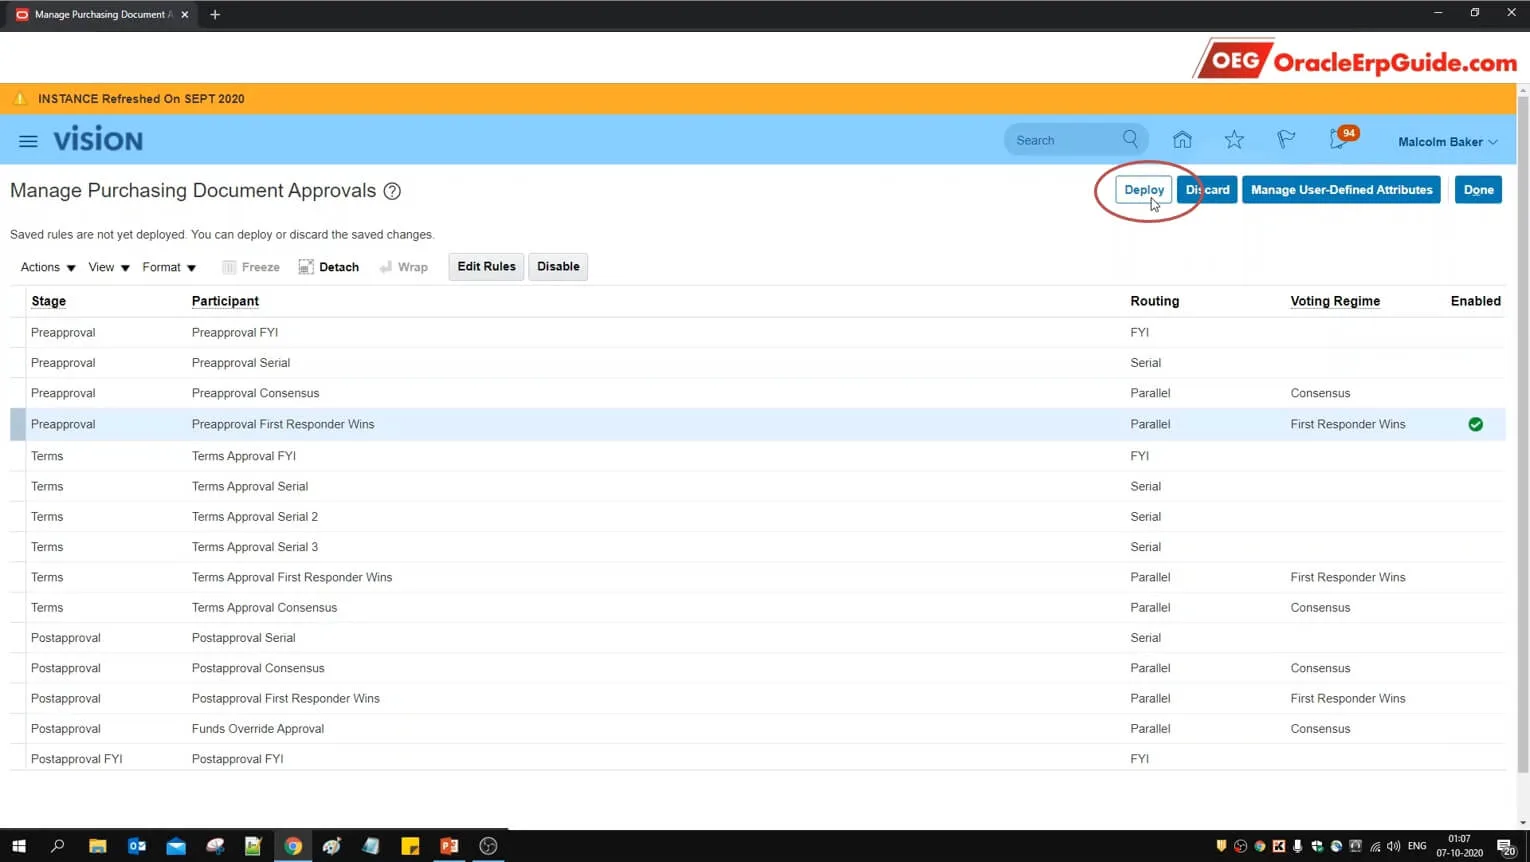
- Select the row that we just configured and click "Enable"
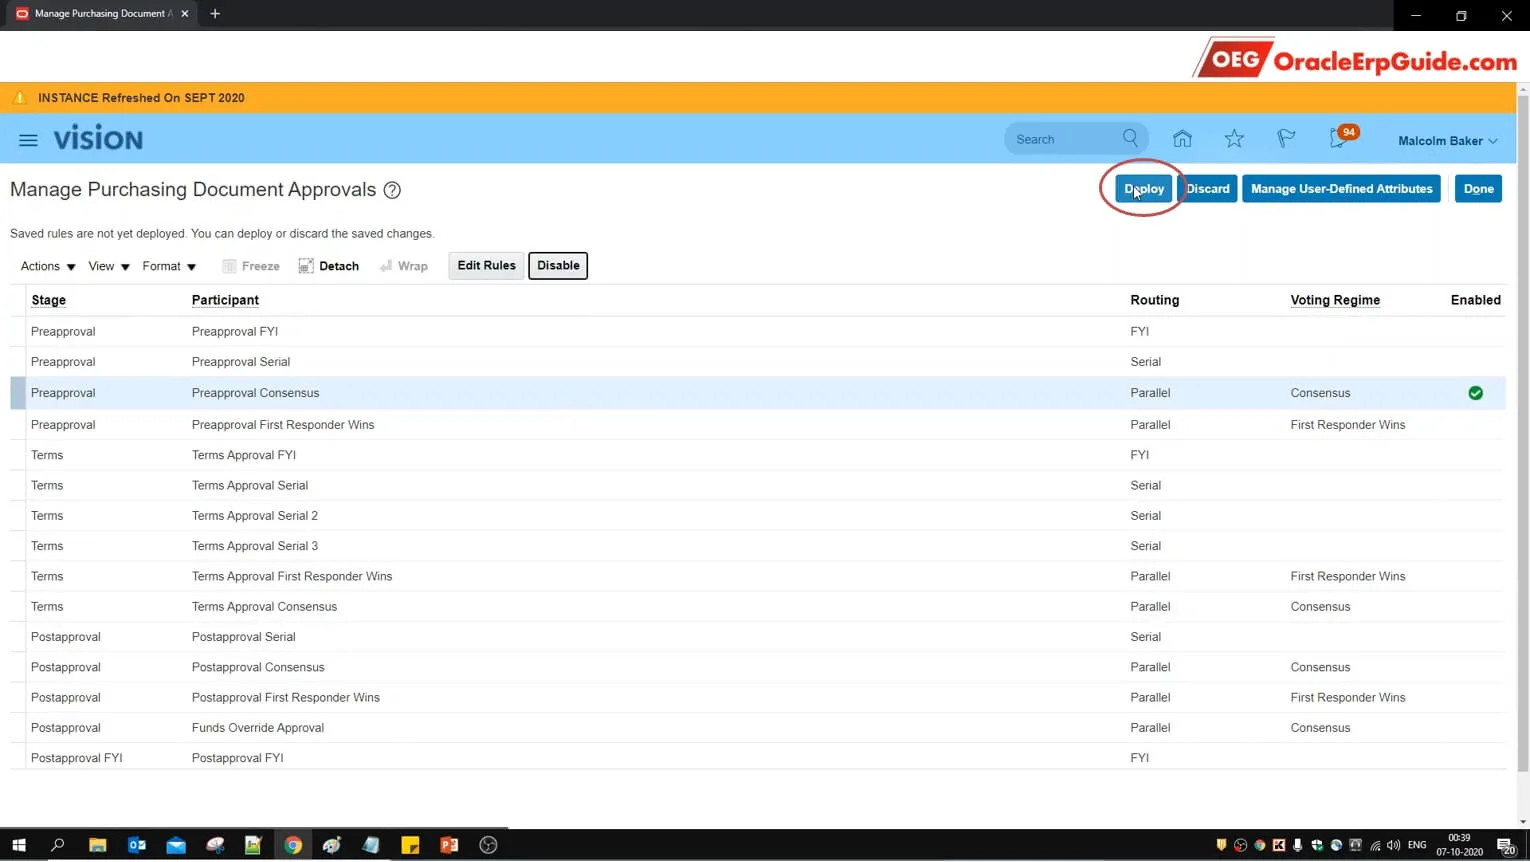
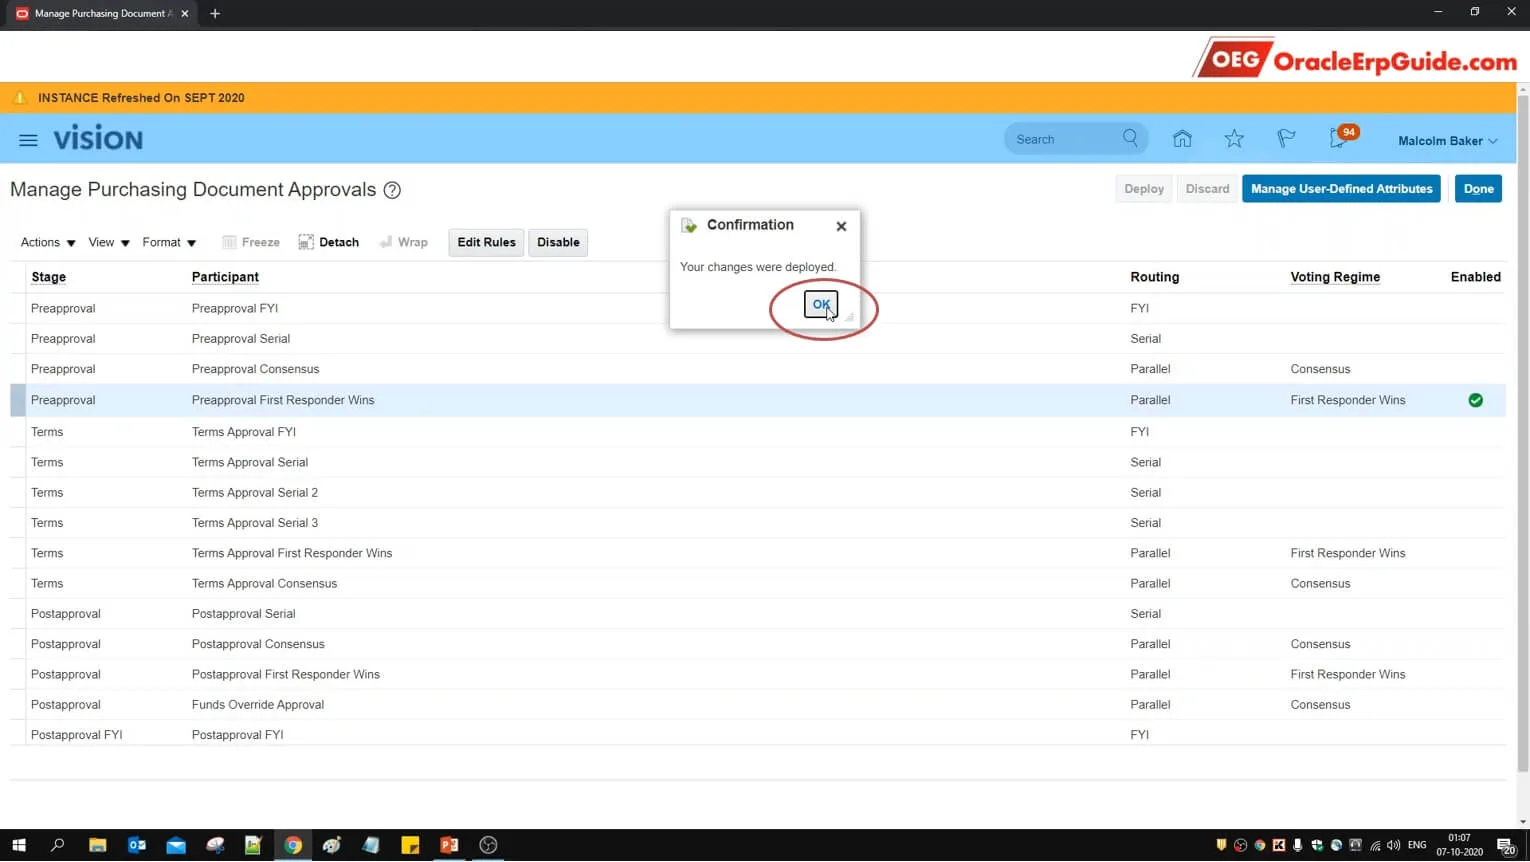
- Once the rule is enabled, click on "Deploy"

- Click OK
Transaction
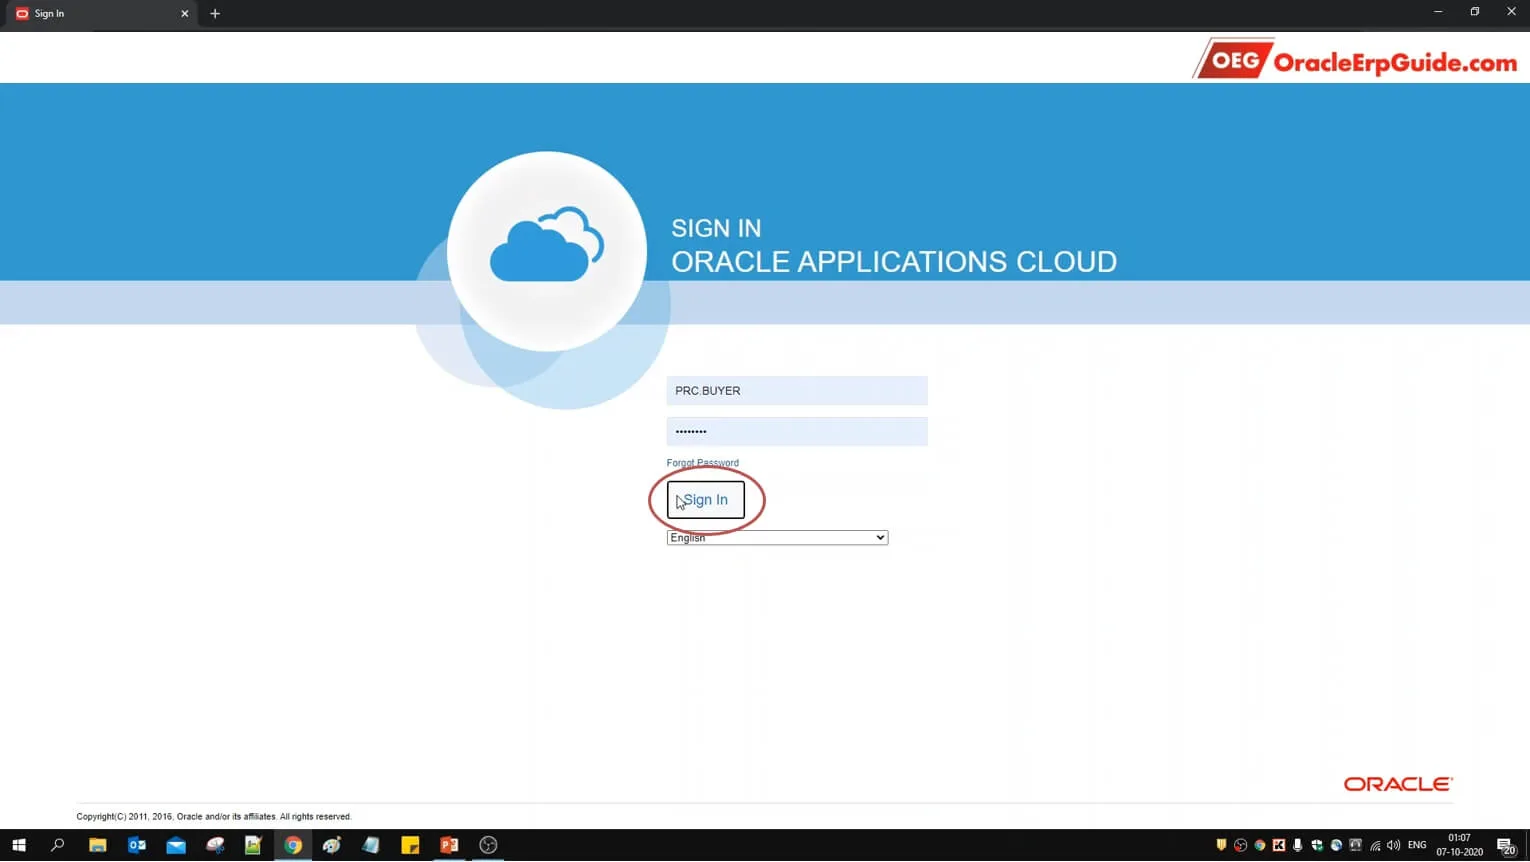
We will login to a different user to perform the transactions
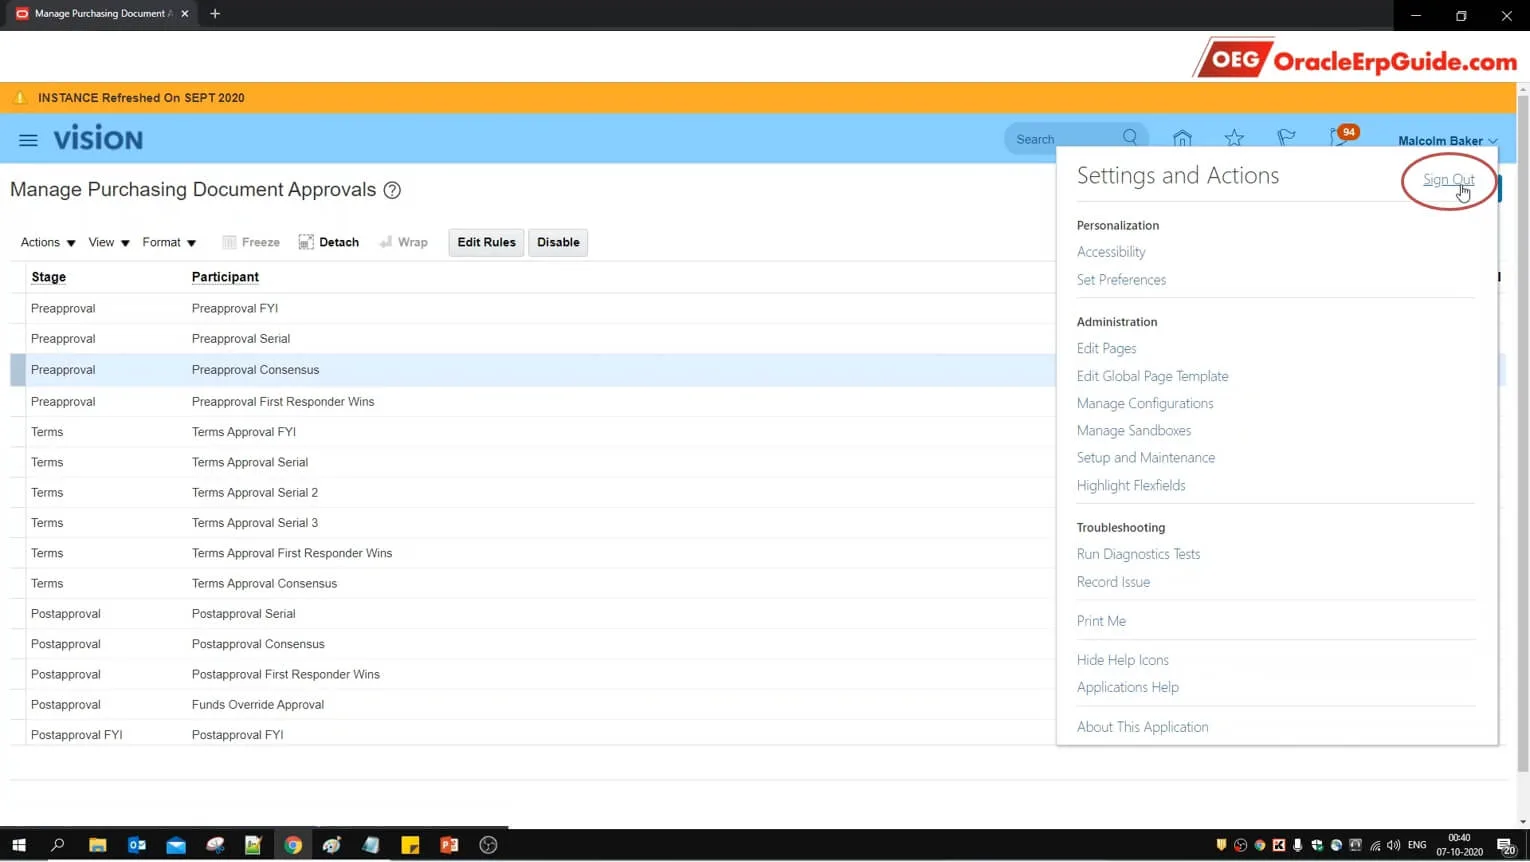
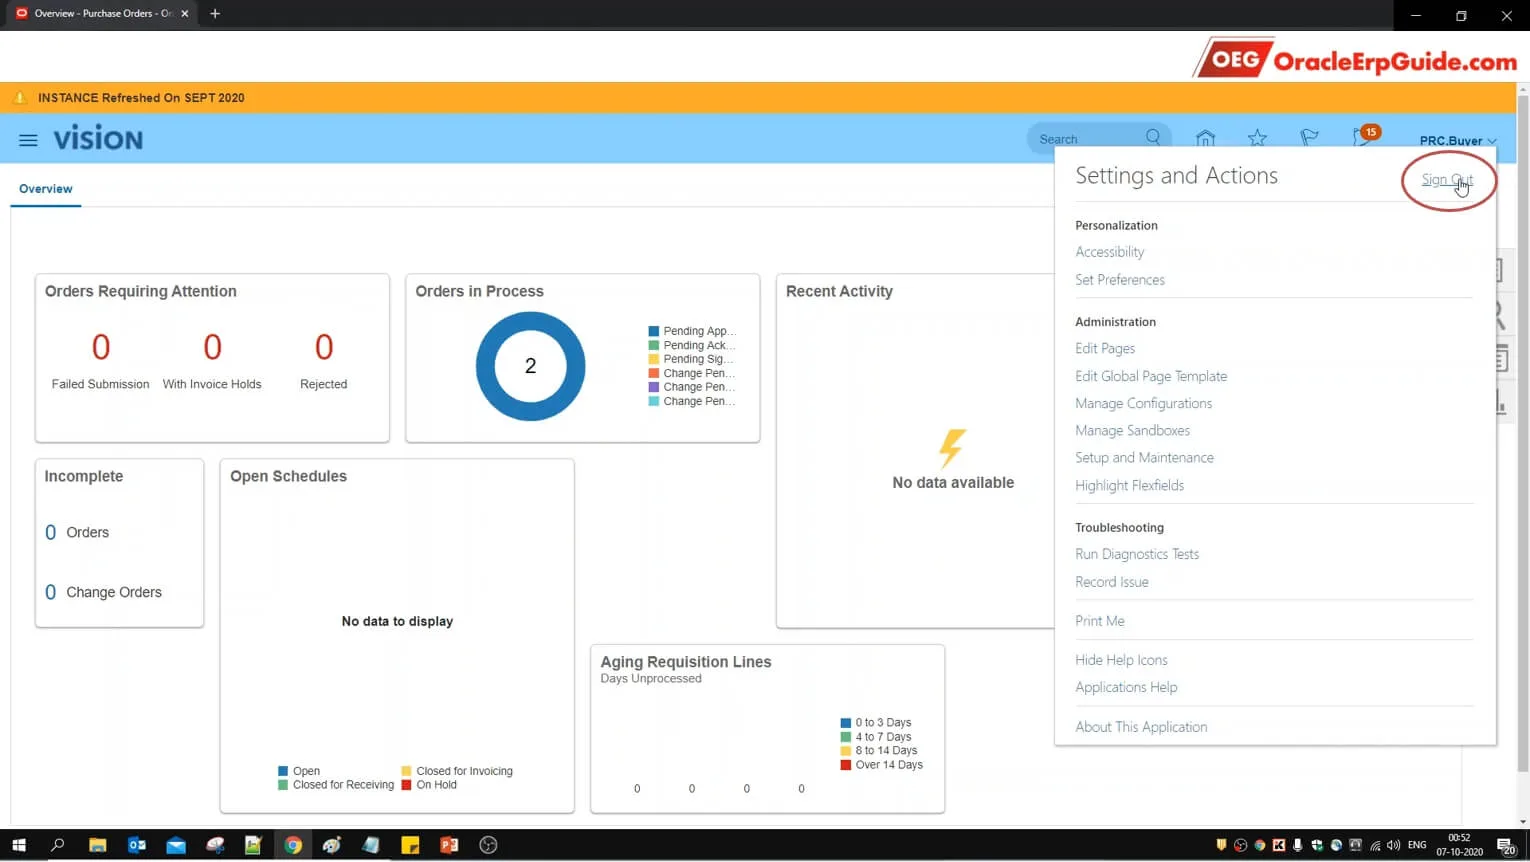
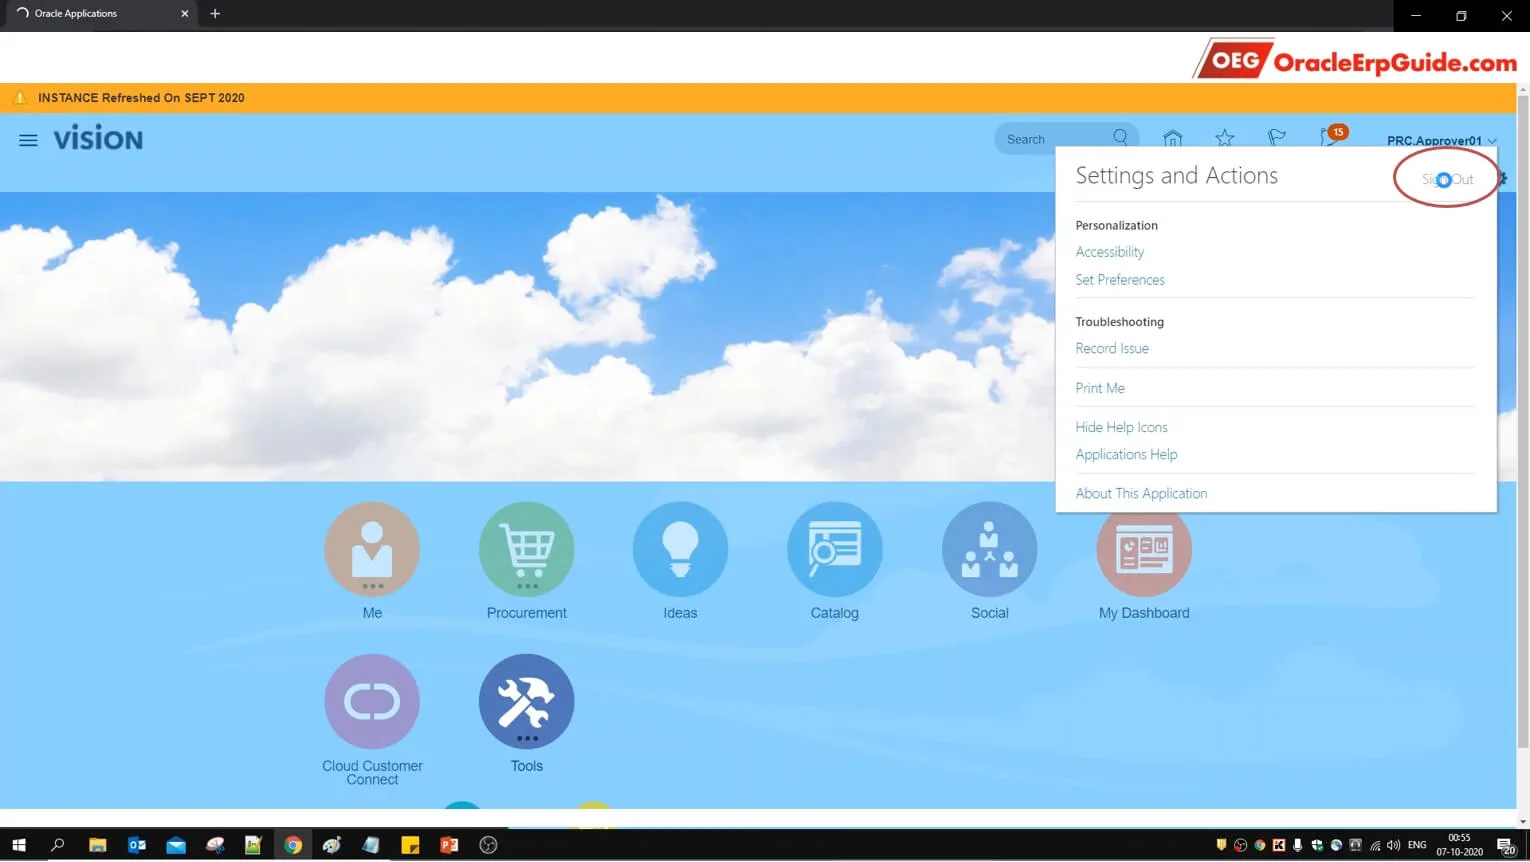
- Click on the user name and click "Sign Out"
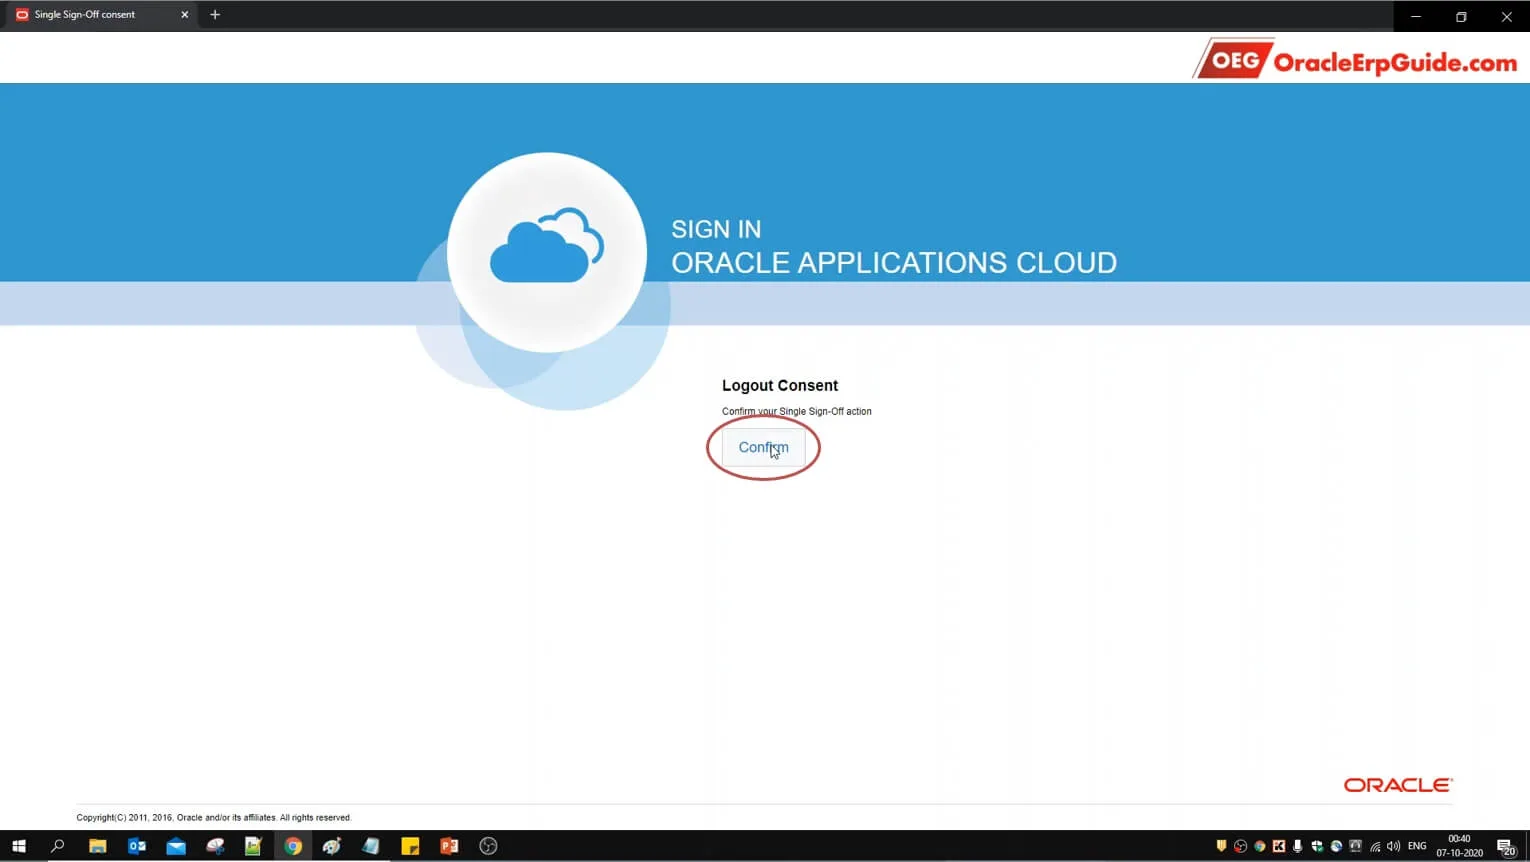
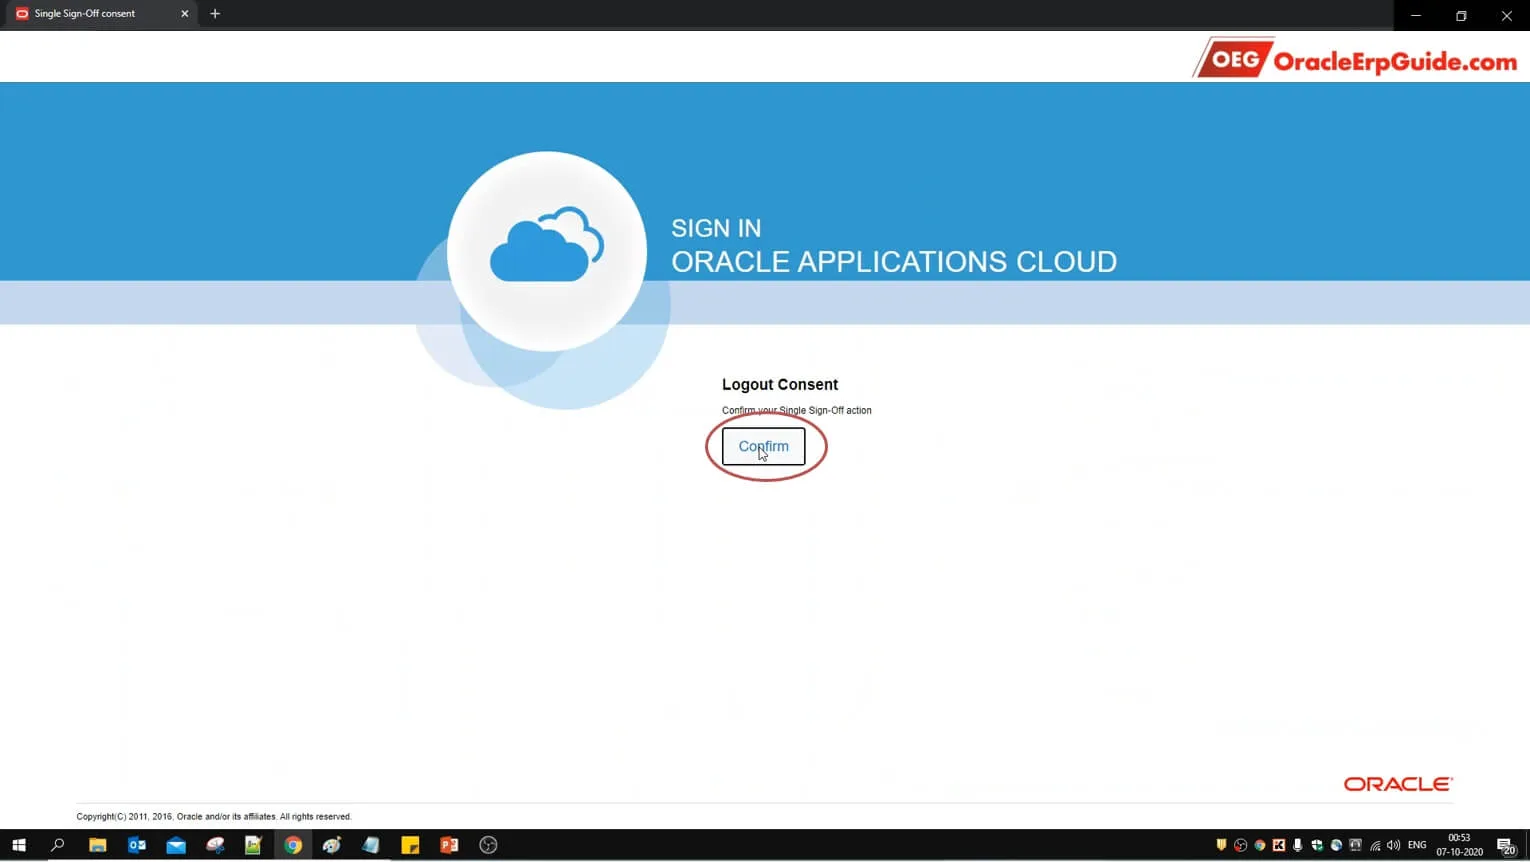
- Click "Confirm"

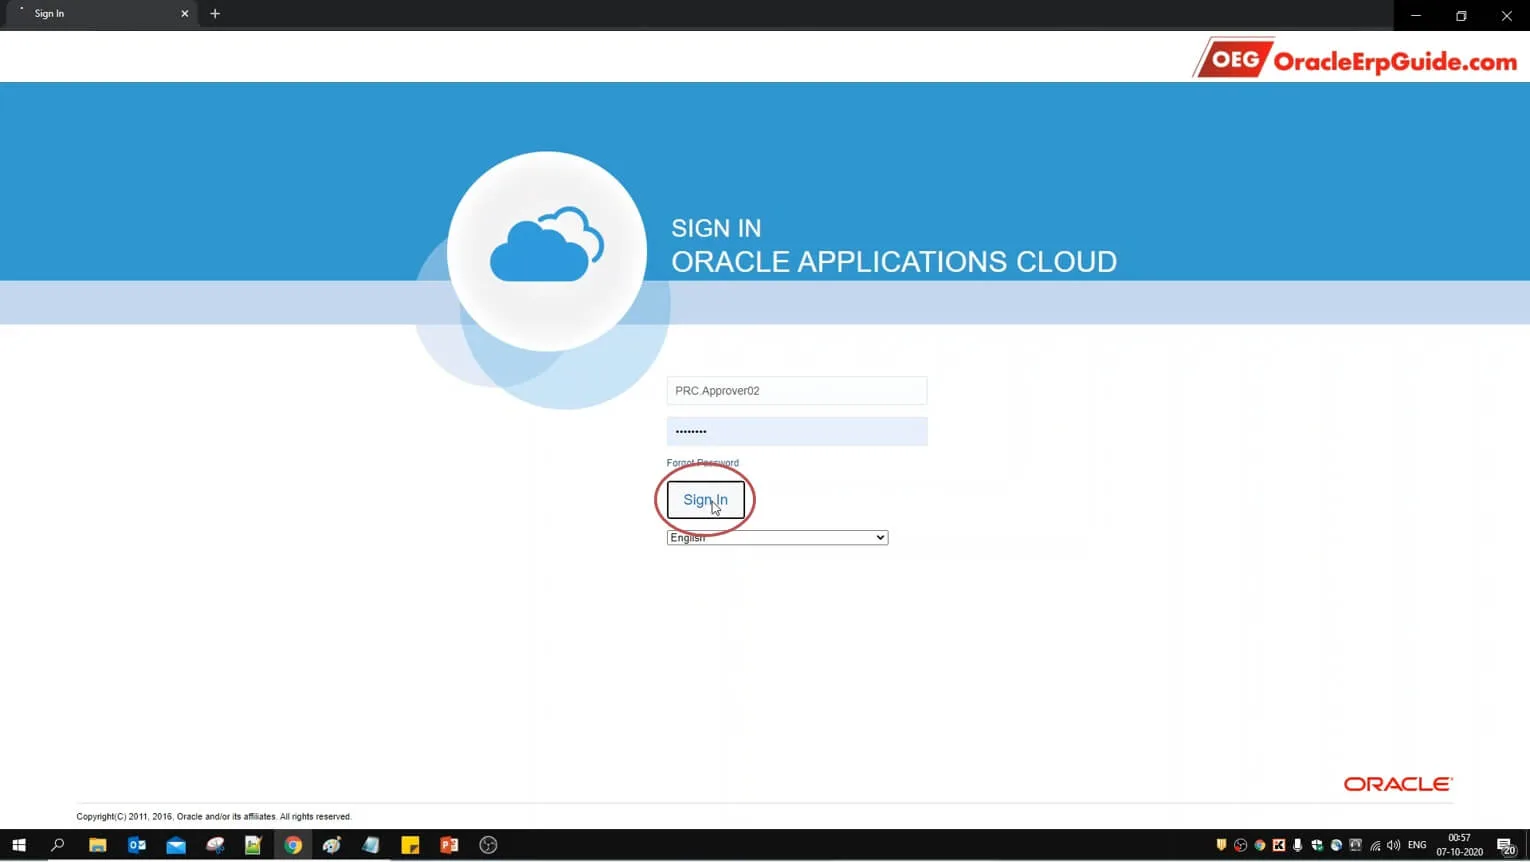
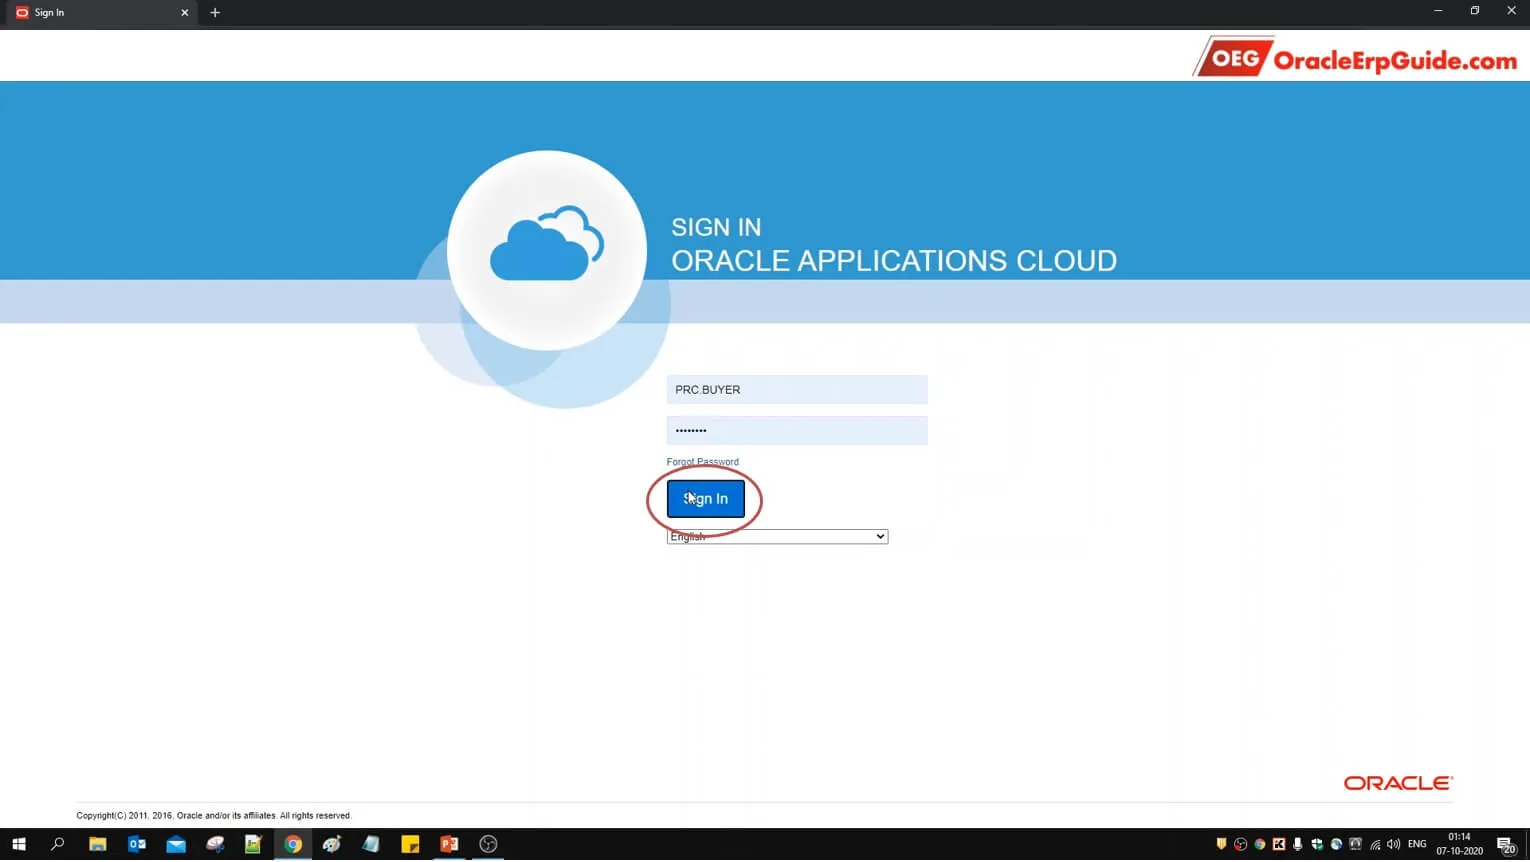
- Enter the login credentials of the user with roles to enter the Purchase Order (PO) and click "Sign In"
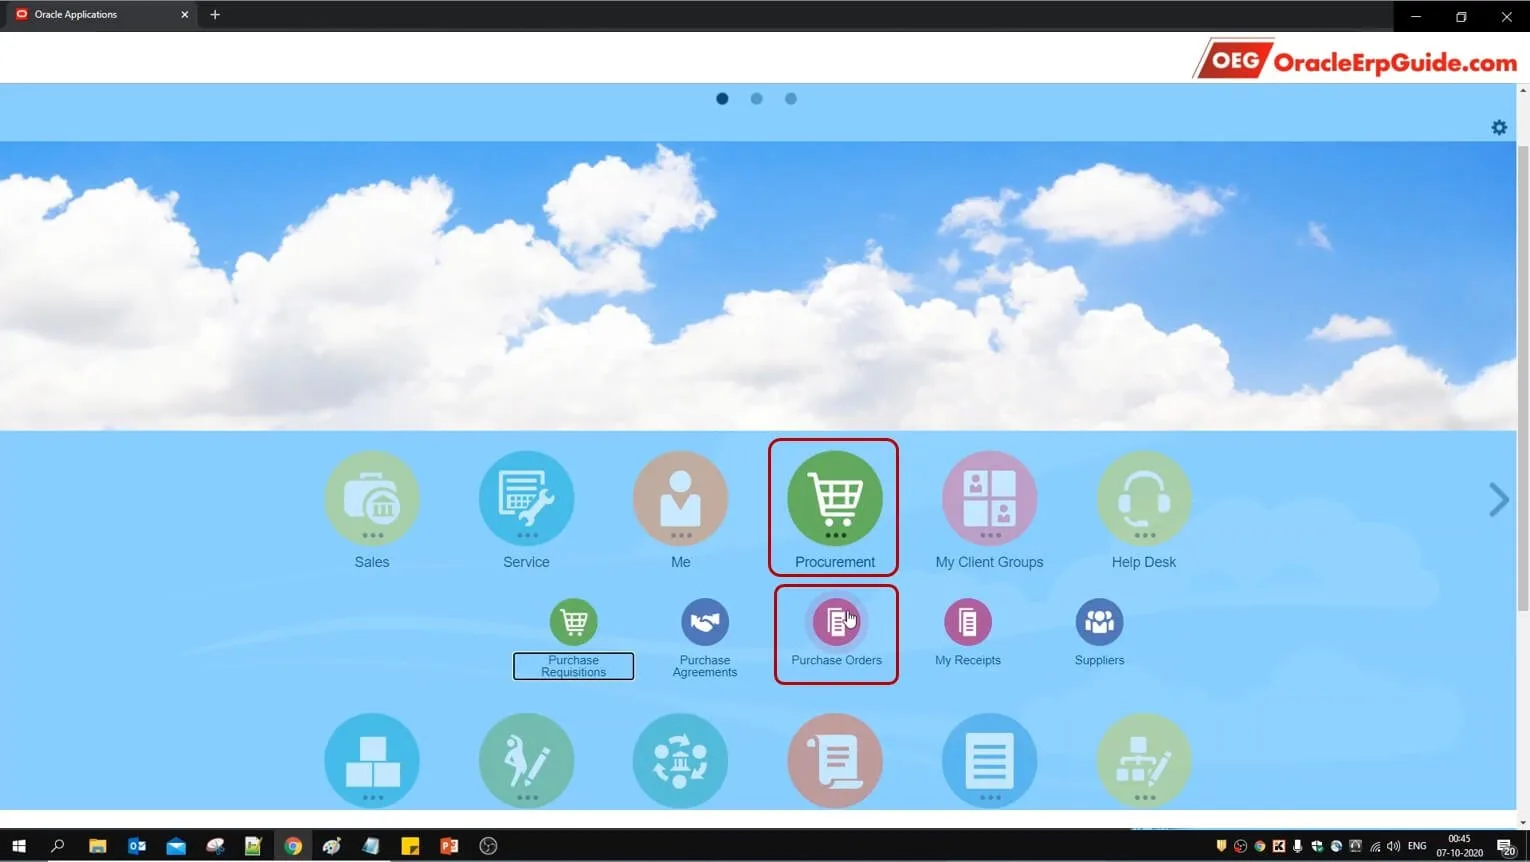
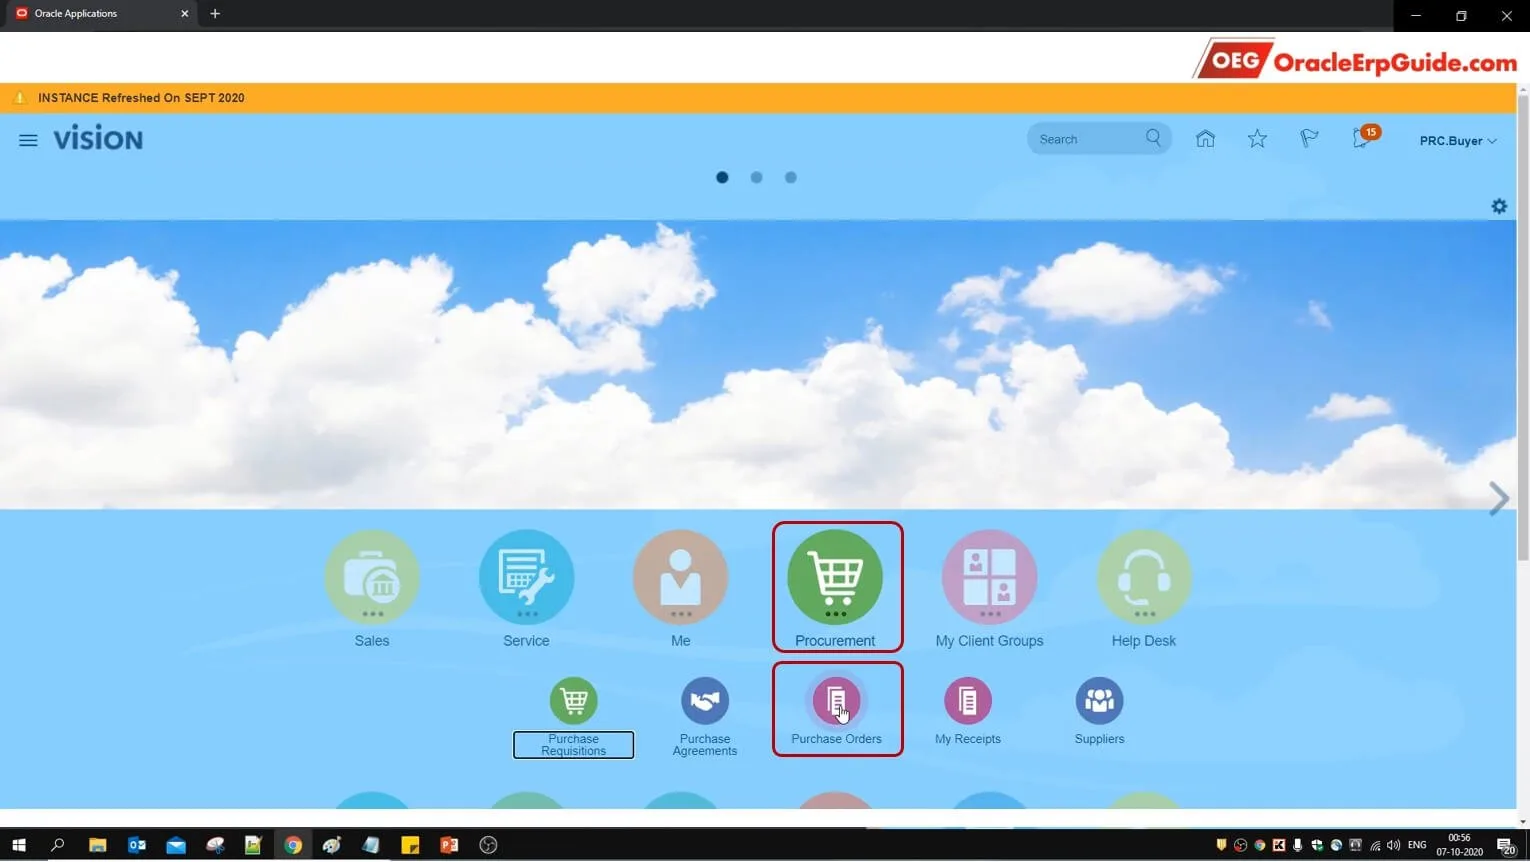
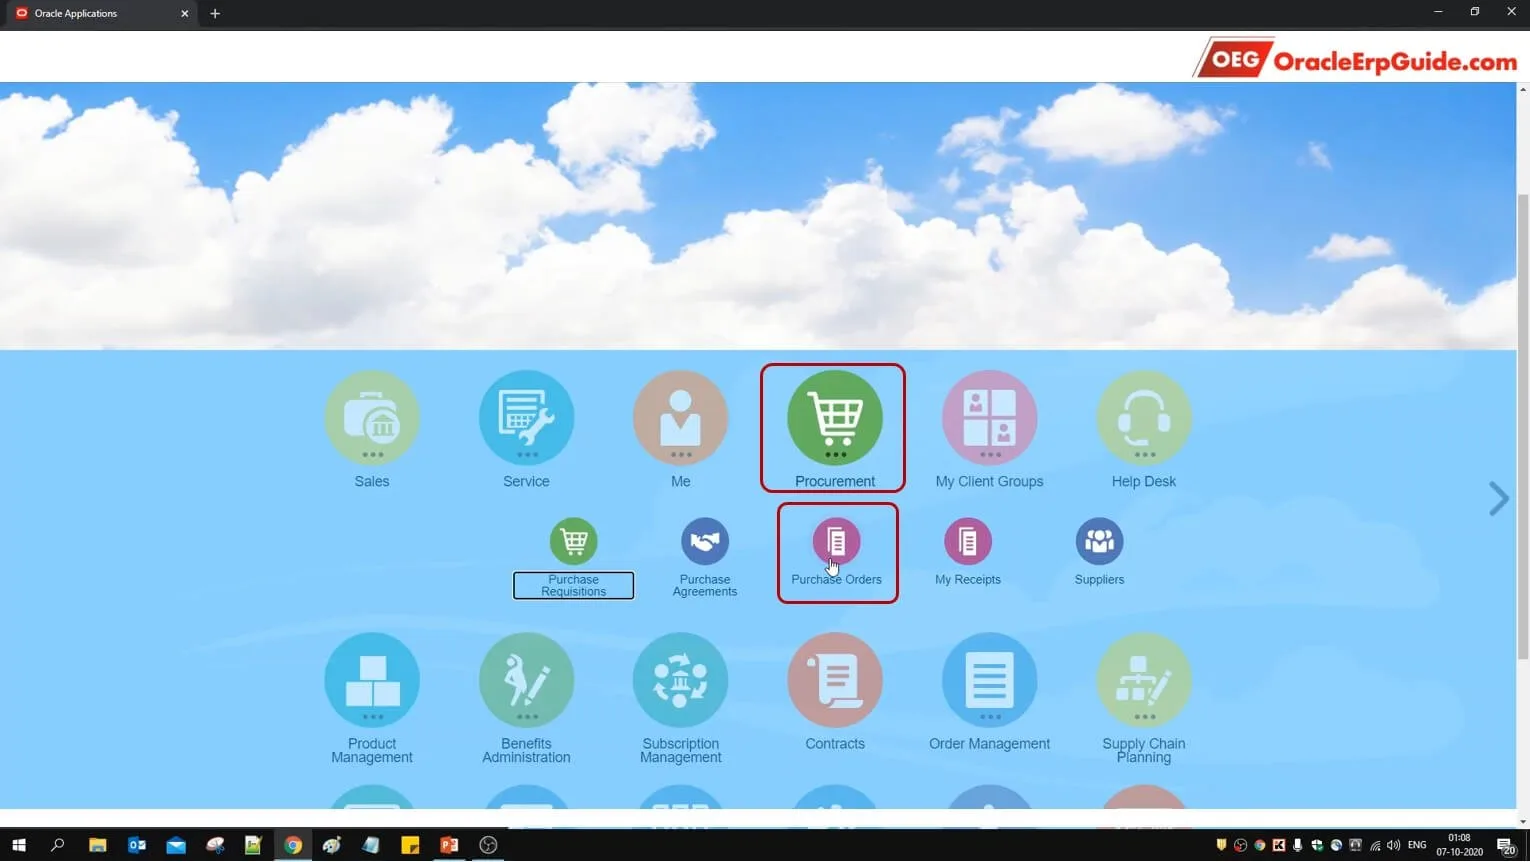
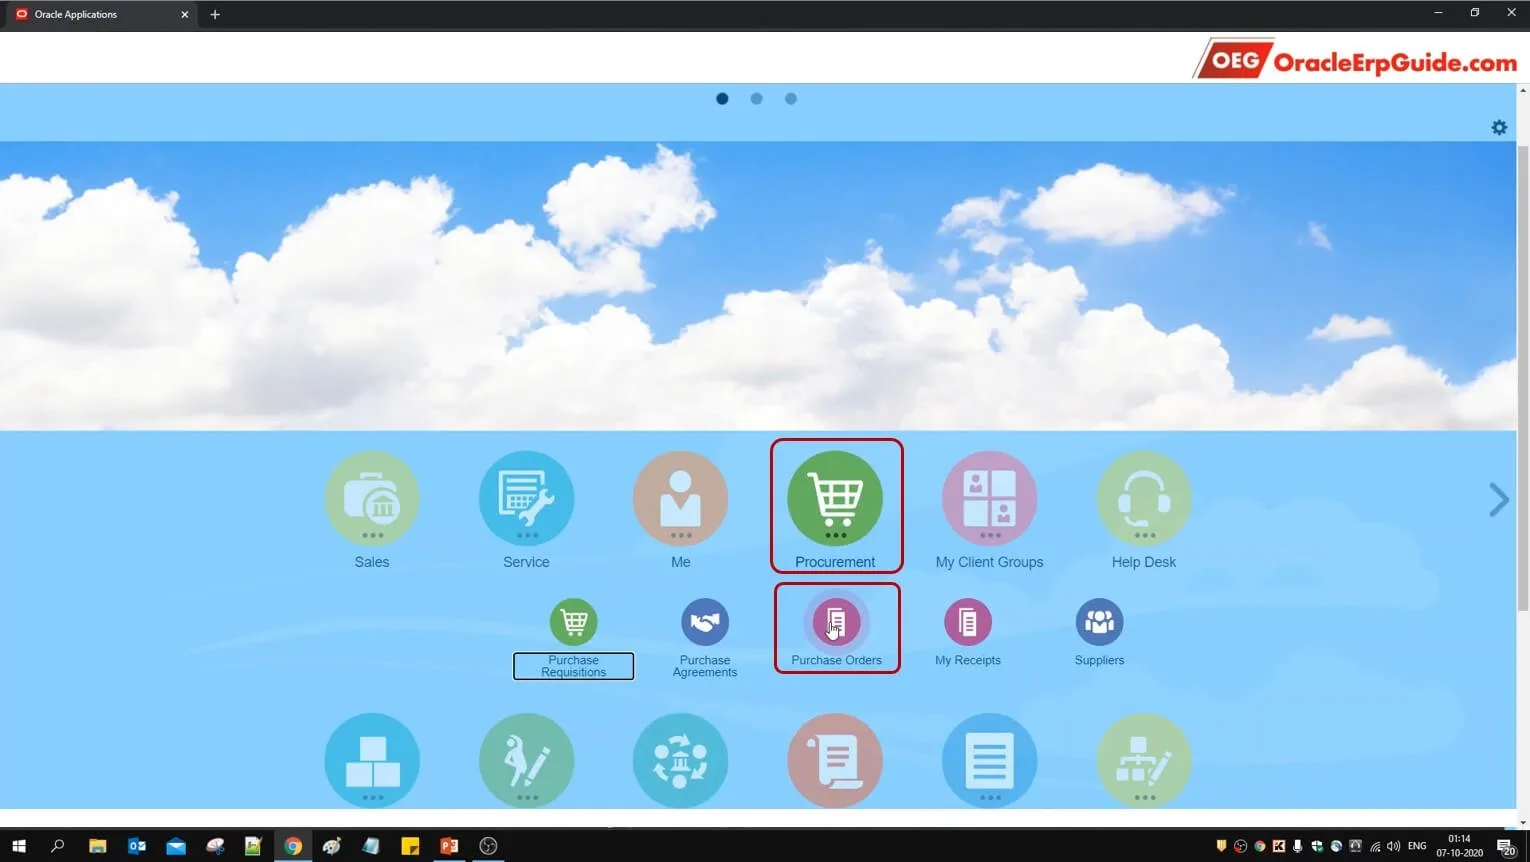
- From the Springboard, select Procurement > Purchase Orders. (Do this from the Navigator if it does not appear in the springboard.
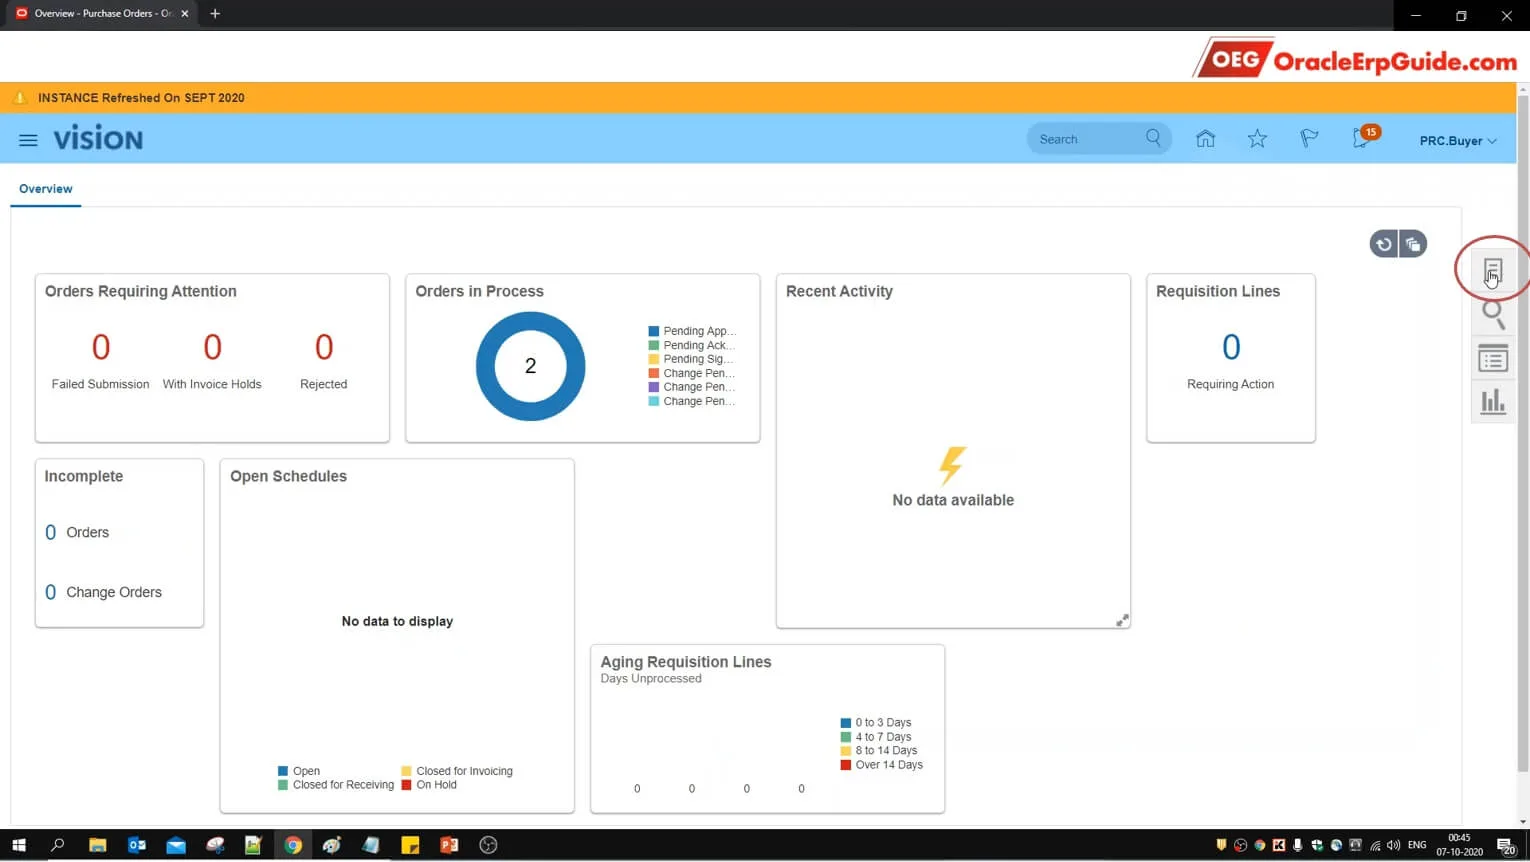
- Click on the "Tasks" pane
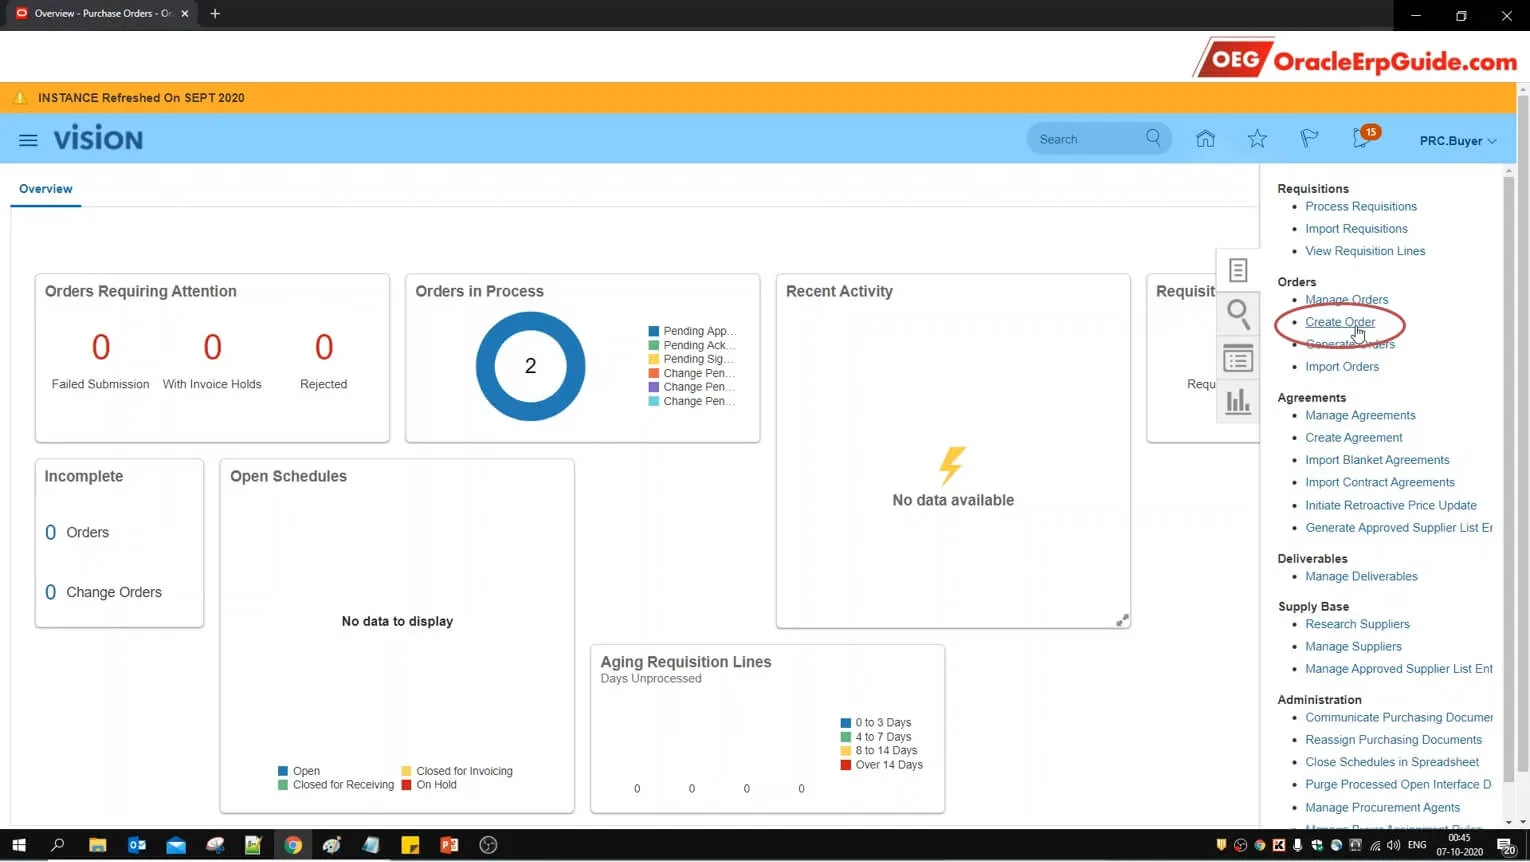
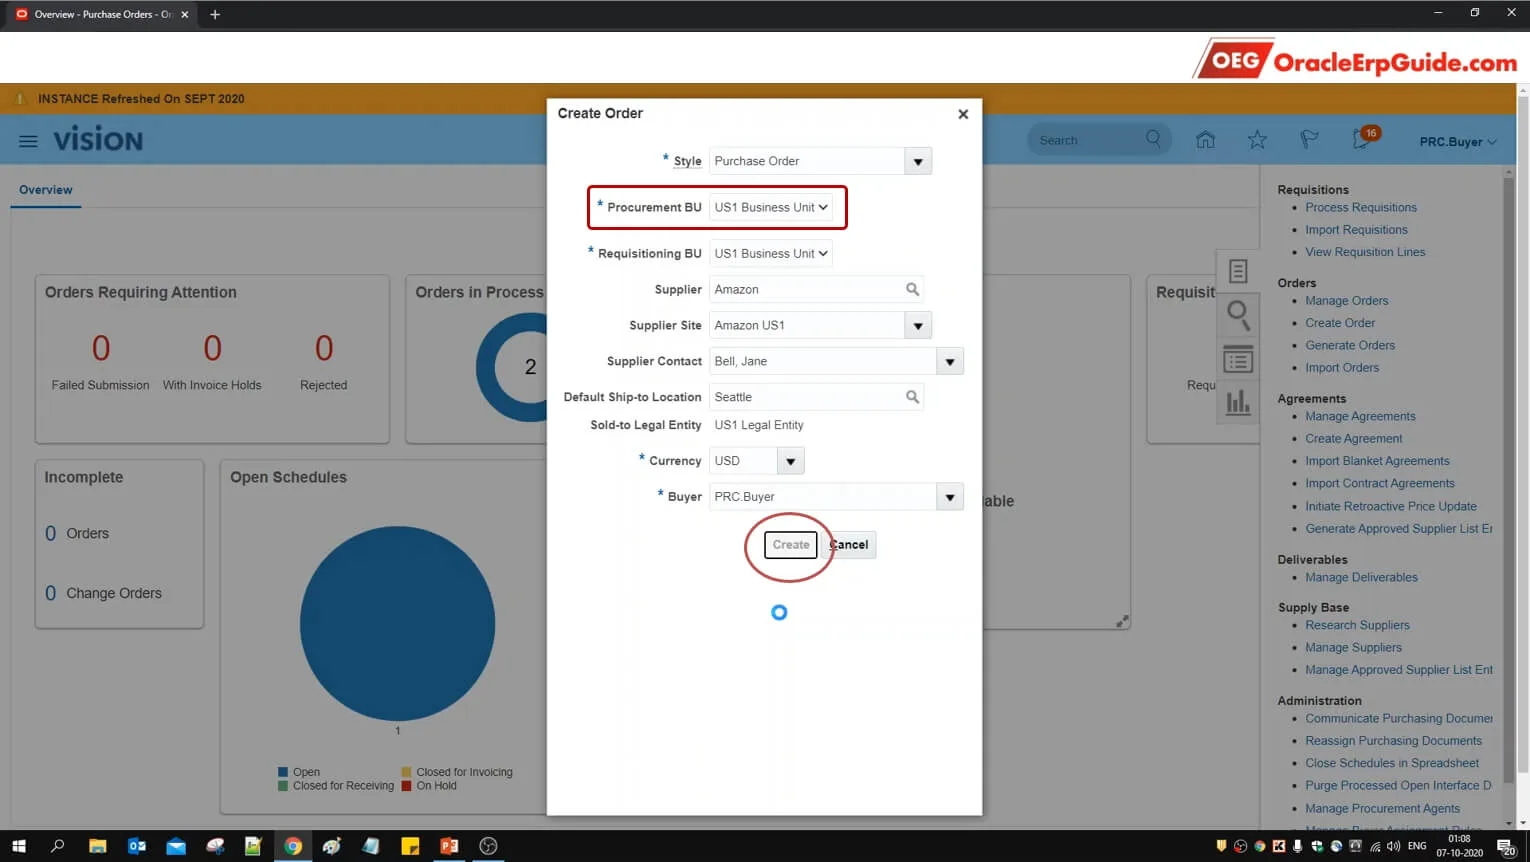
- Click "Create Order"
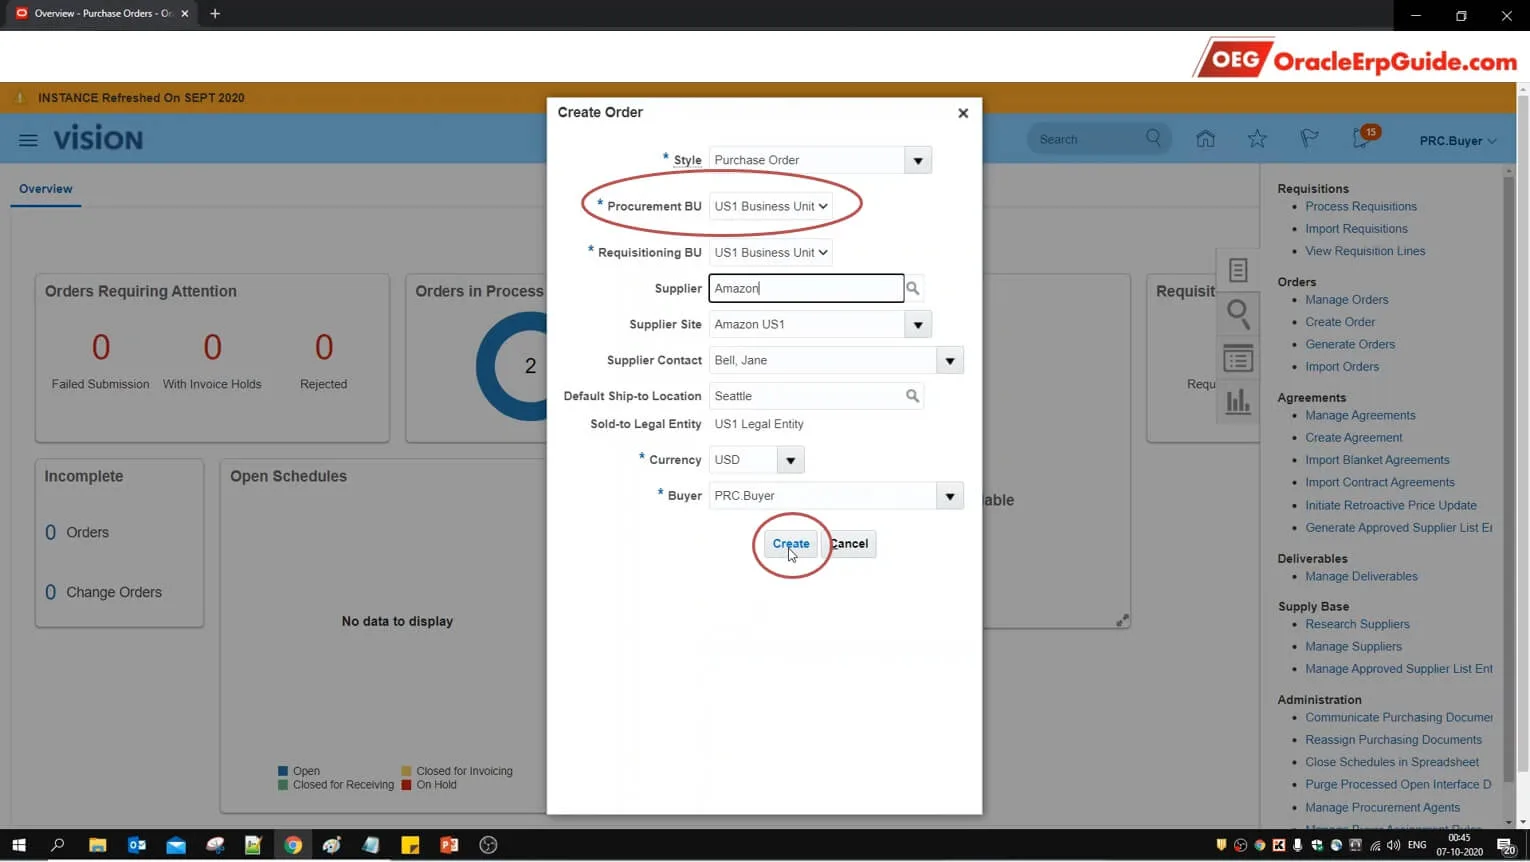
- Enter the Purchase Order details. Note that the Procurement BU is set as "US1 Business Unit" and click "Create"
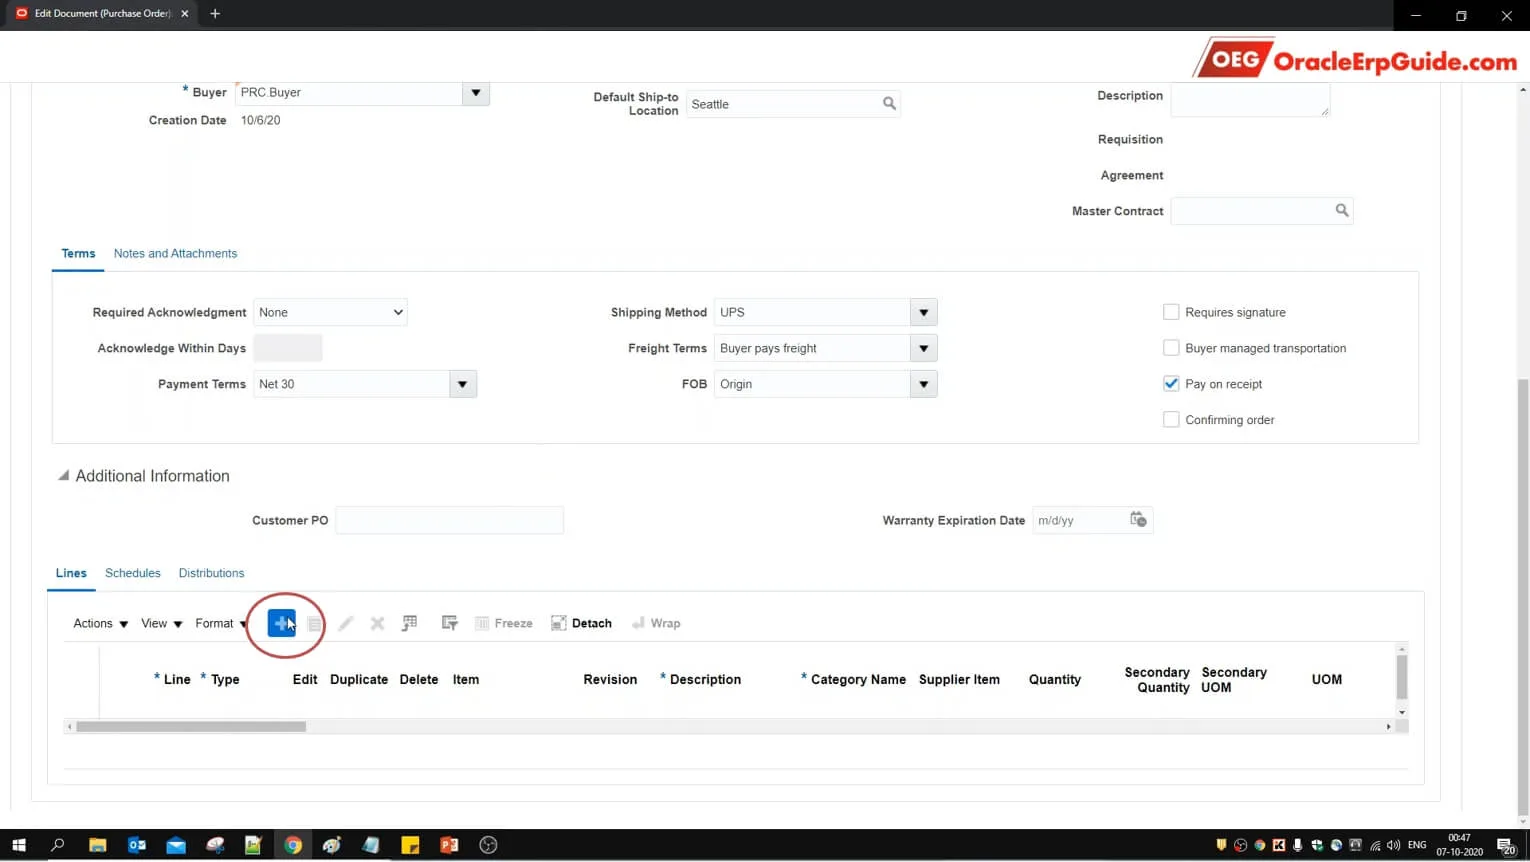
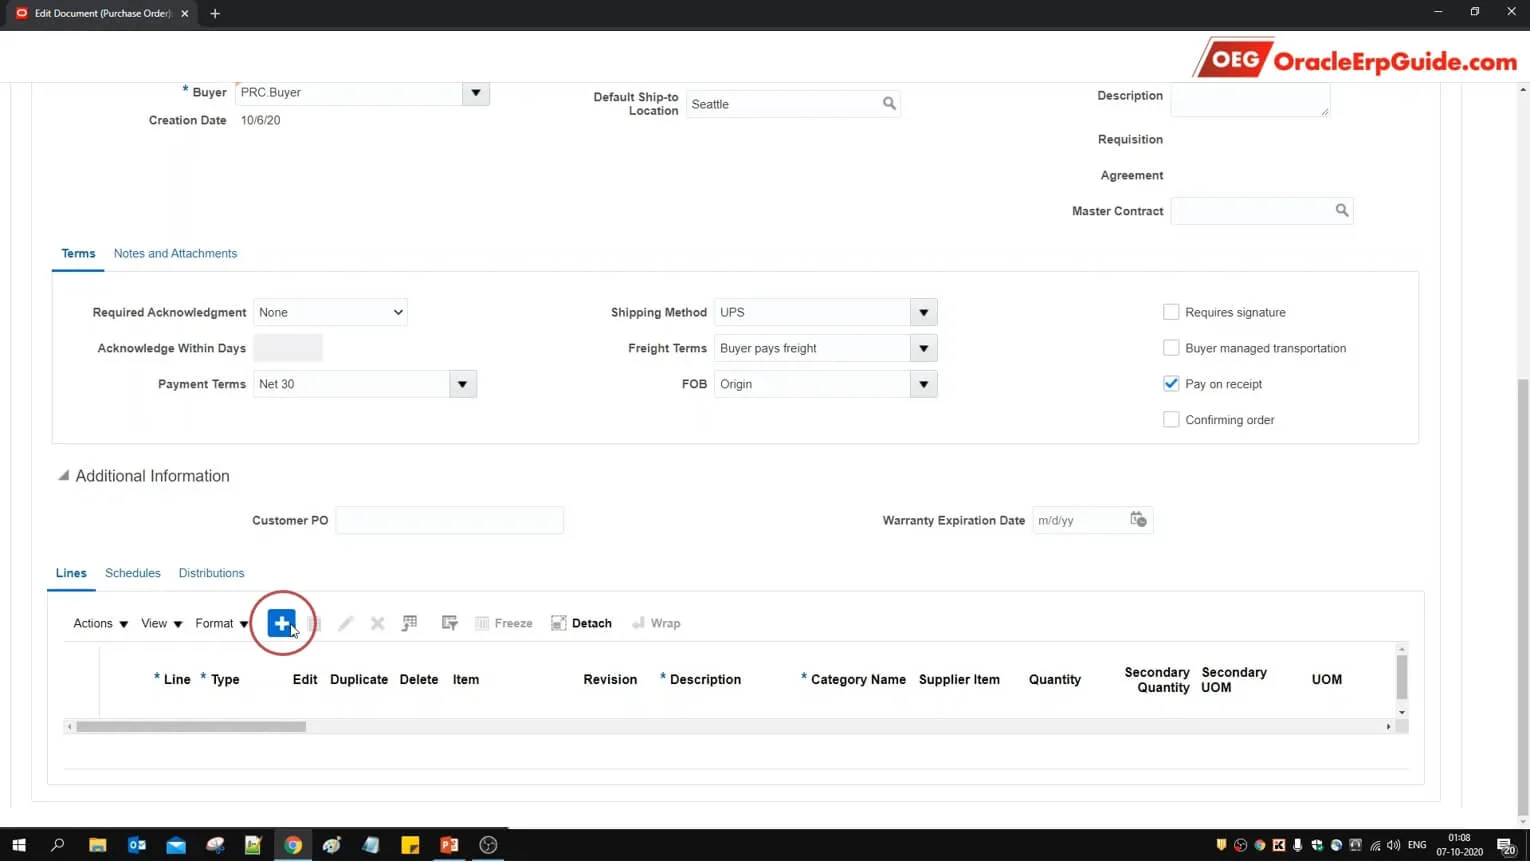
- Click + to enter the PO lines

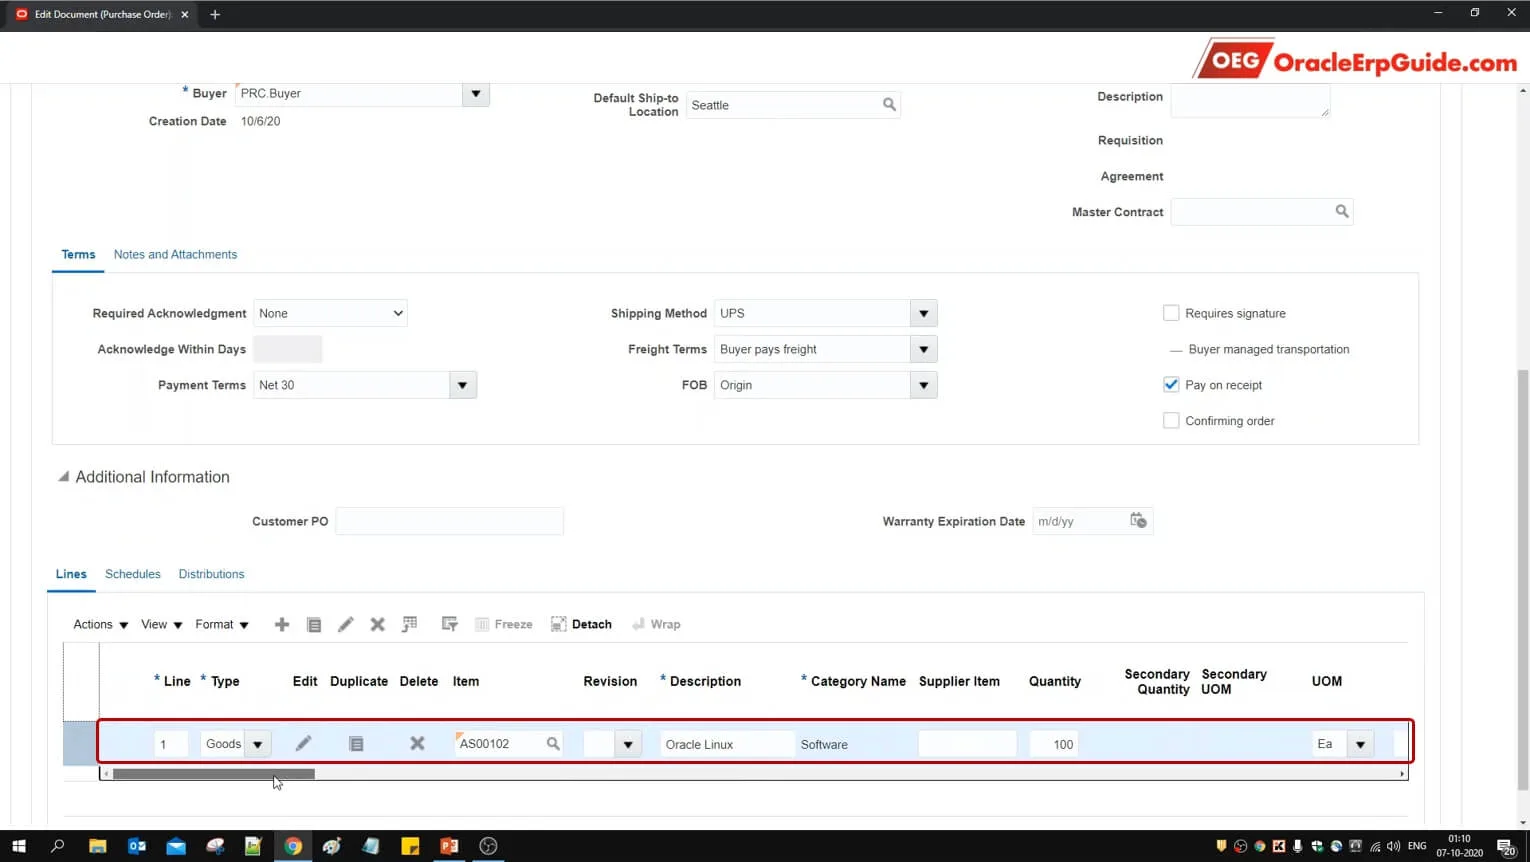
- Enter the details for the PO lines
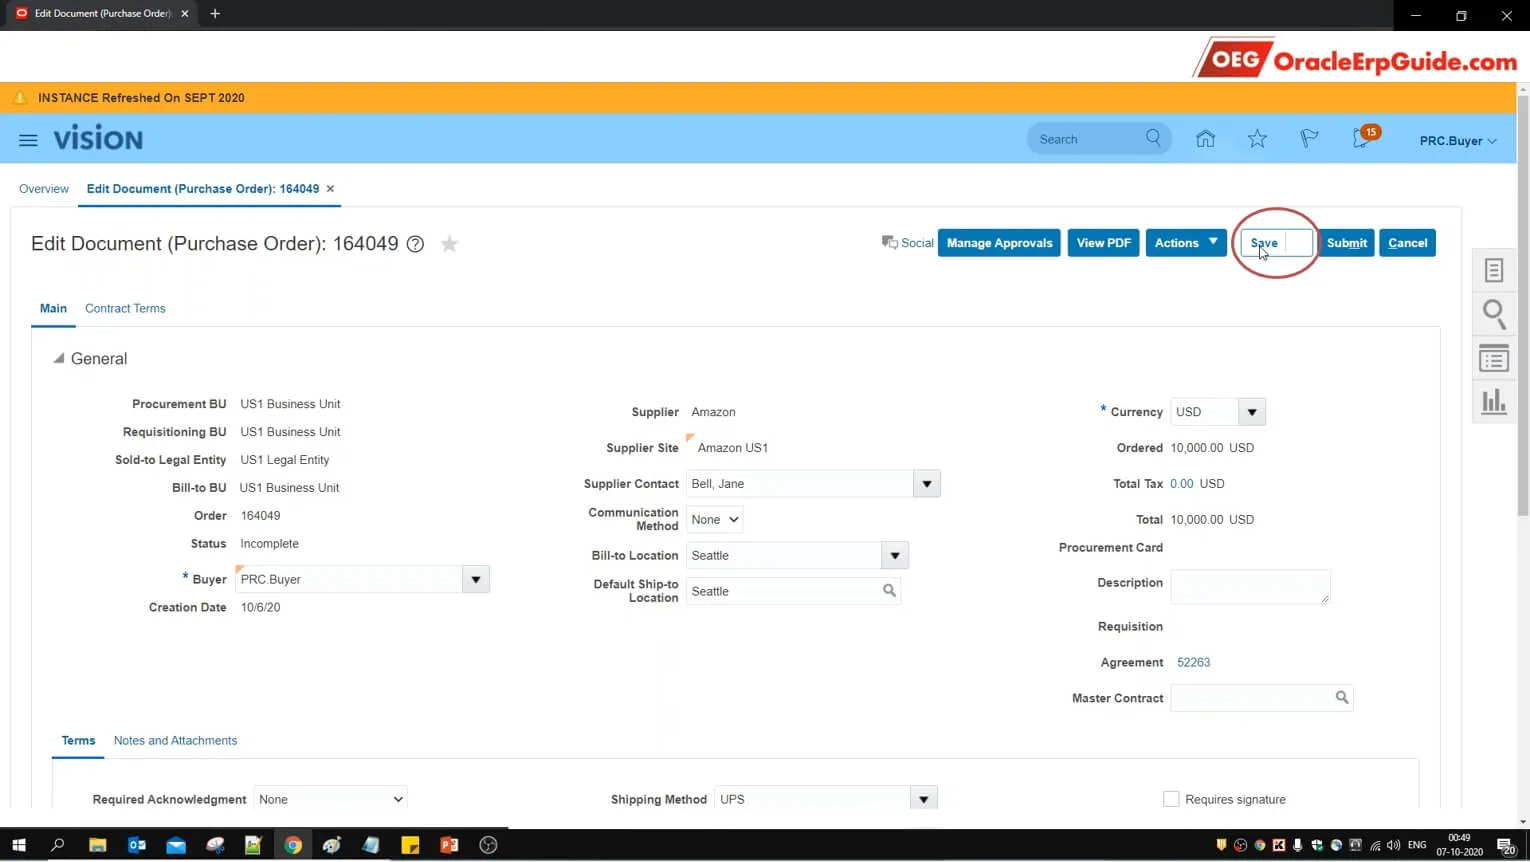
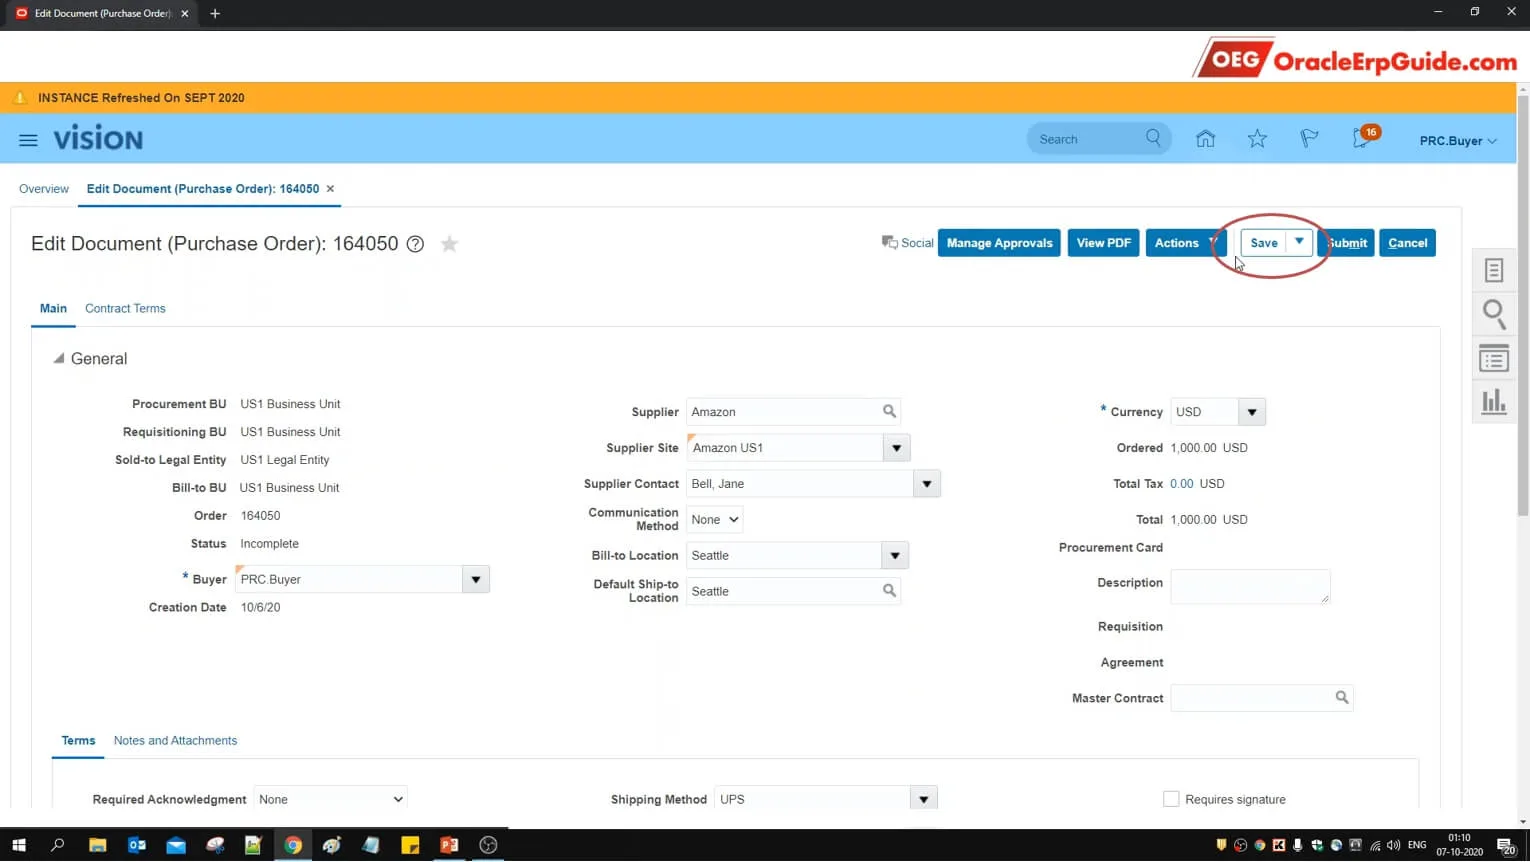
- Click "Save"
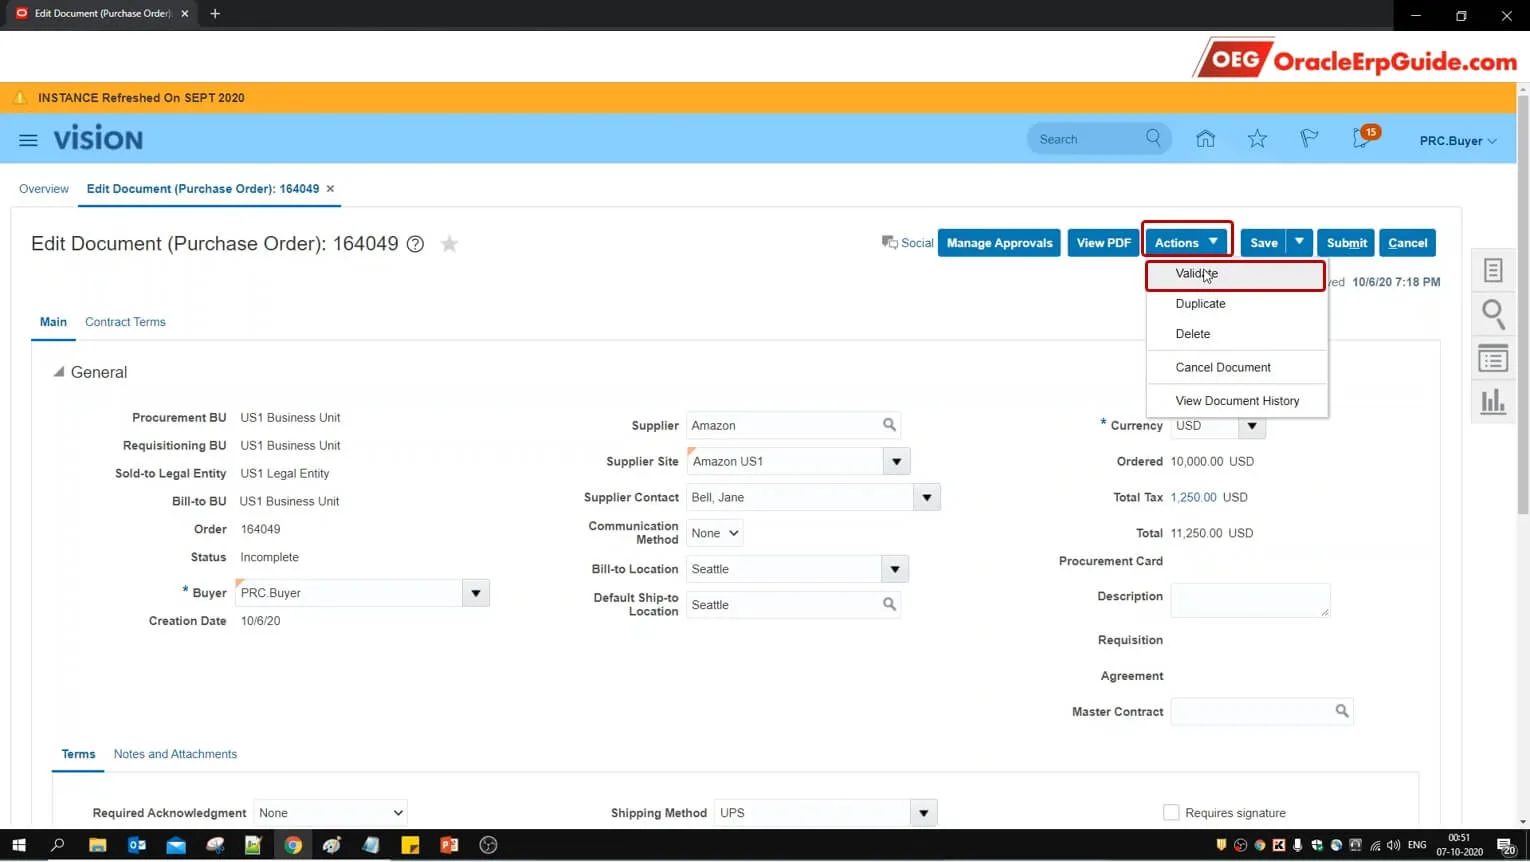
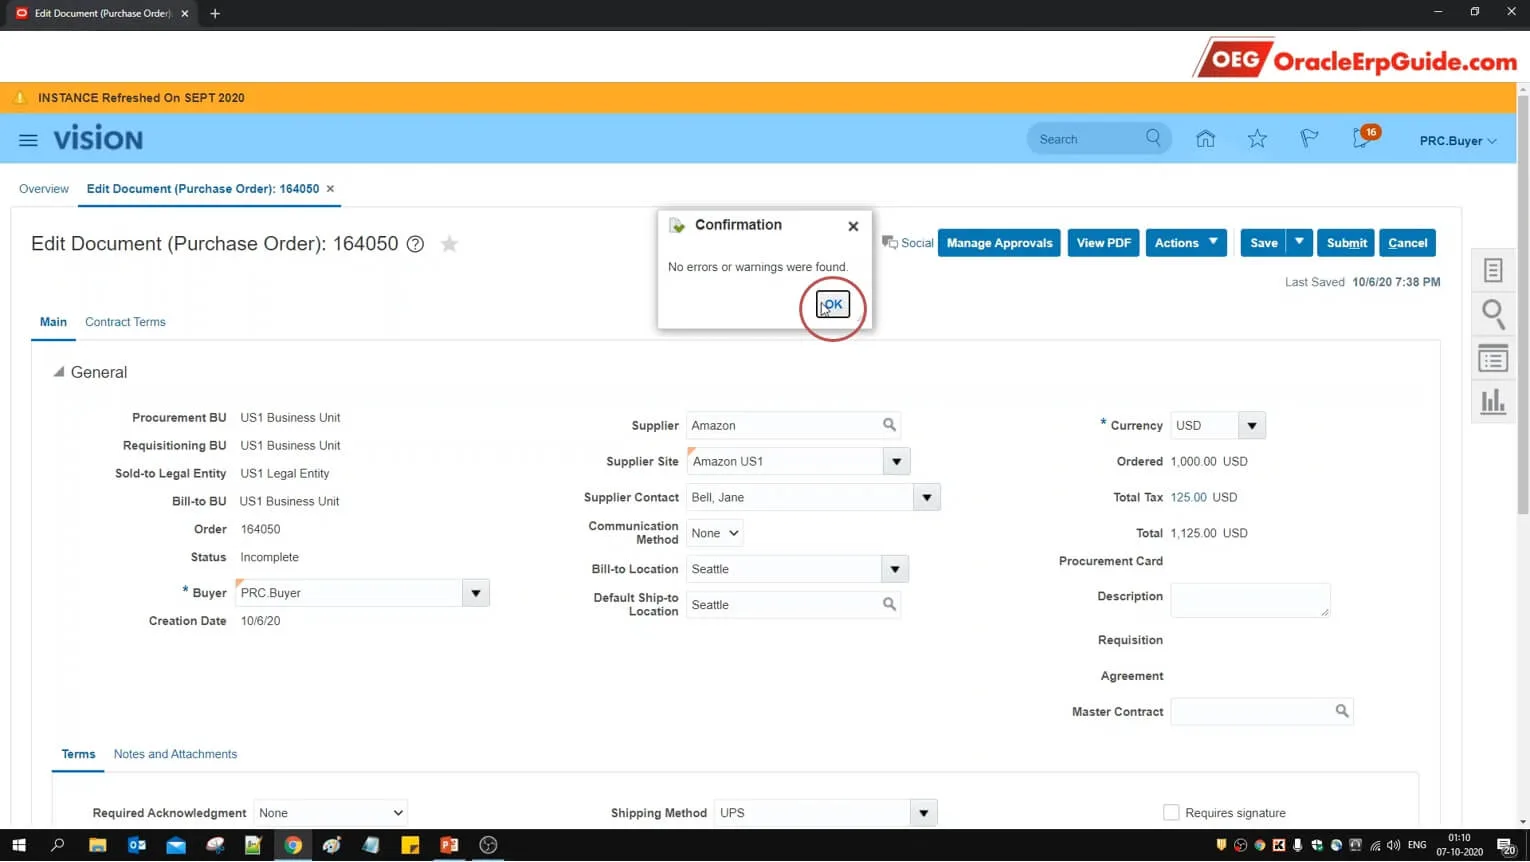
- From Actions click "Validate"
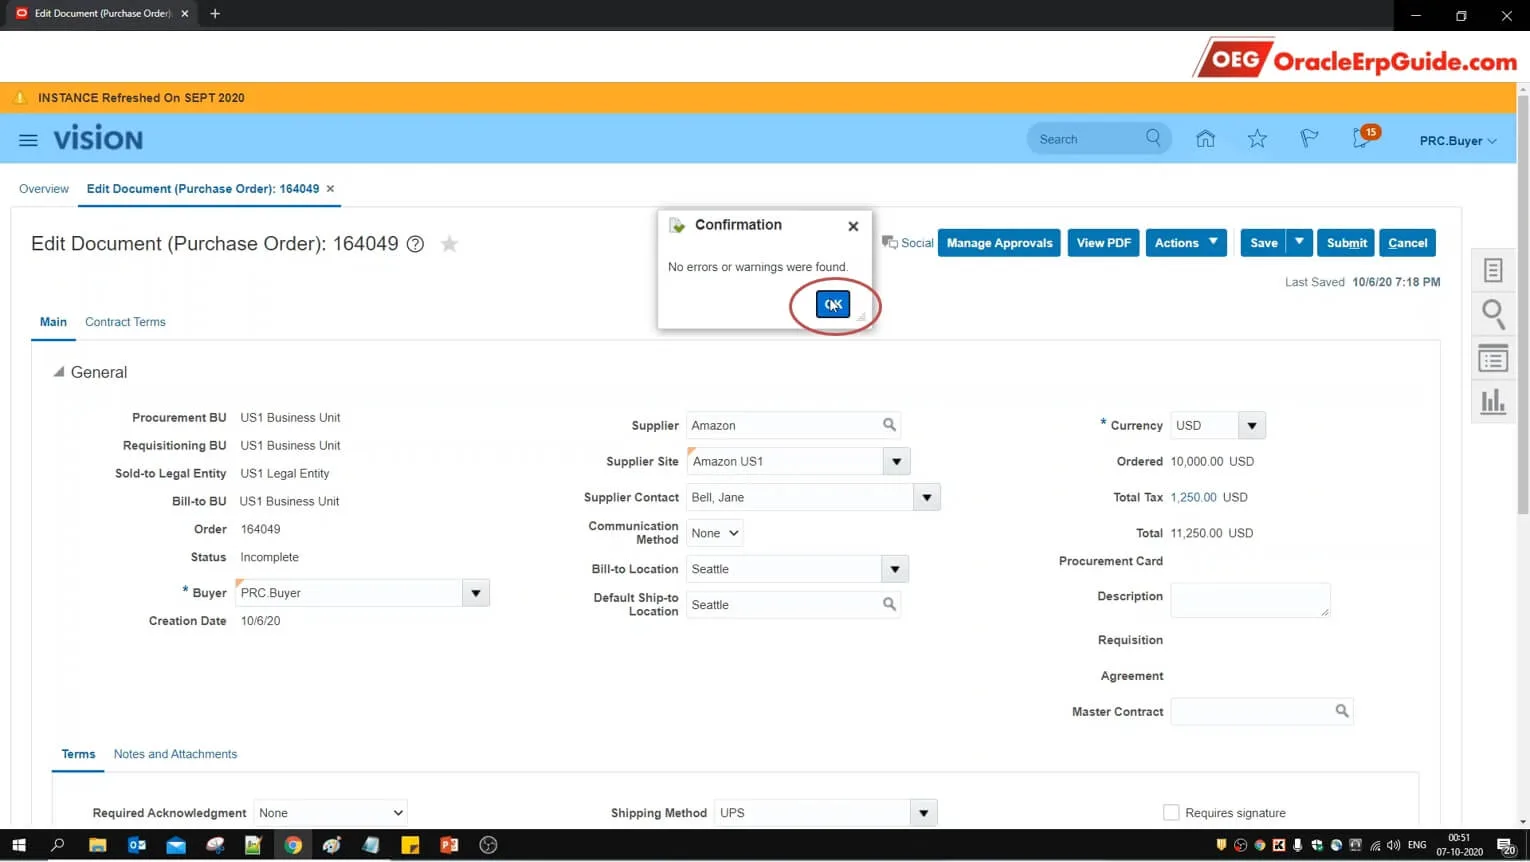
- Click OK

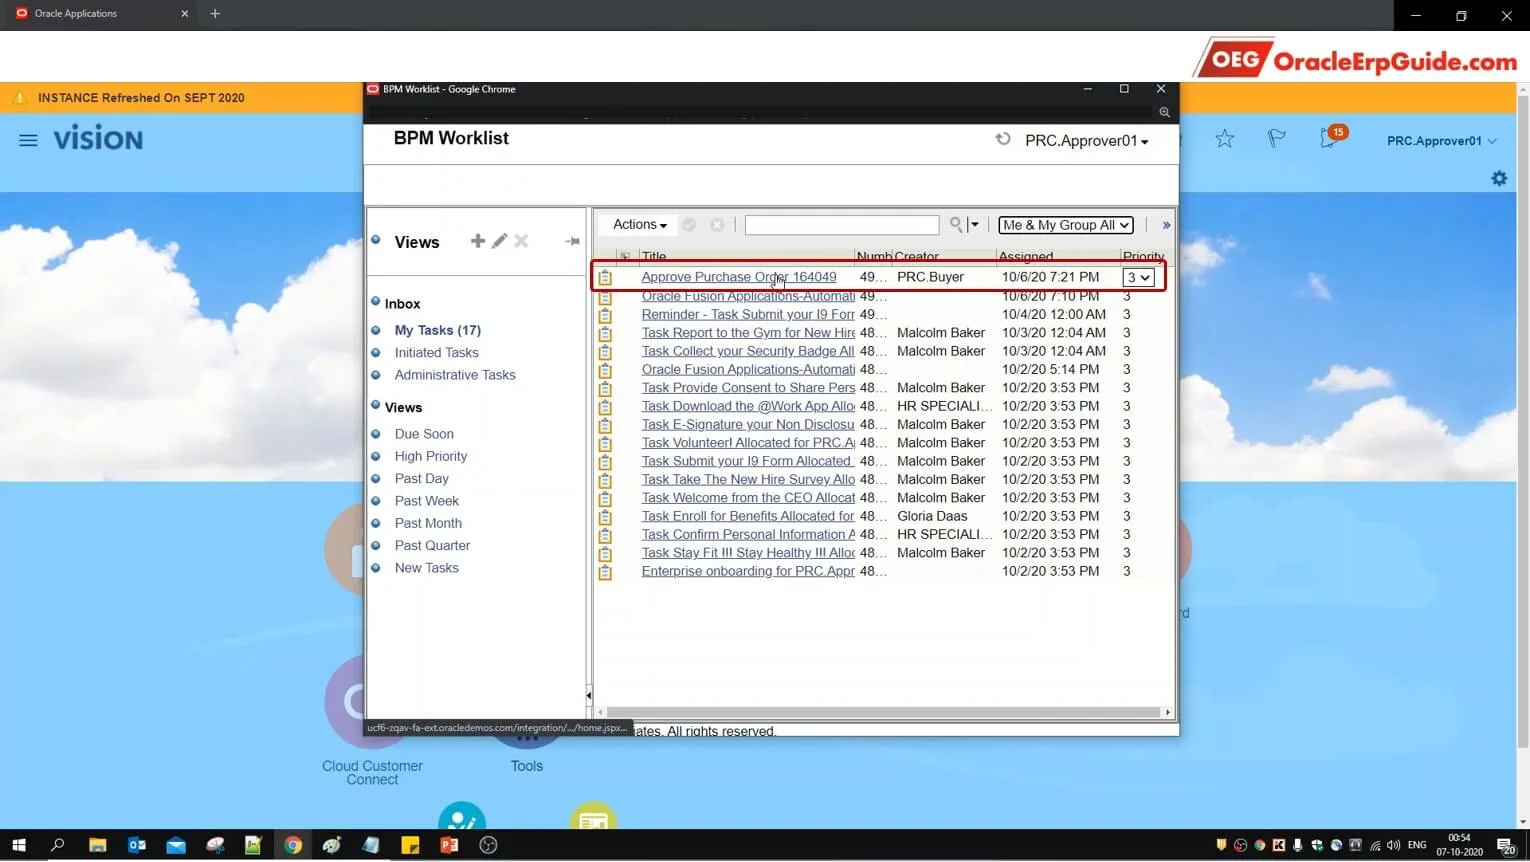
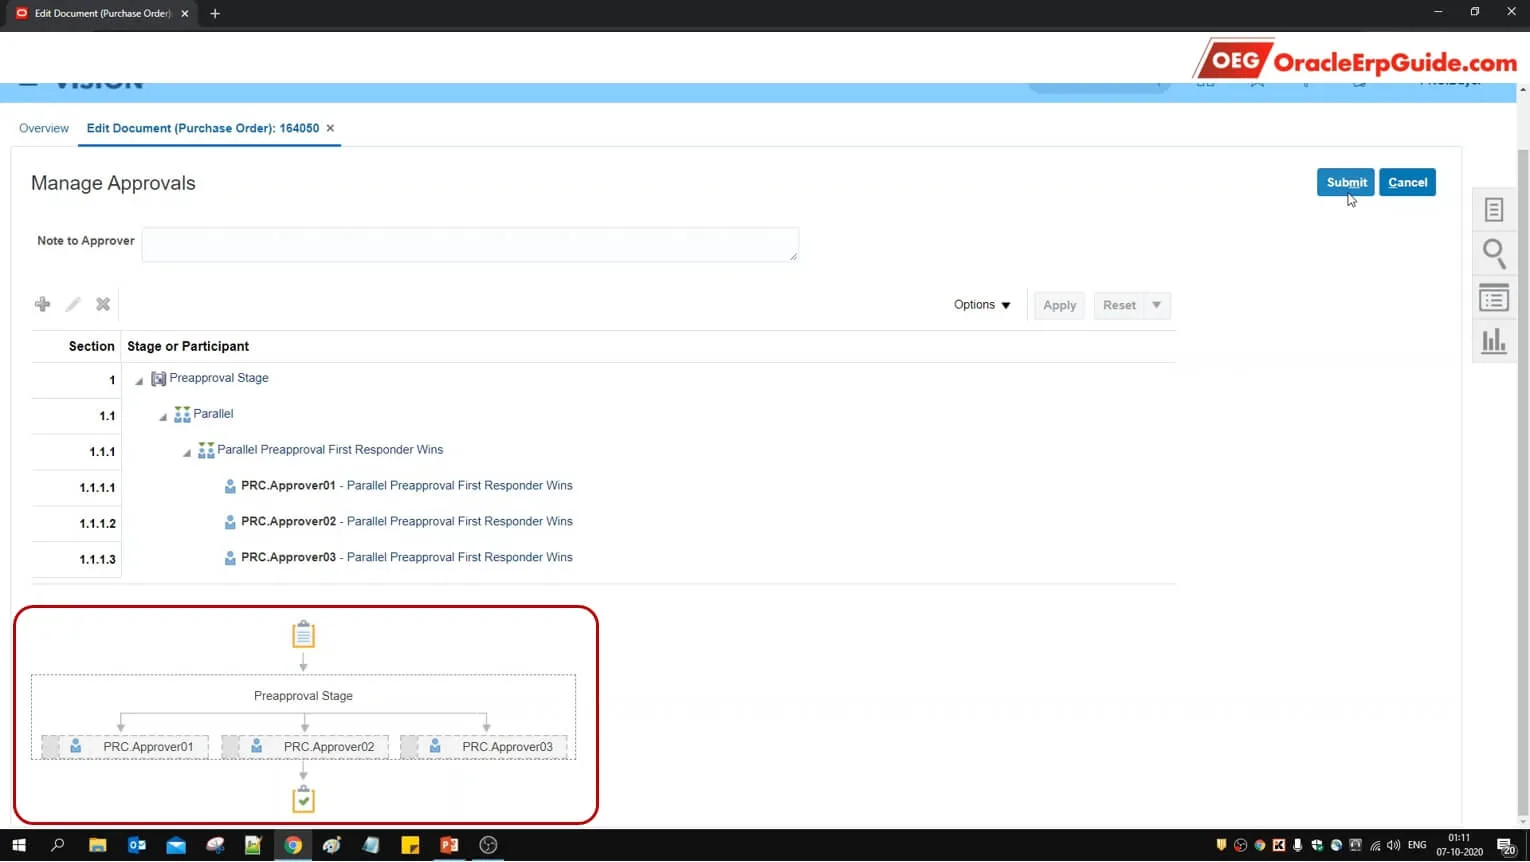
- Click on "Manage Approvals" to see the approval routing
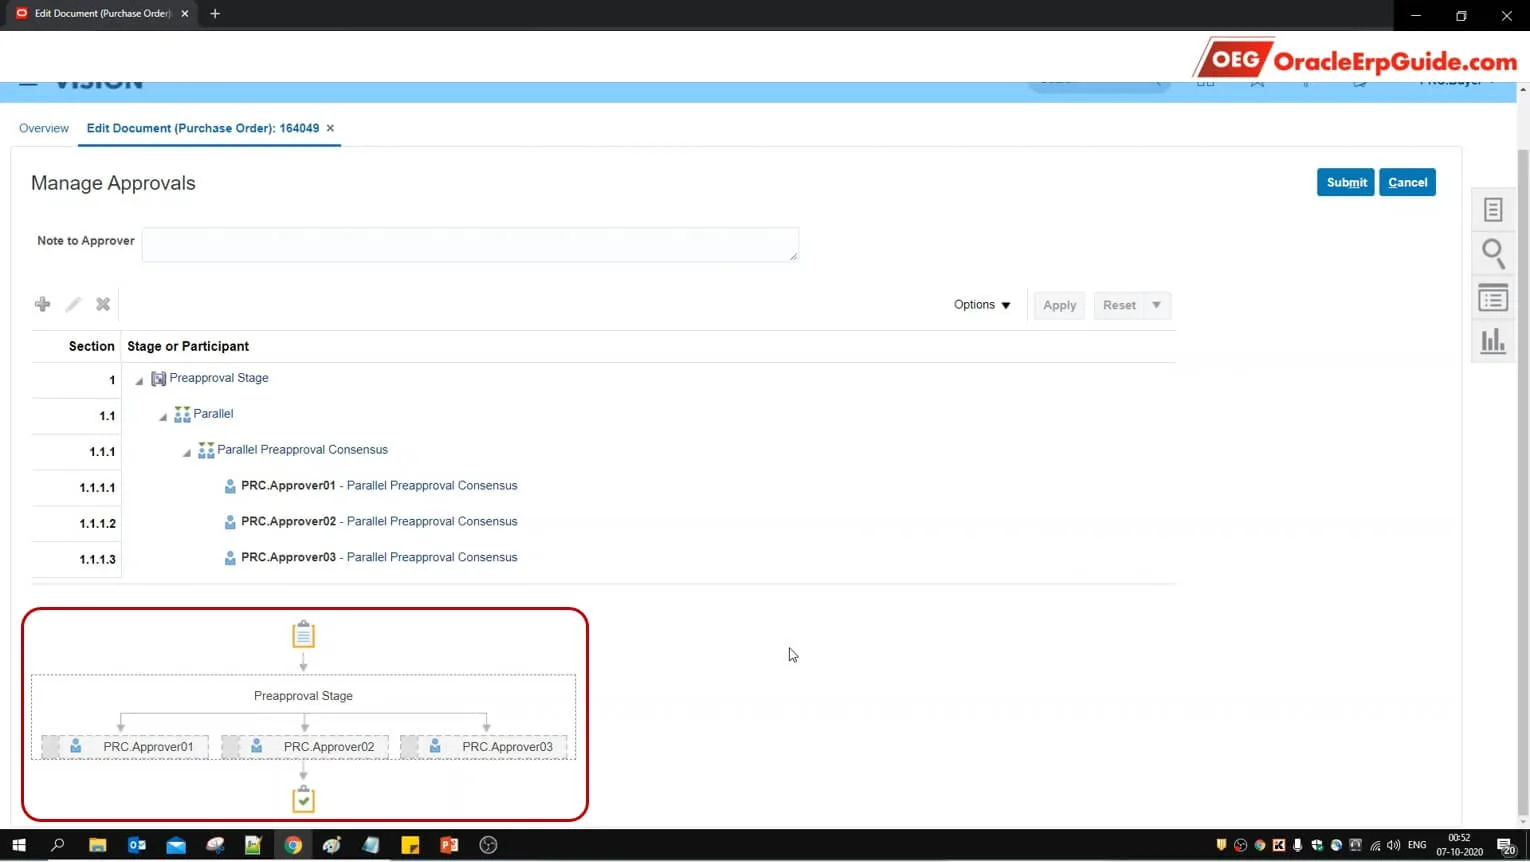
See that the approval will be routed to 3 approvers simultaneously
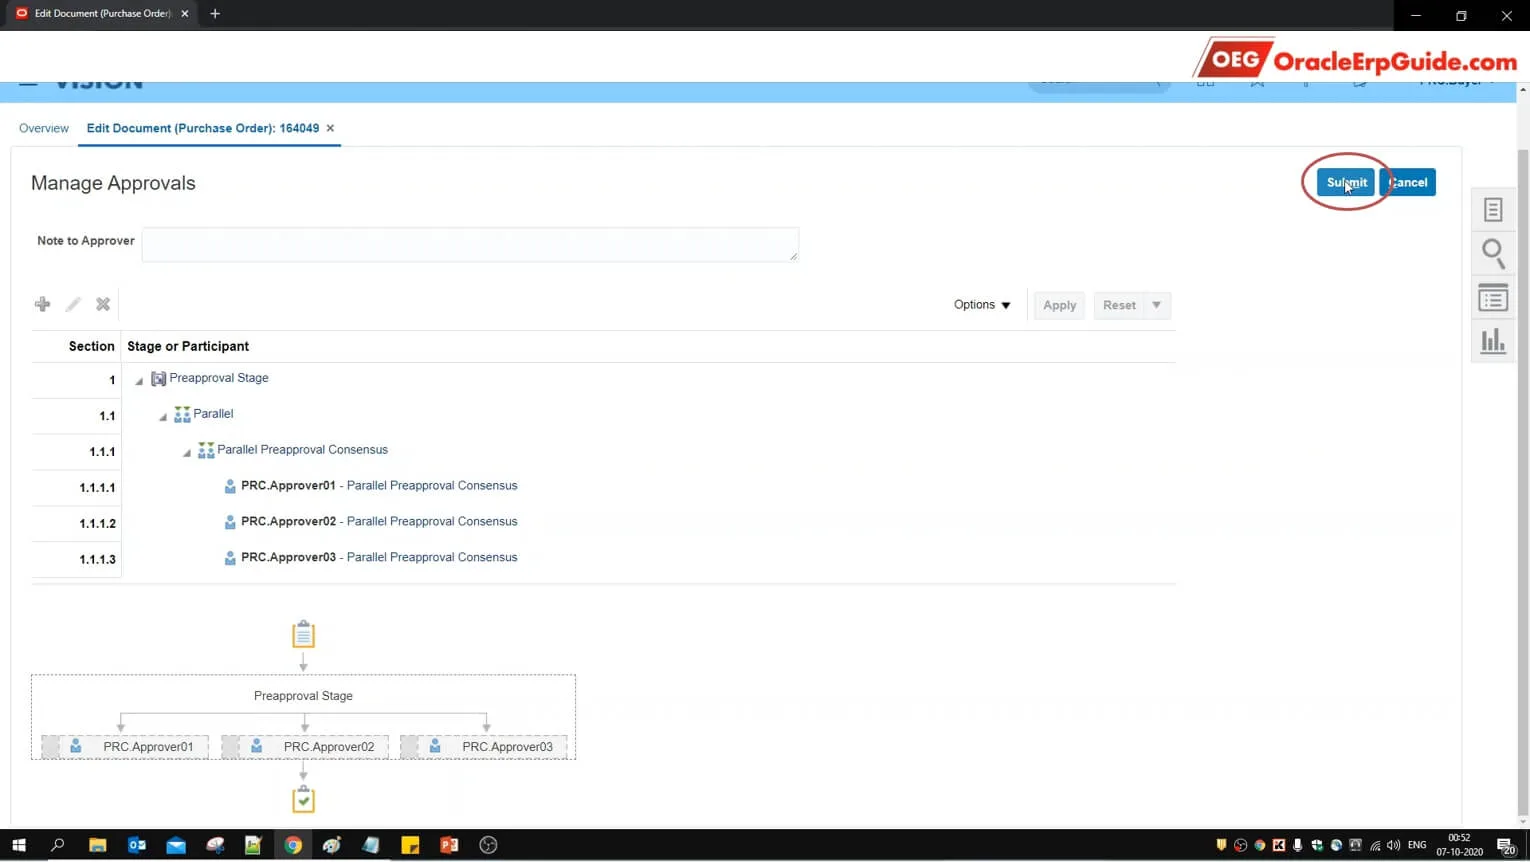
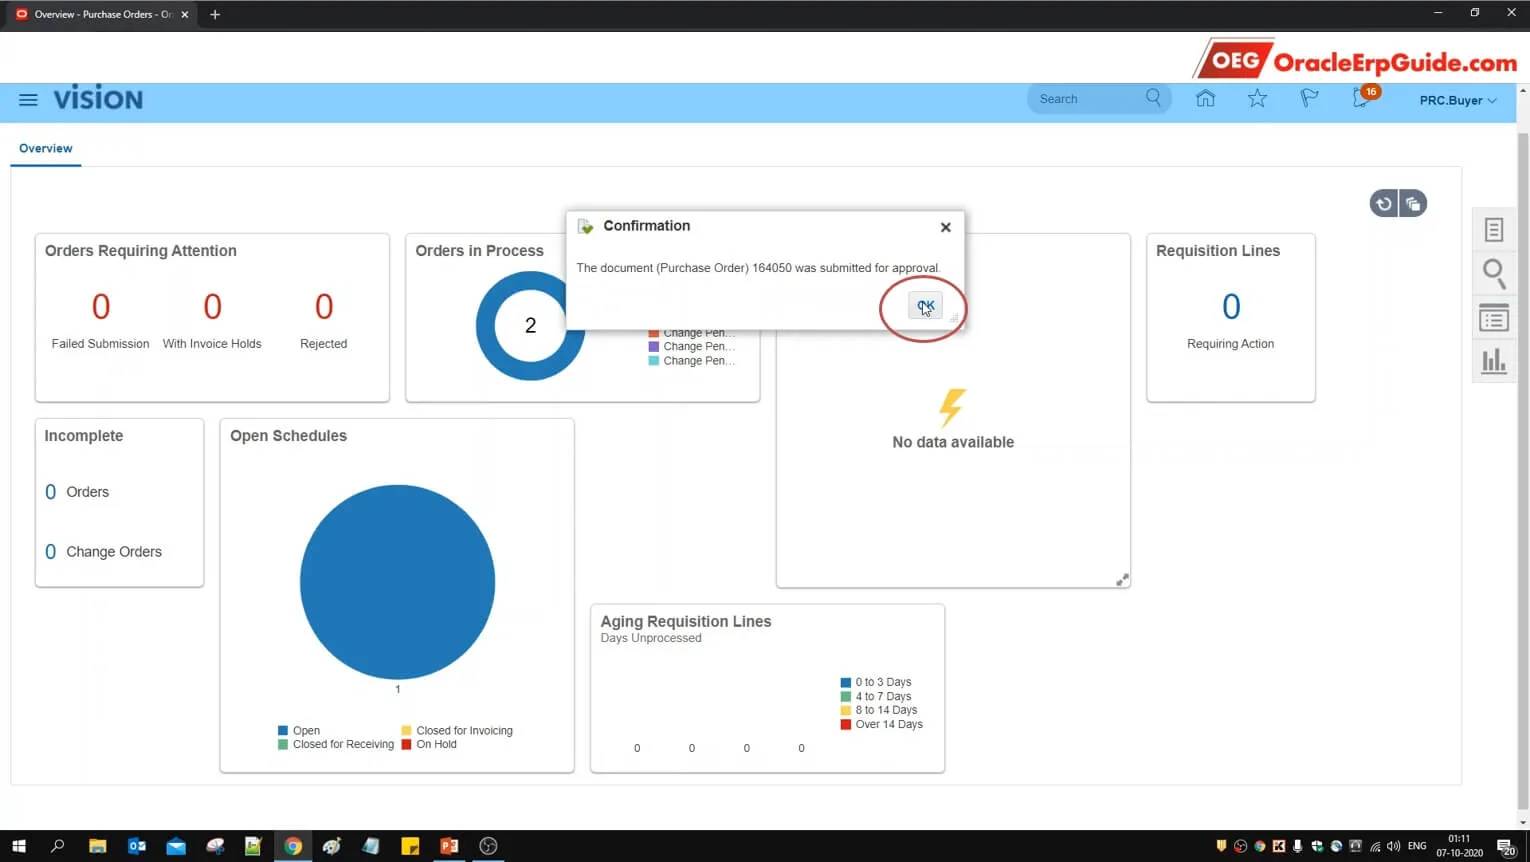
- Click "Submit" to submit the PO for approval
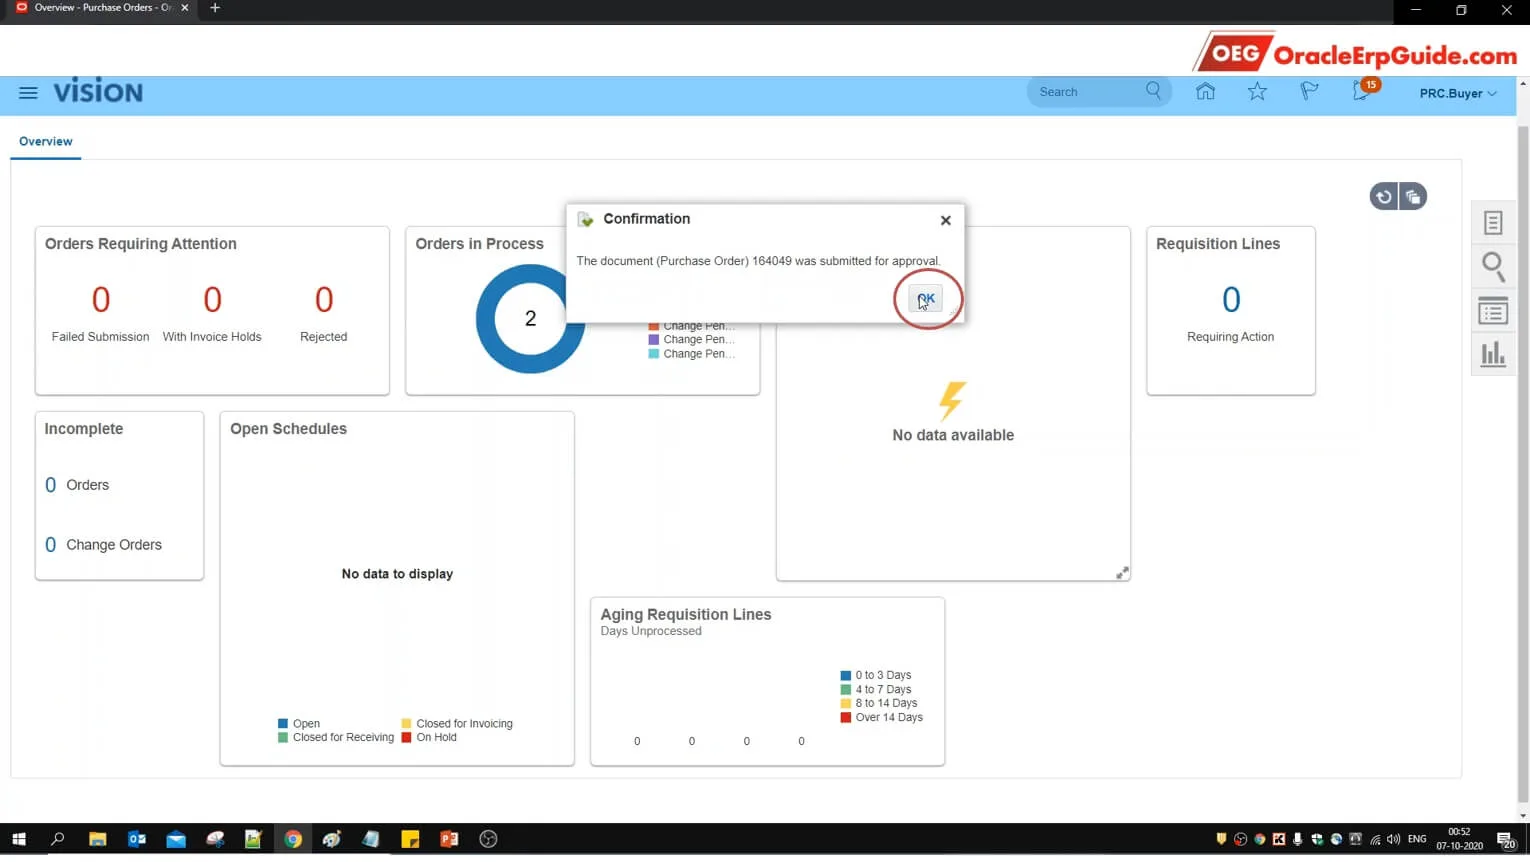
- Note the Purchase Order number and click OK
- We need to login to the accounts of the approvers to test this functionality. Click on the credentials from the OEG portal
- Click "Confirm"
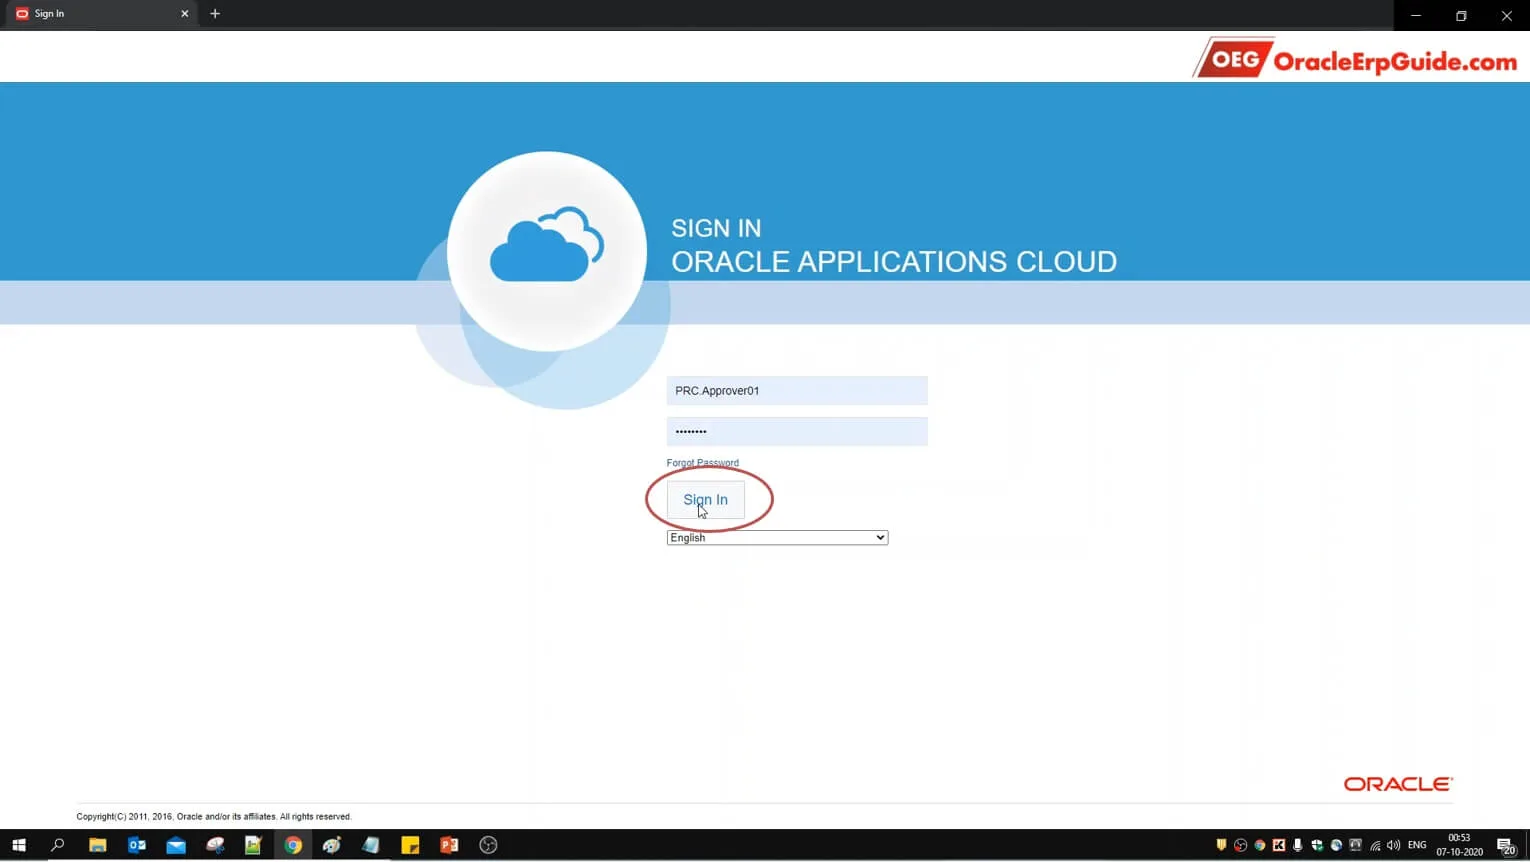
- Enter the credentials of the approver and click "Sign In"
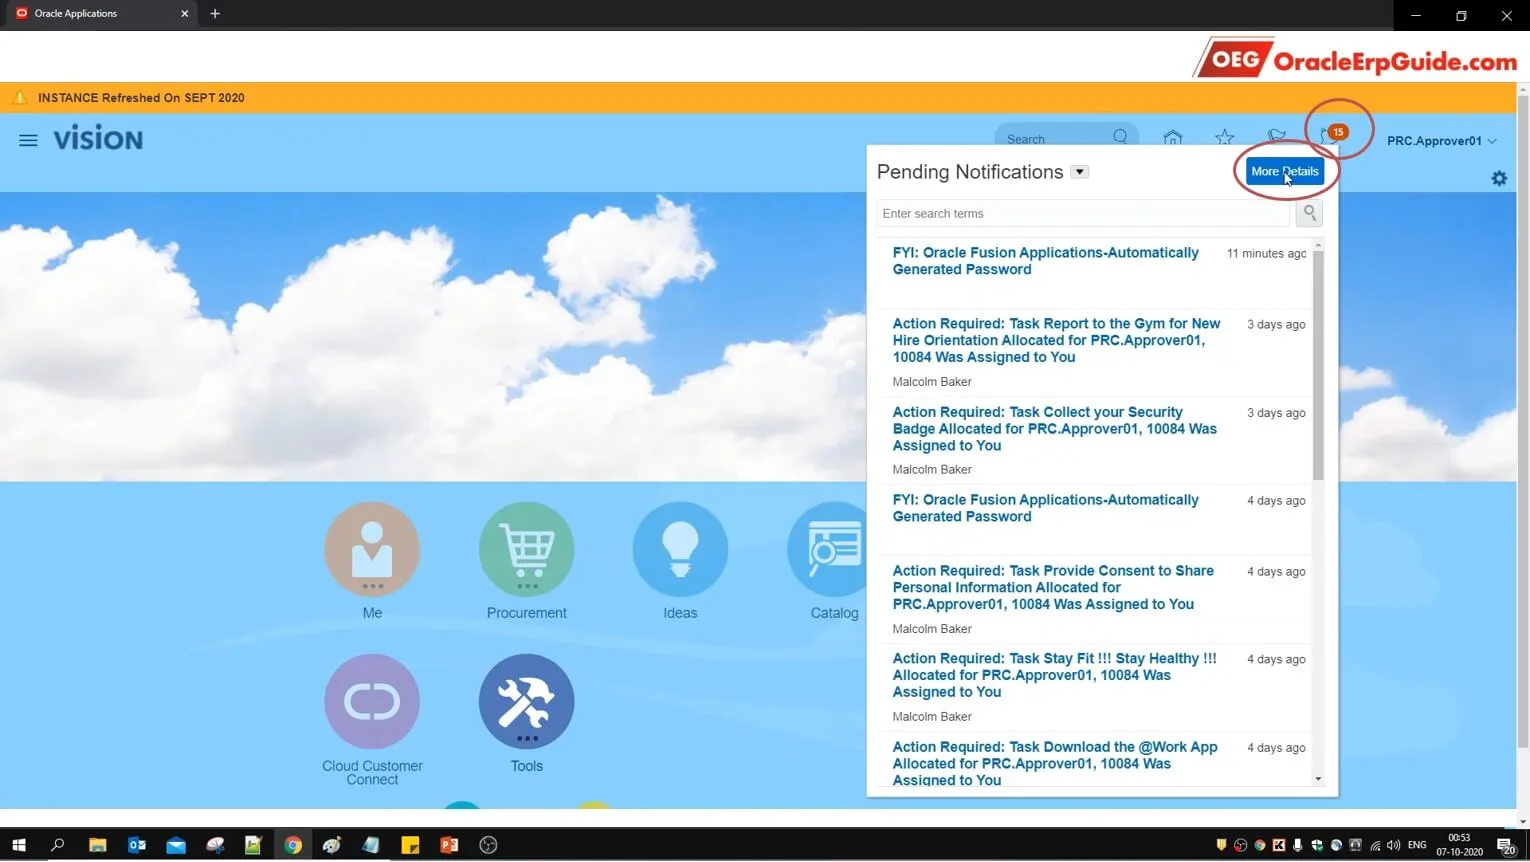
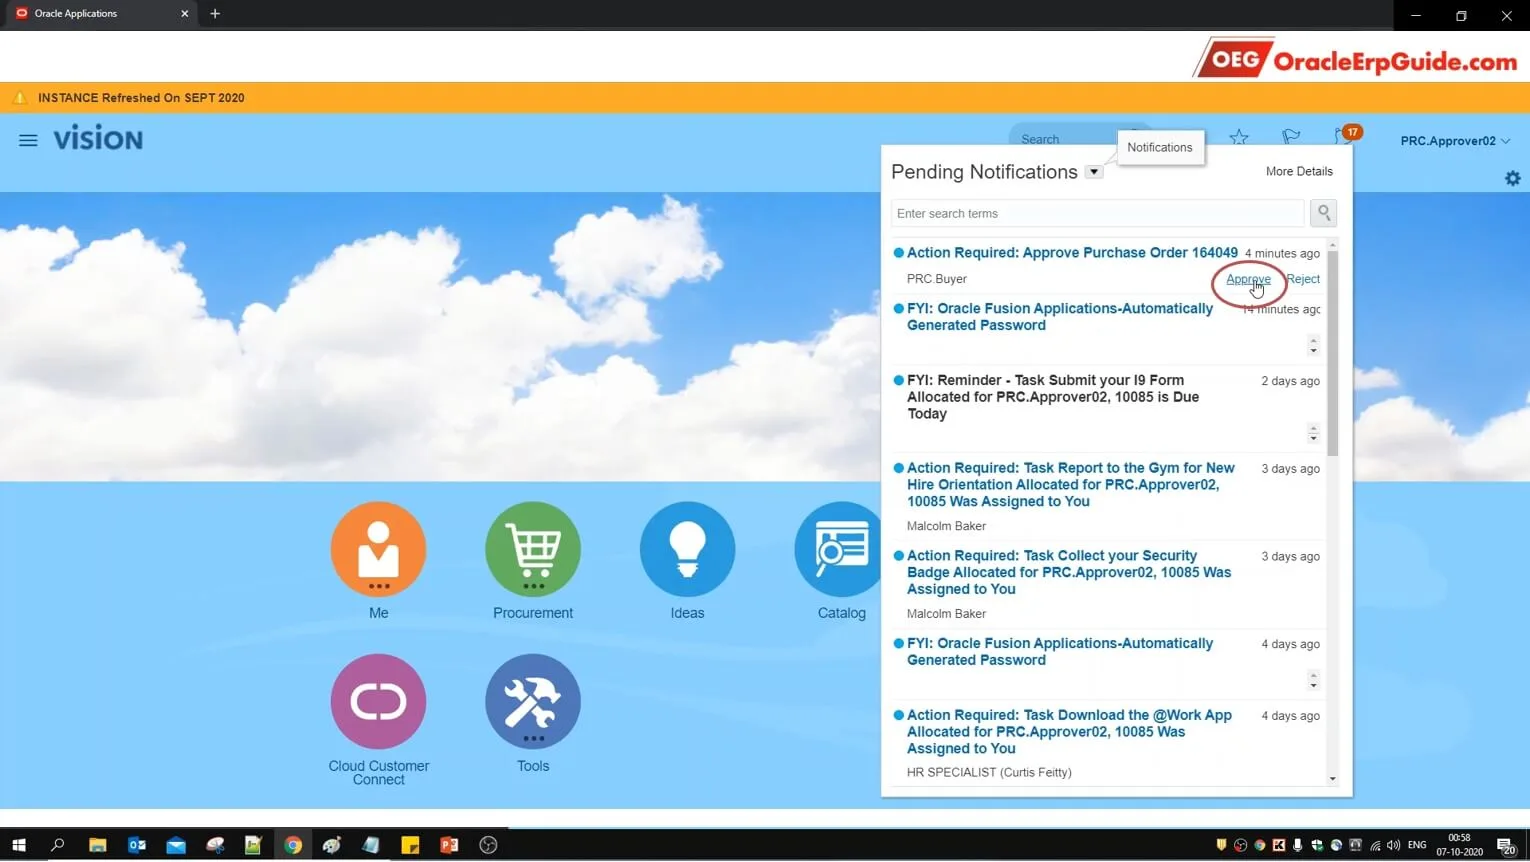
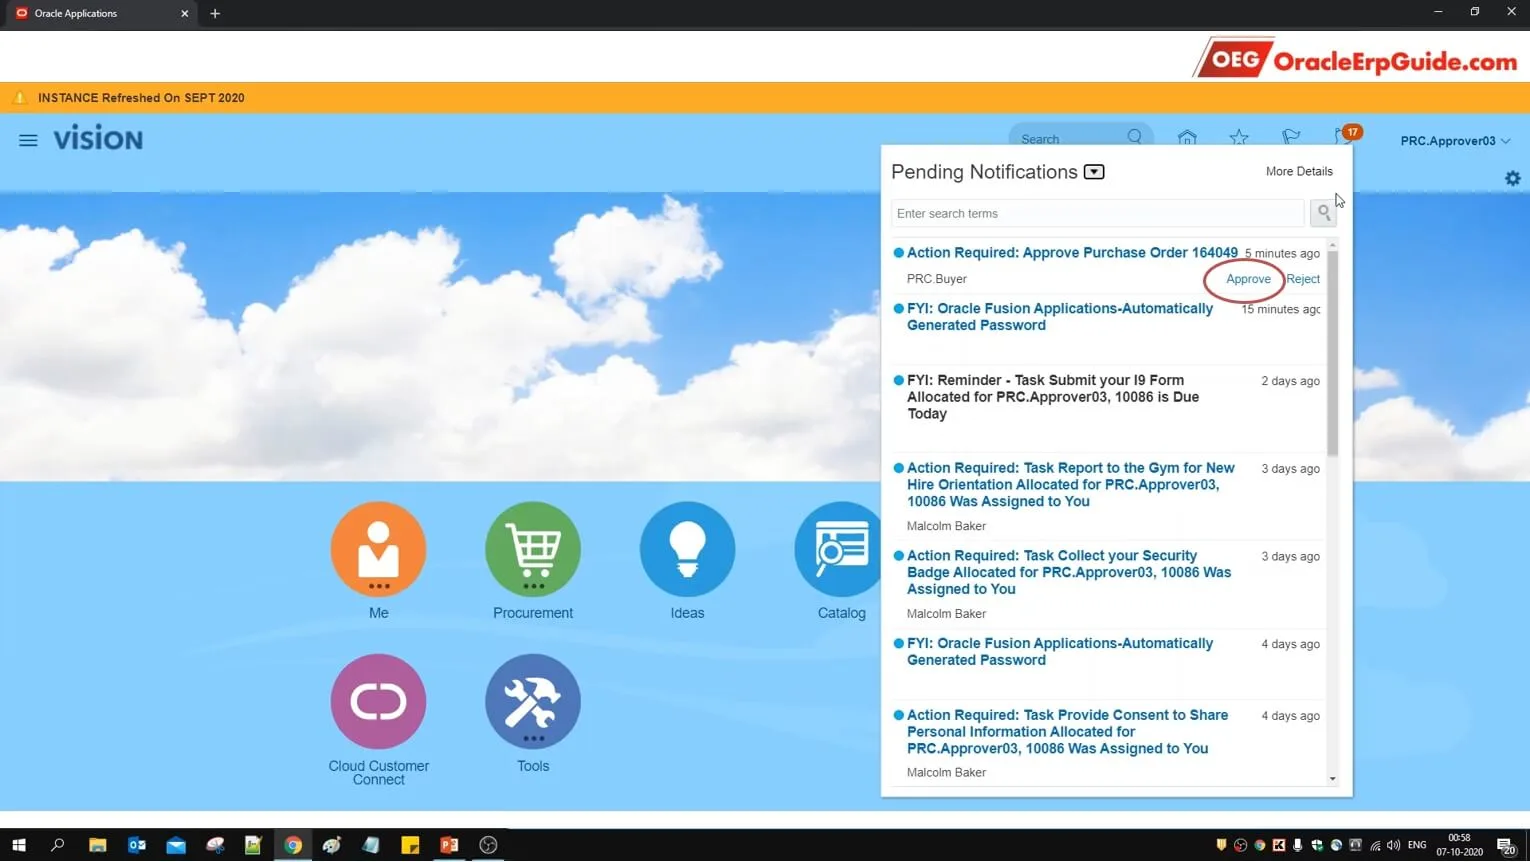
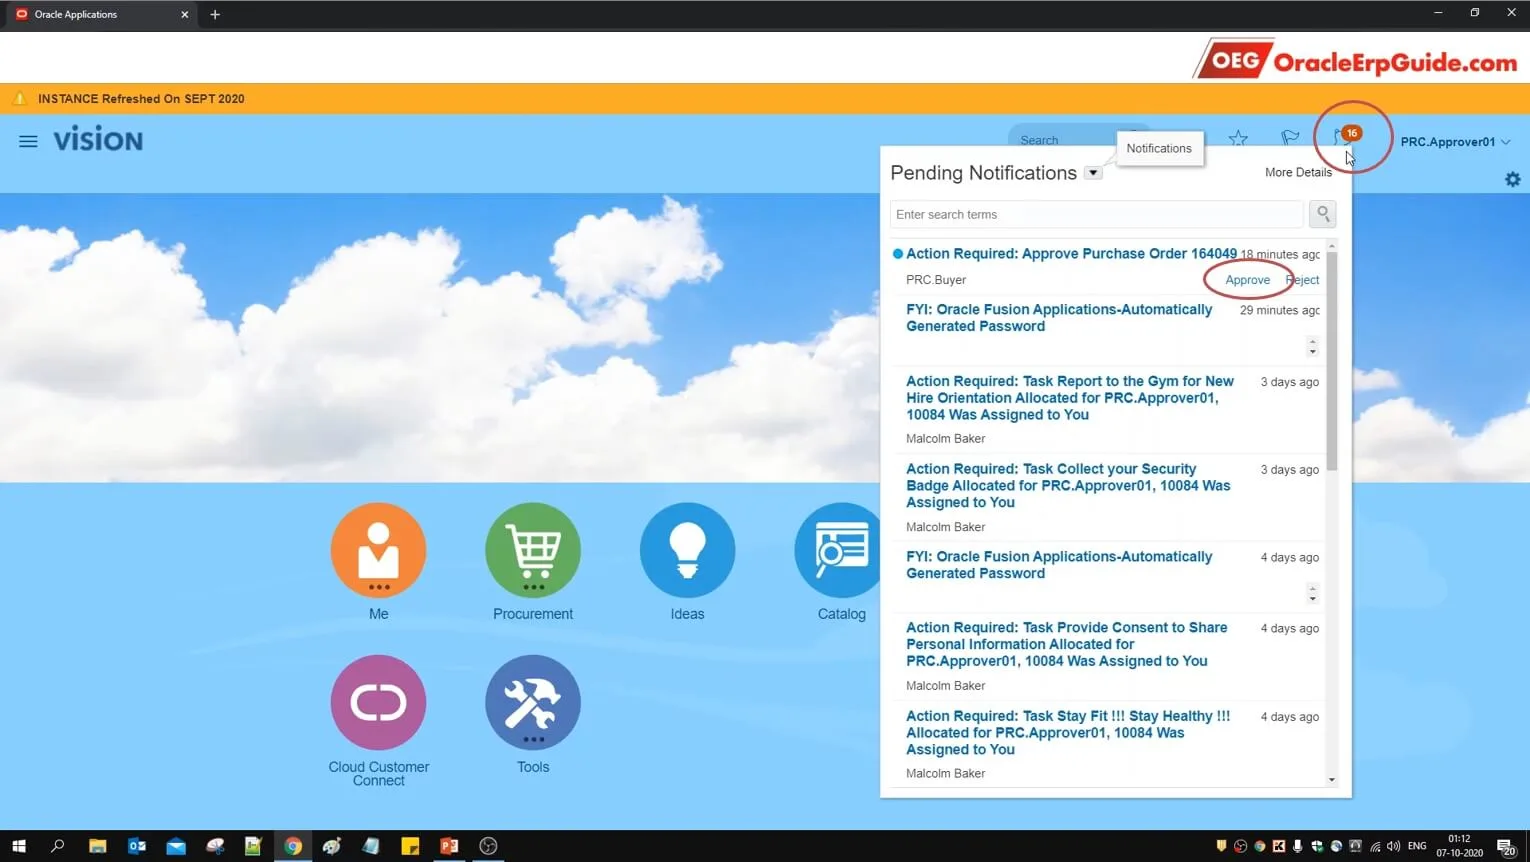
- Click on the bell icon and click "More Details"
- Select the approval notification
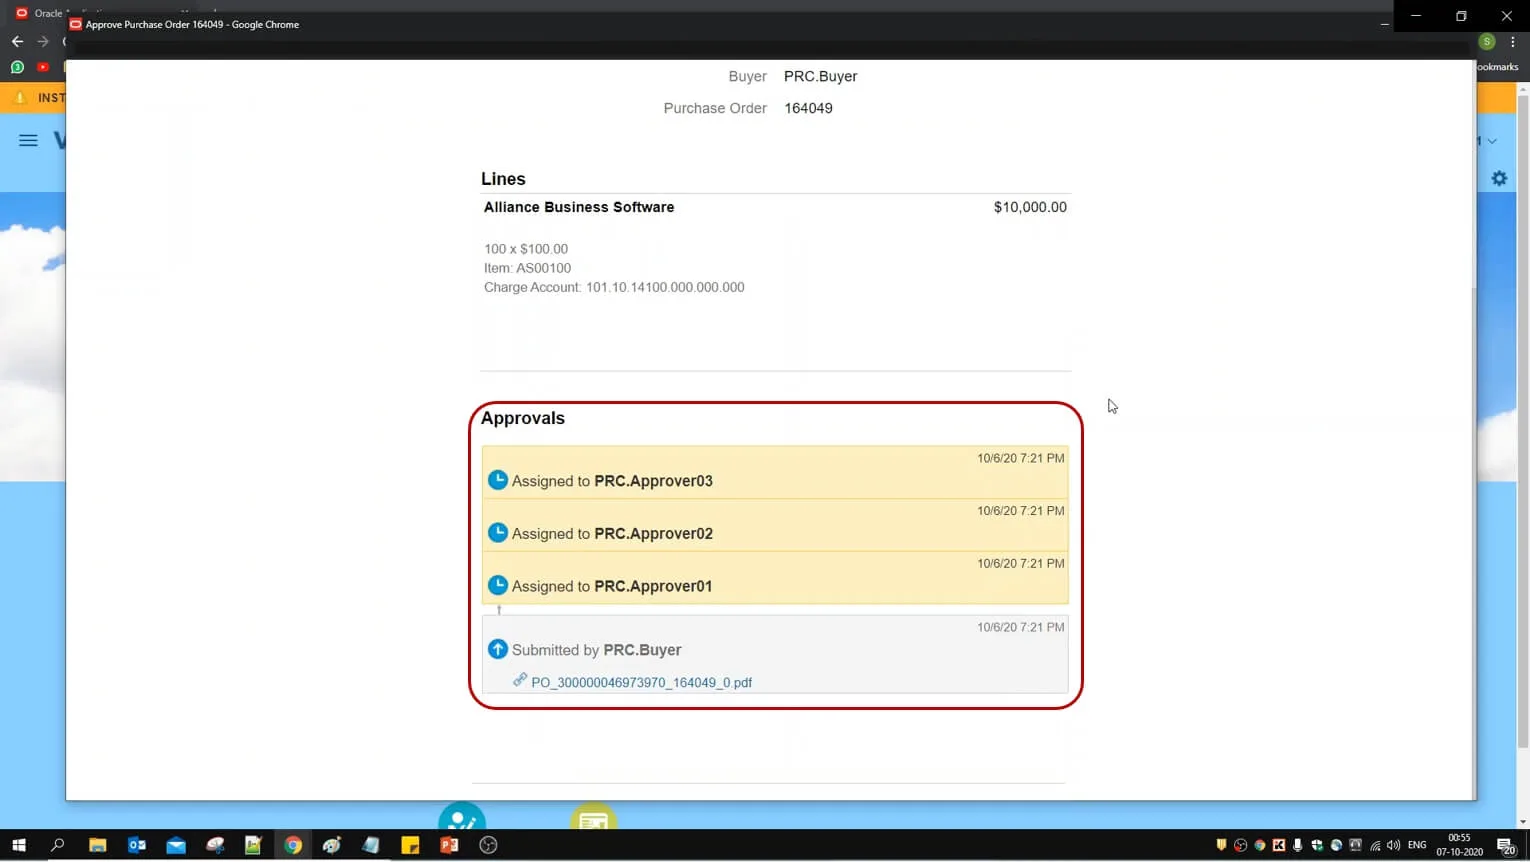
You can see the approval routing here

- Click "Approve" to approve the PO from the current user
- Sign Out from the existing user

Since we have selected the Voting Regime as "Consensus" the PO status should still be "Pending Approval" after approval from one of the 3 participants. Login to the user from which the PO was created to verify this
- From Procurement, go to "Purchase Orders"
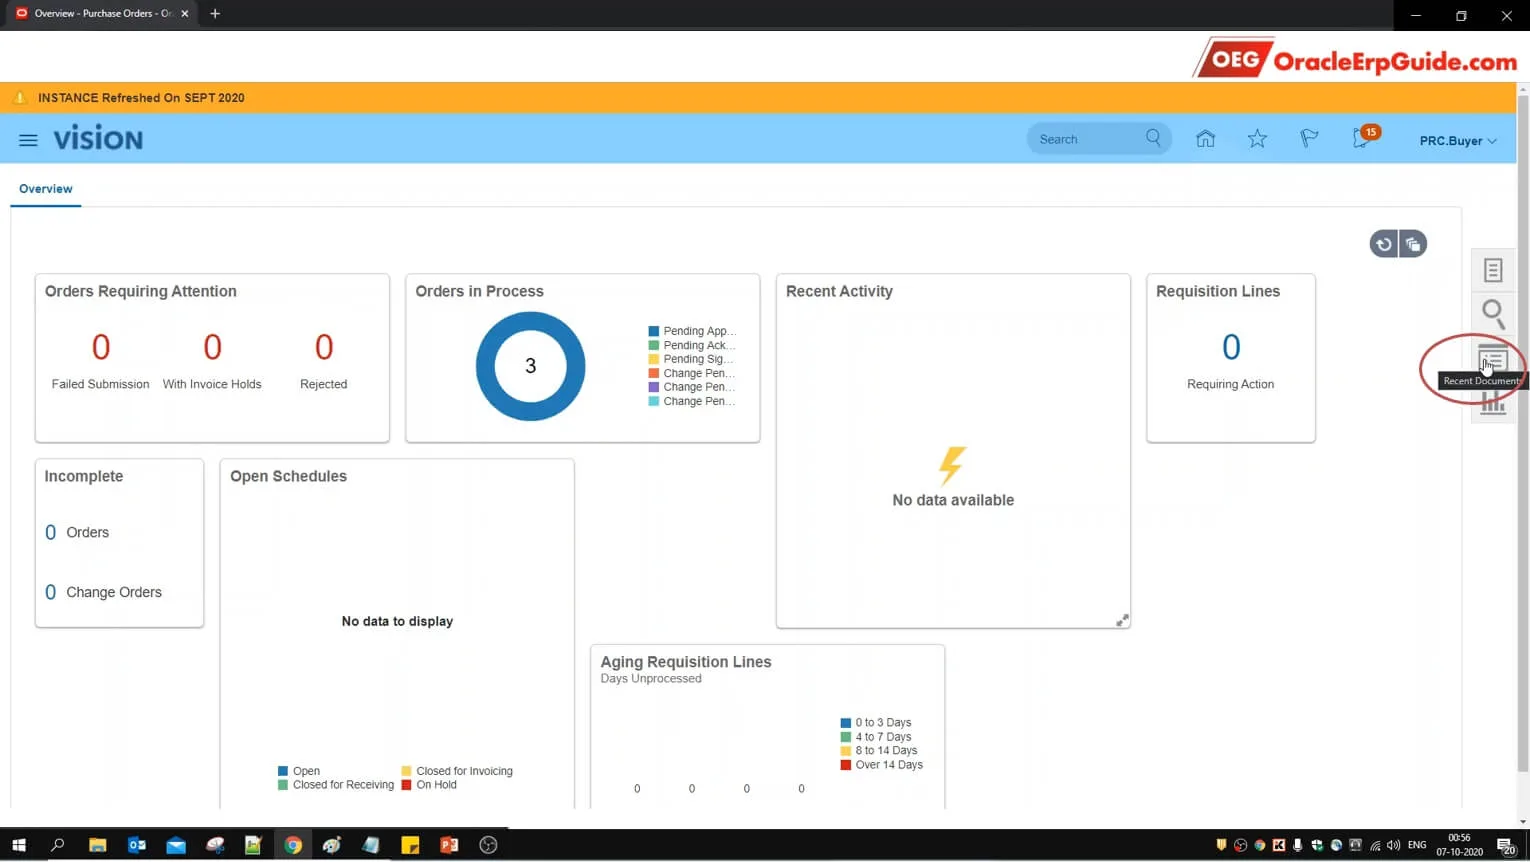
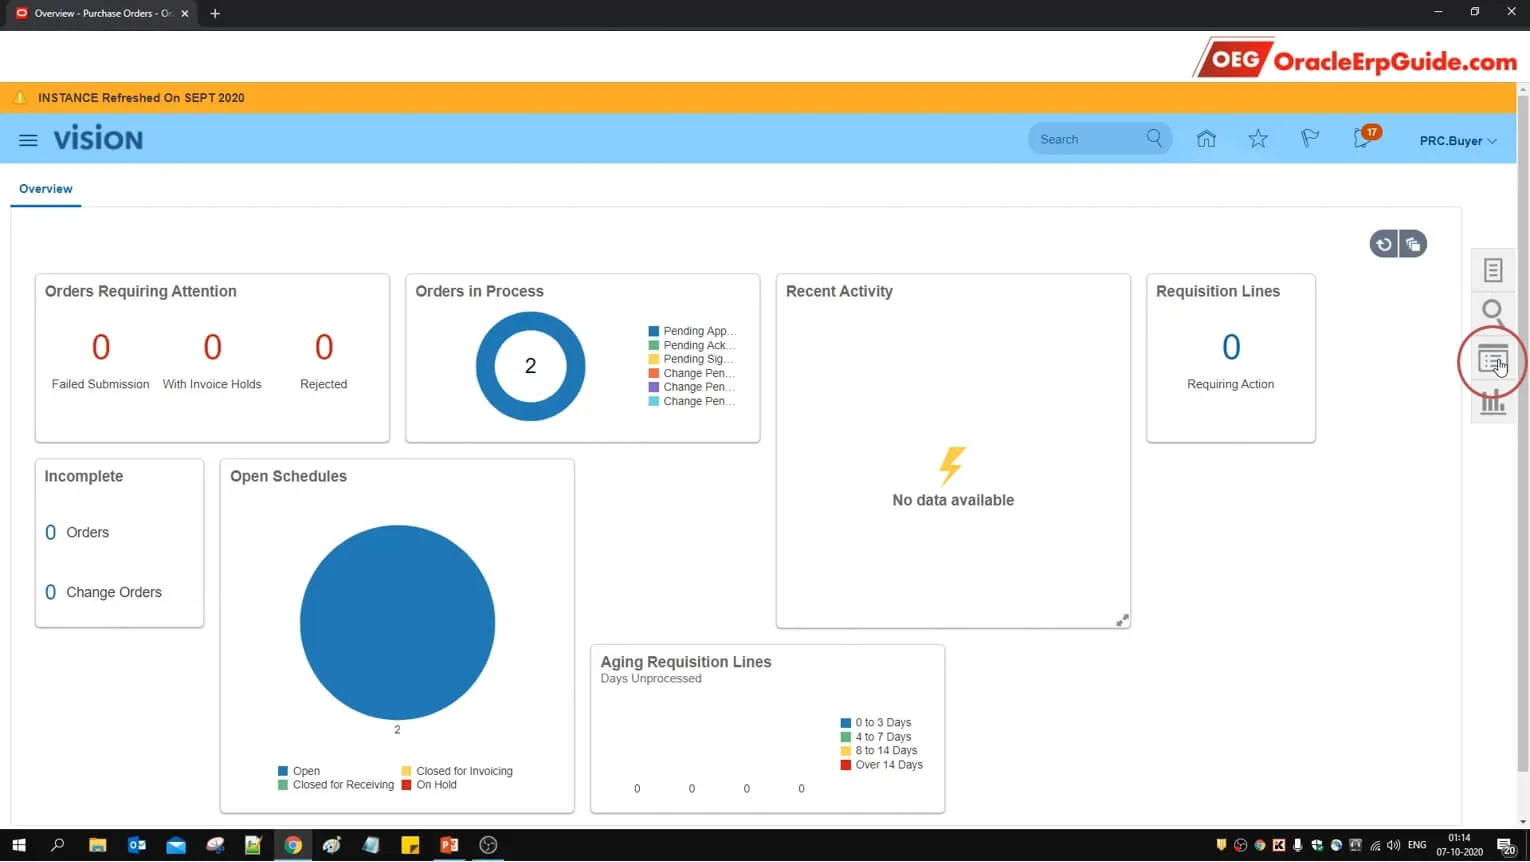
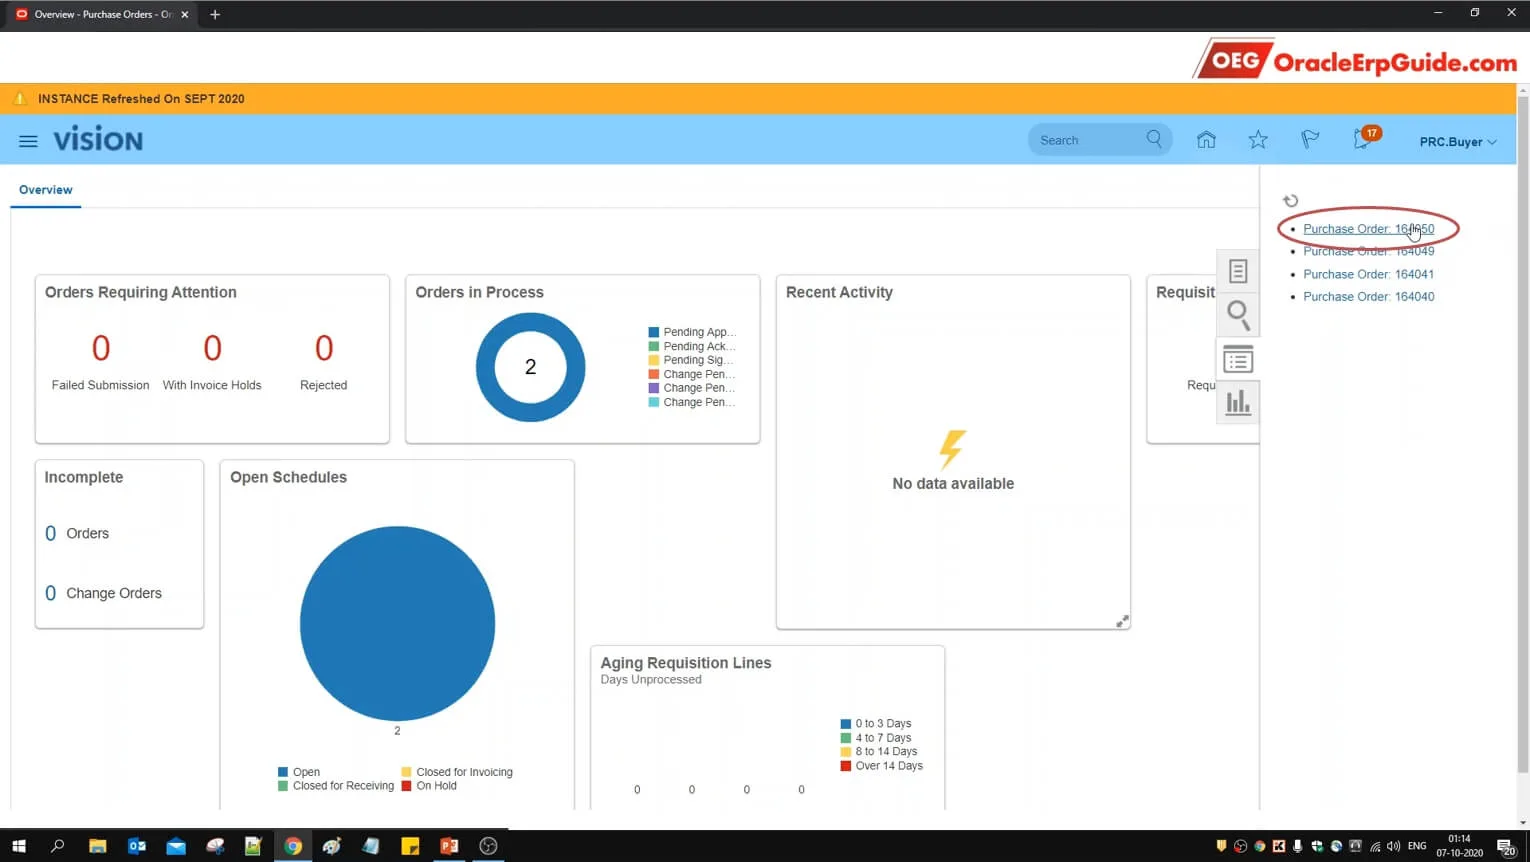
- Click on "Recent Documents"
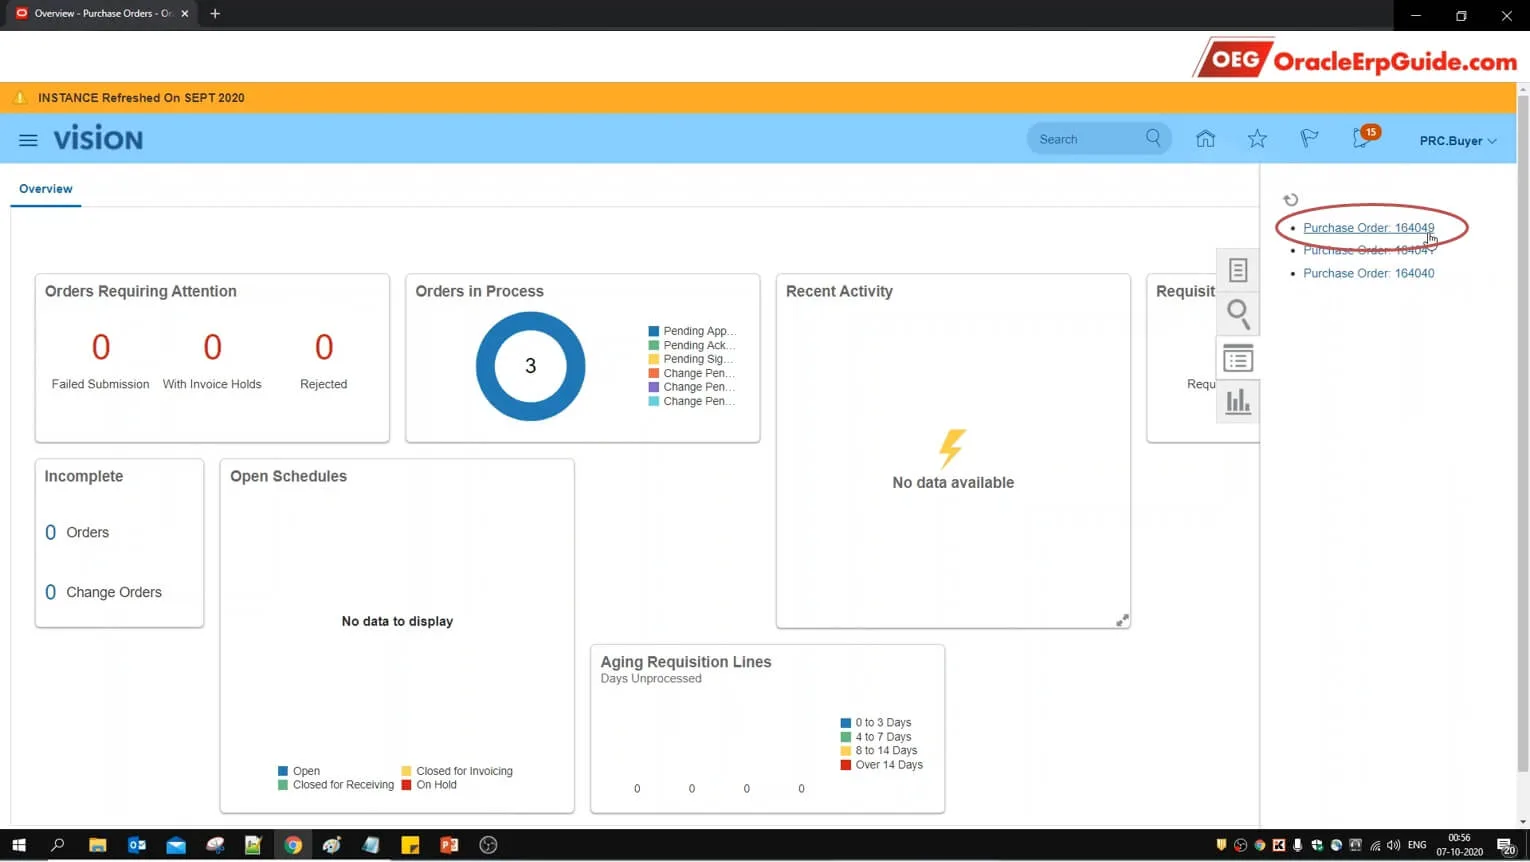
- Select the PO that we had created in the earlier steps
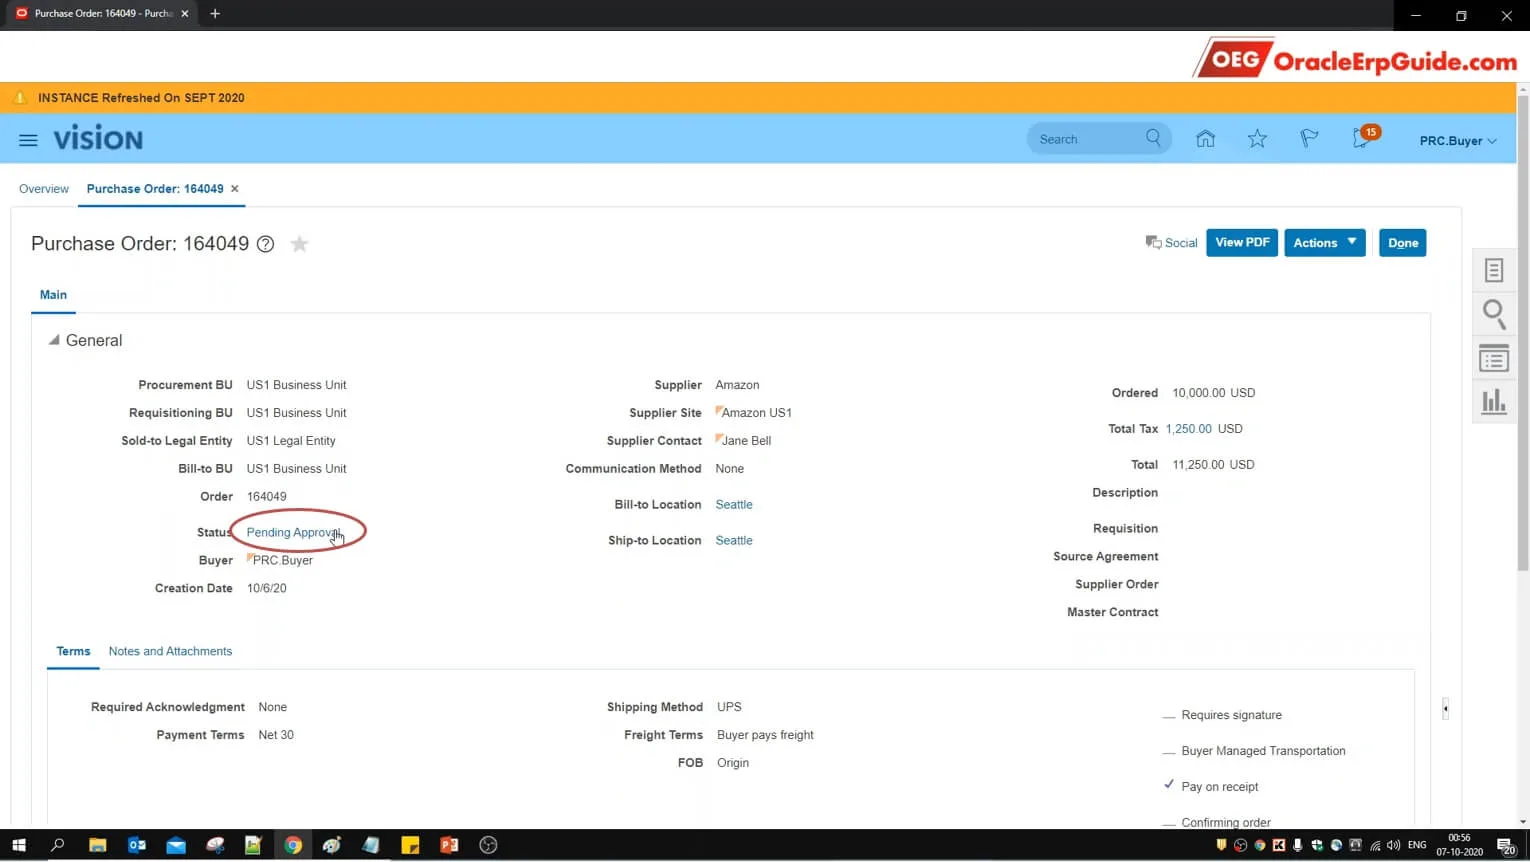
- See that the PO status is still "Pending Approval". Click on the "Pending Approval" status
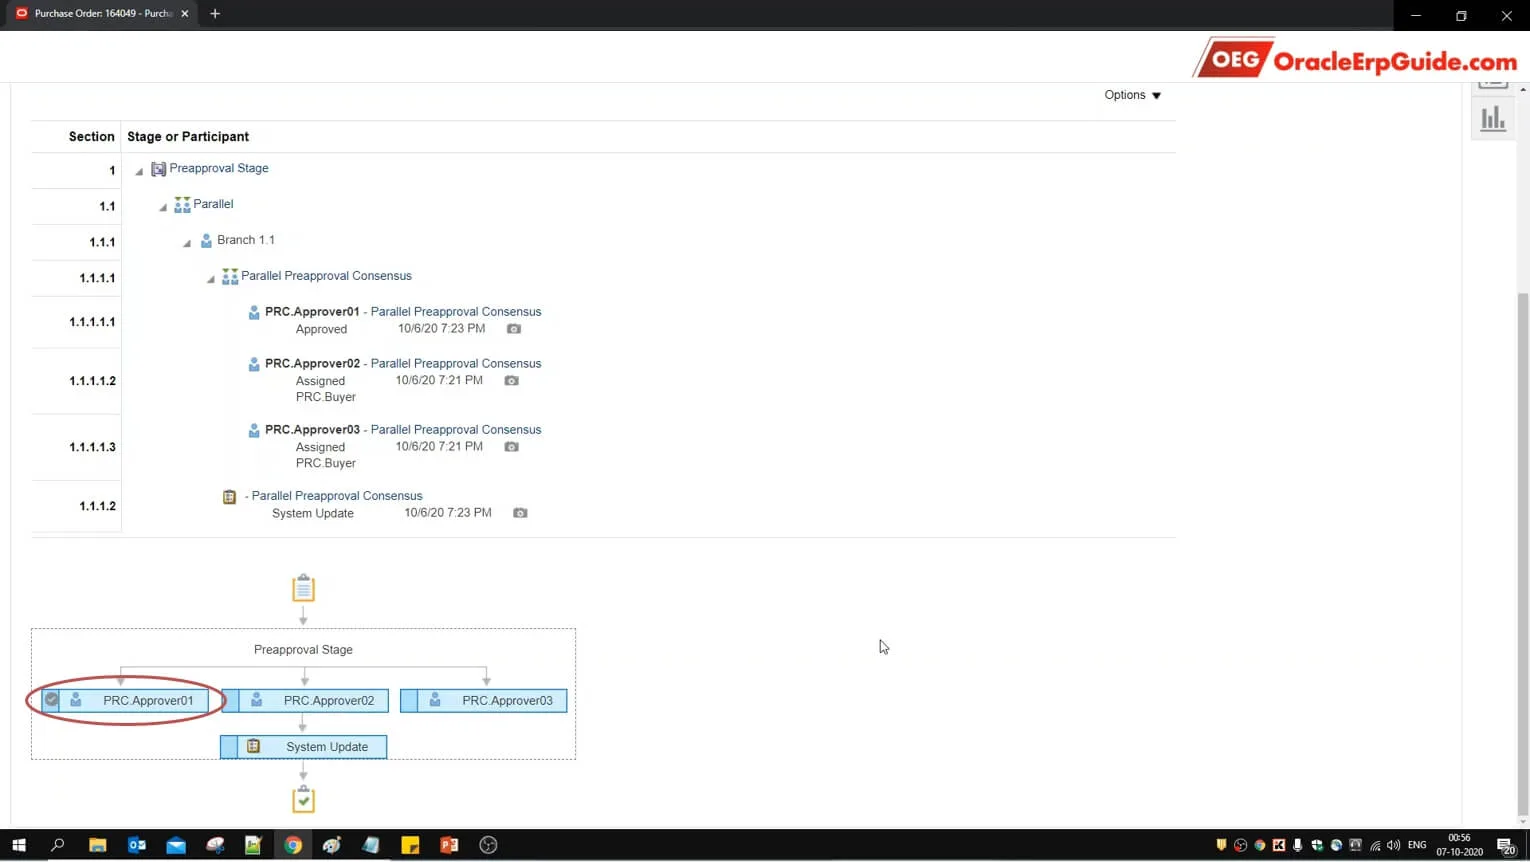
See that PRC.Approver01's approval has been registered by the system
- Sign out from the current user. Login to one of the remaining approvers
- Click on the bell icon to see the notifications. Click "Approve"
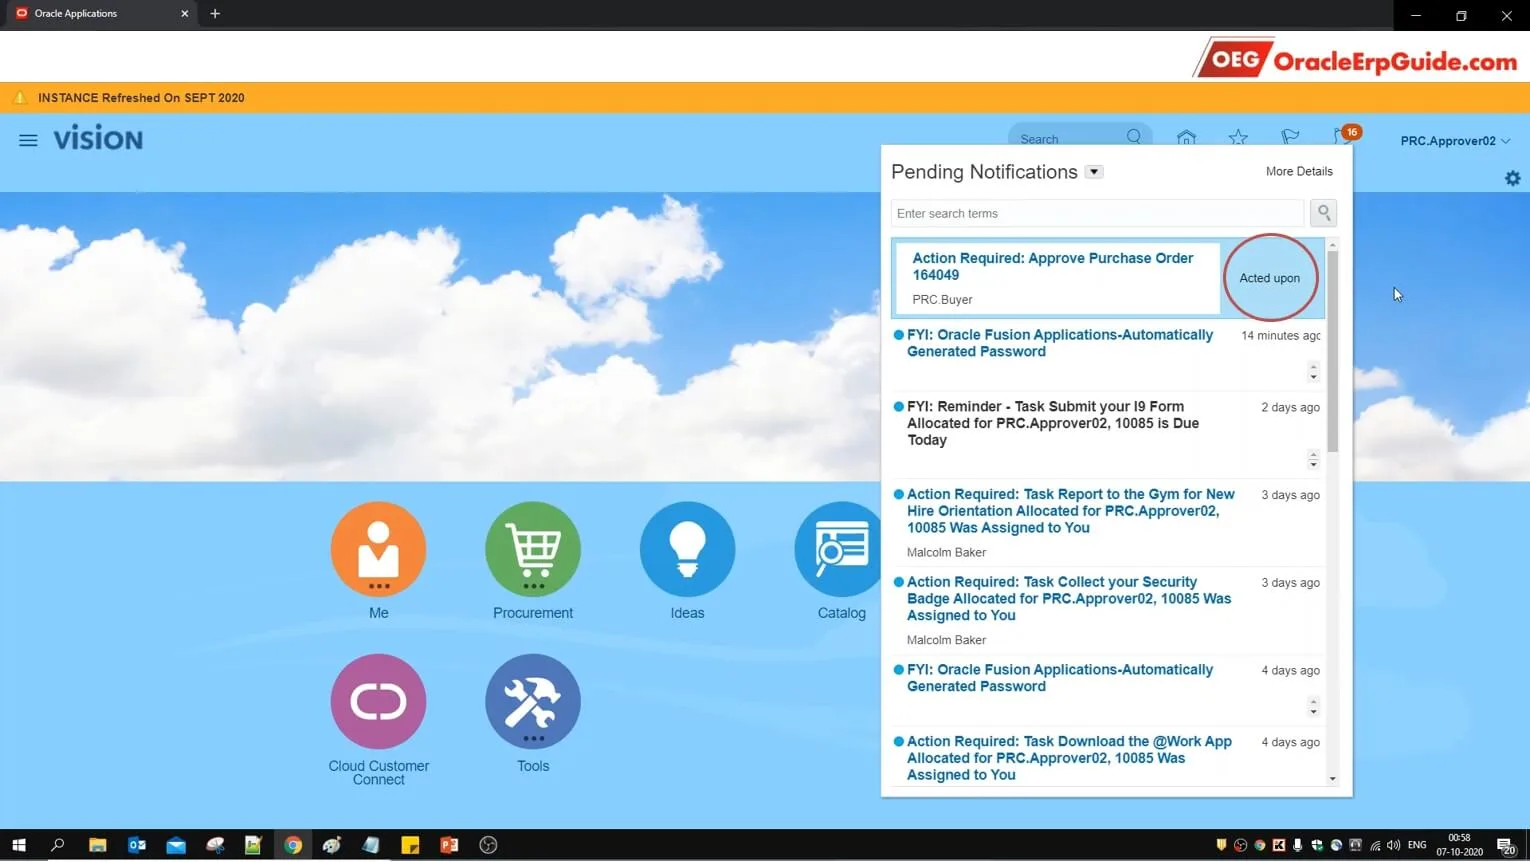
See that the response has been recorded
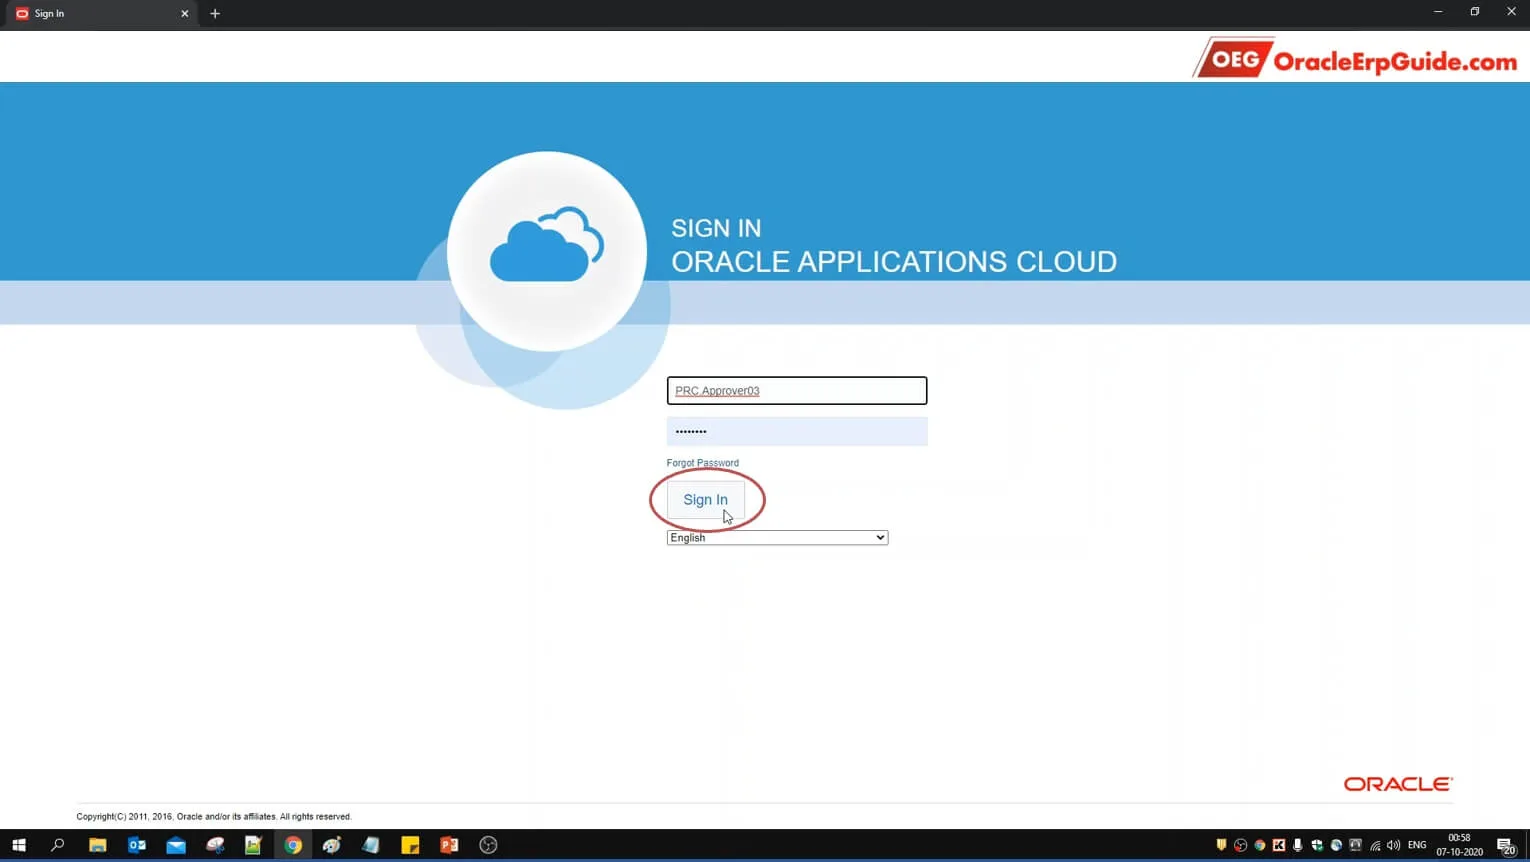
- Sign out from the current user. Login to the account of the 3rd approver
- Click on the bell icon to see the notifications. Click "Approve".
Now that all the 3 approvers have approved the PO, the status should now be changed to "Open" by the system. Let us verify this

- Sign out from the approver user account. Login to the account from which the PO was created
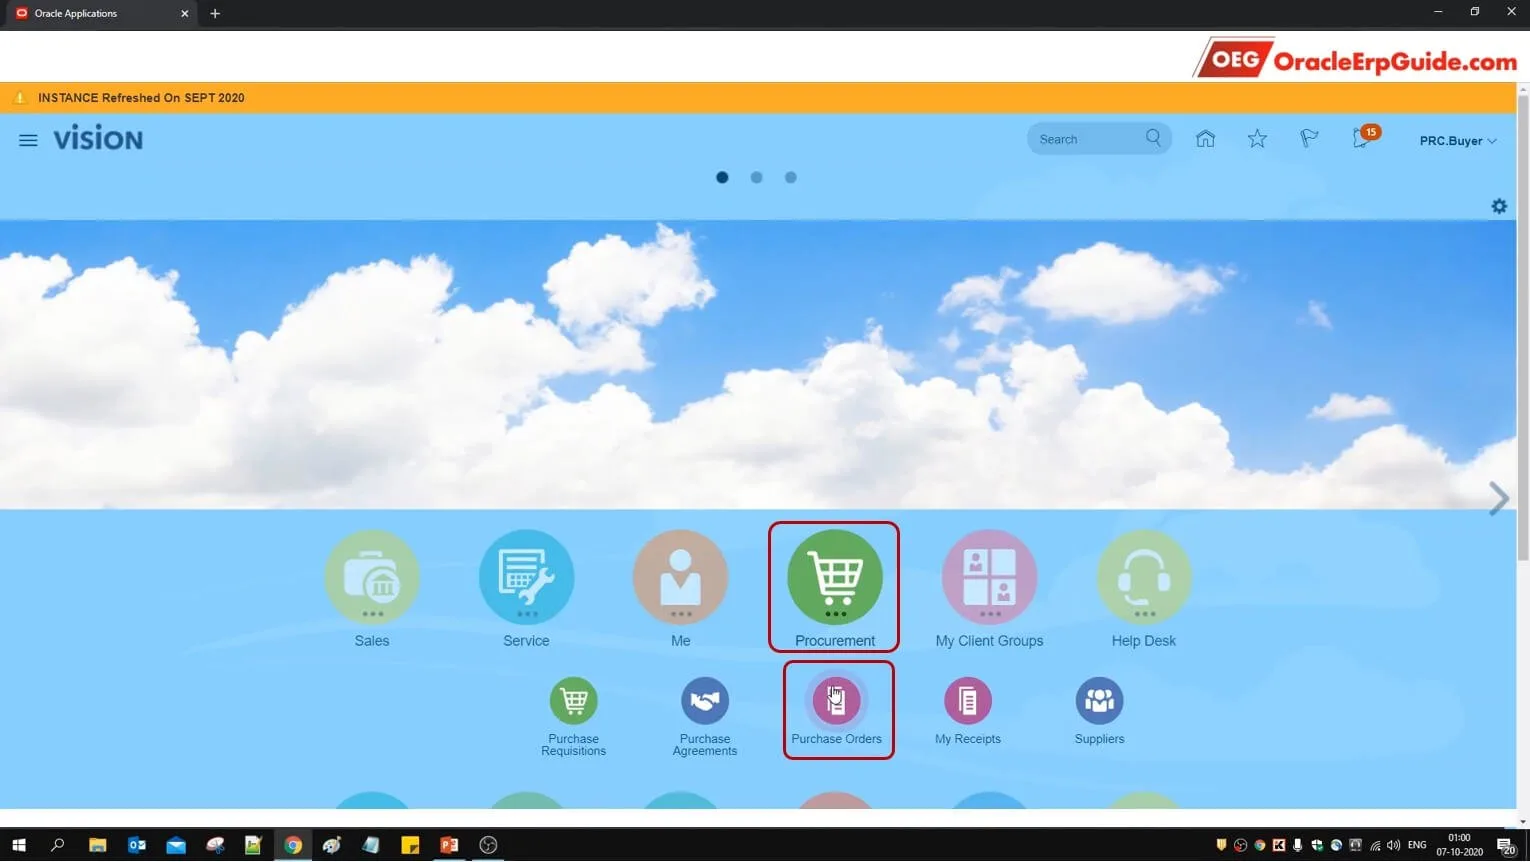
- From Procurement, go to "Purchase Orders"
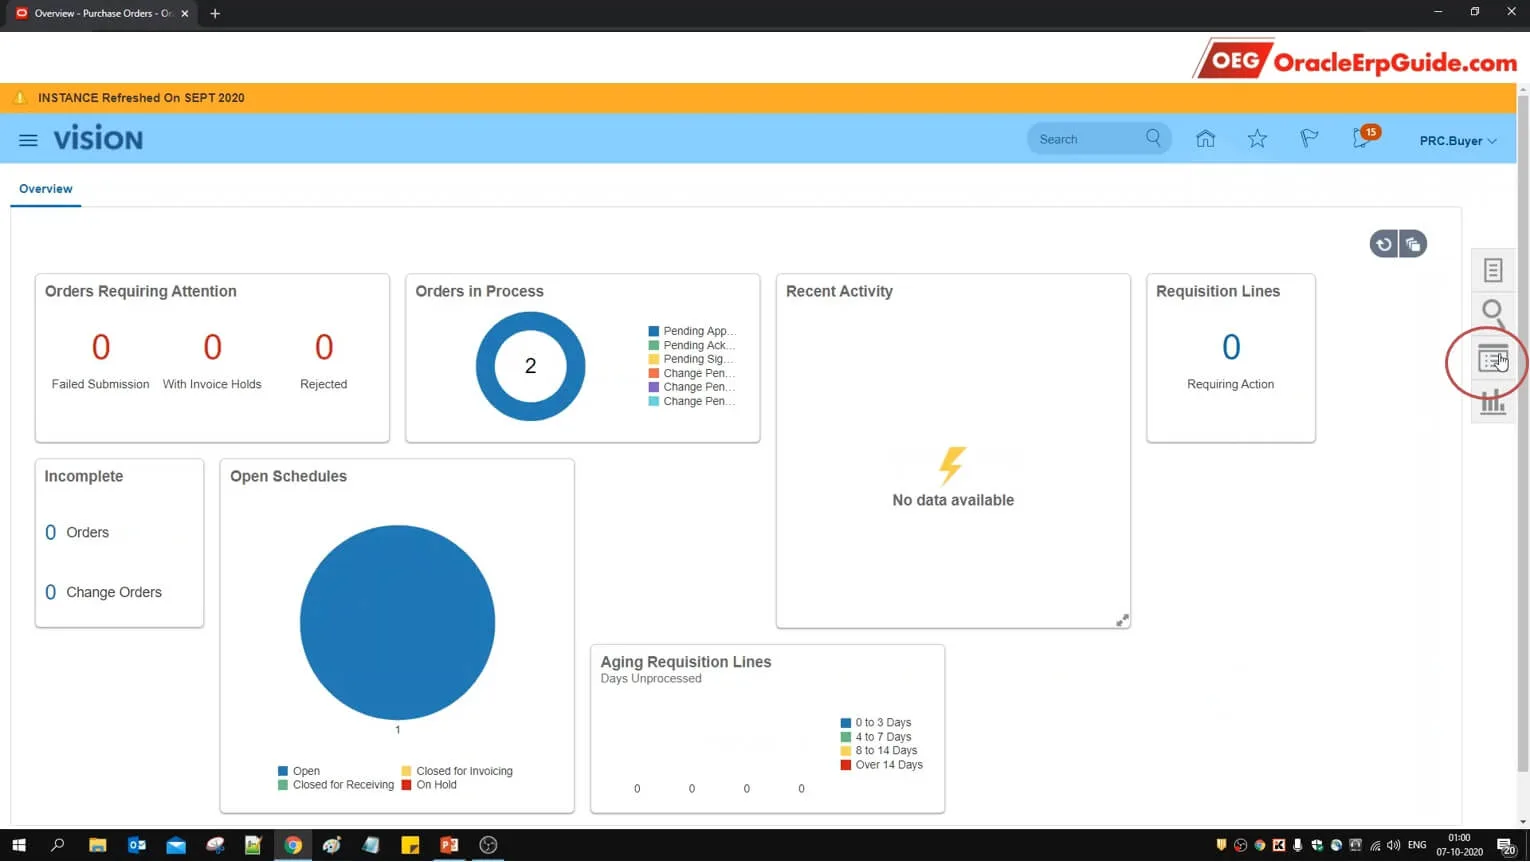
- Click "Recent Documents"
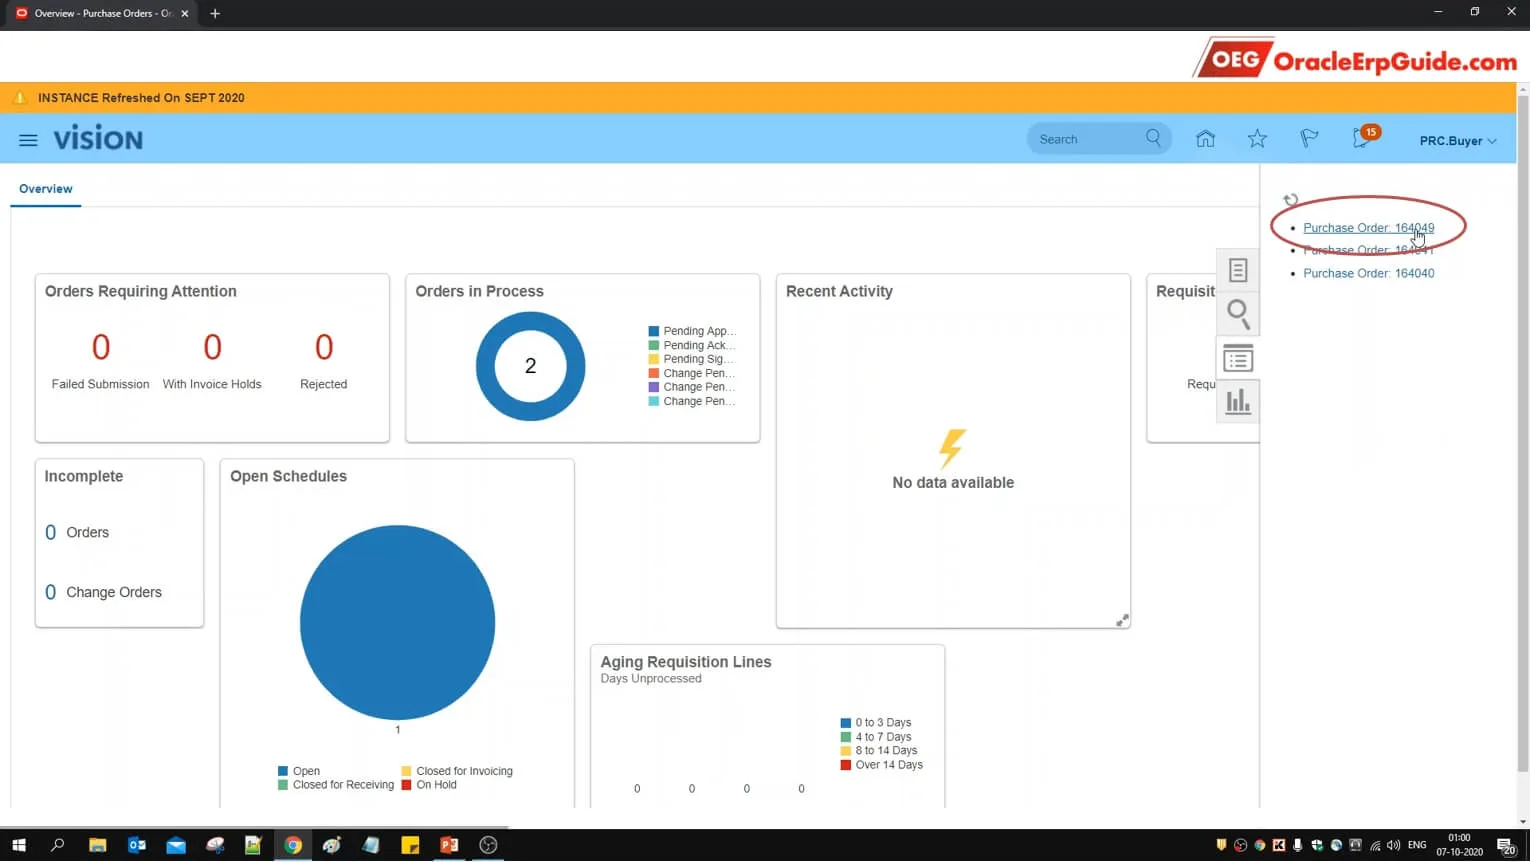
- Select the relevant purchase order
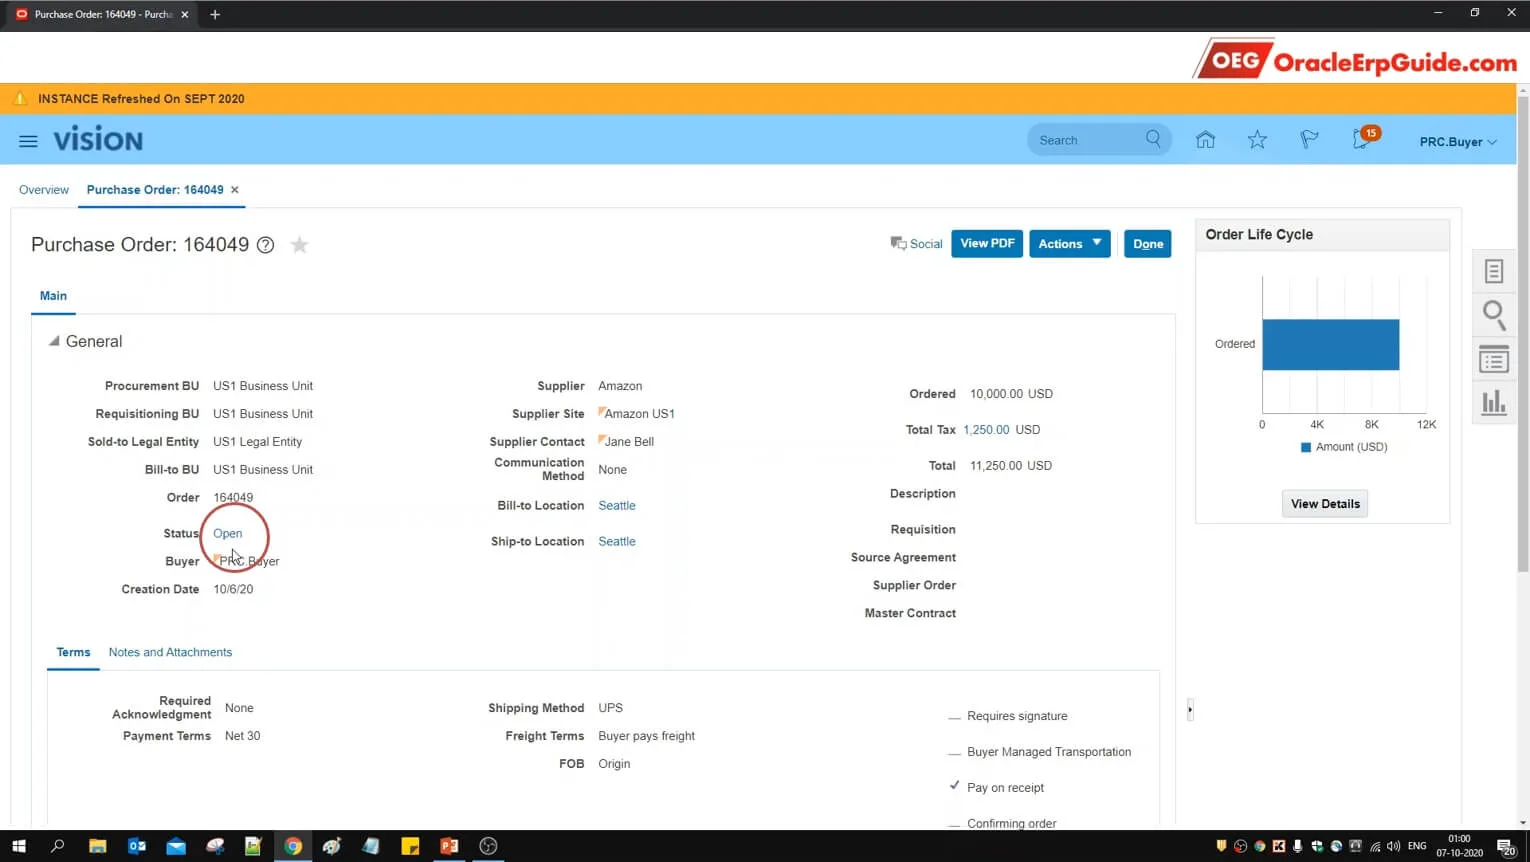
- See that the PO Status has now changed to "Open" from "Pending Approval" after approval from all the approvers. Click on "Open"
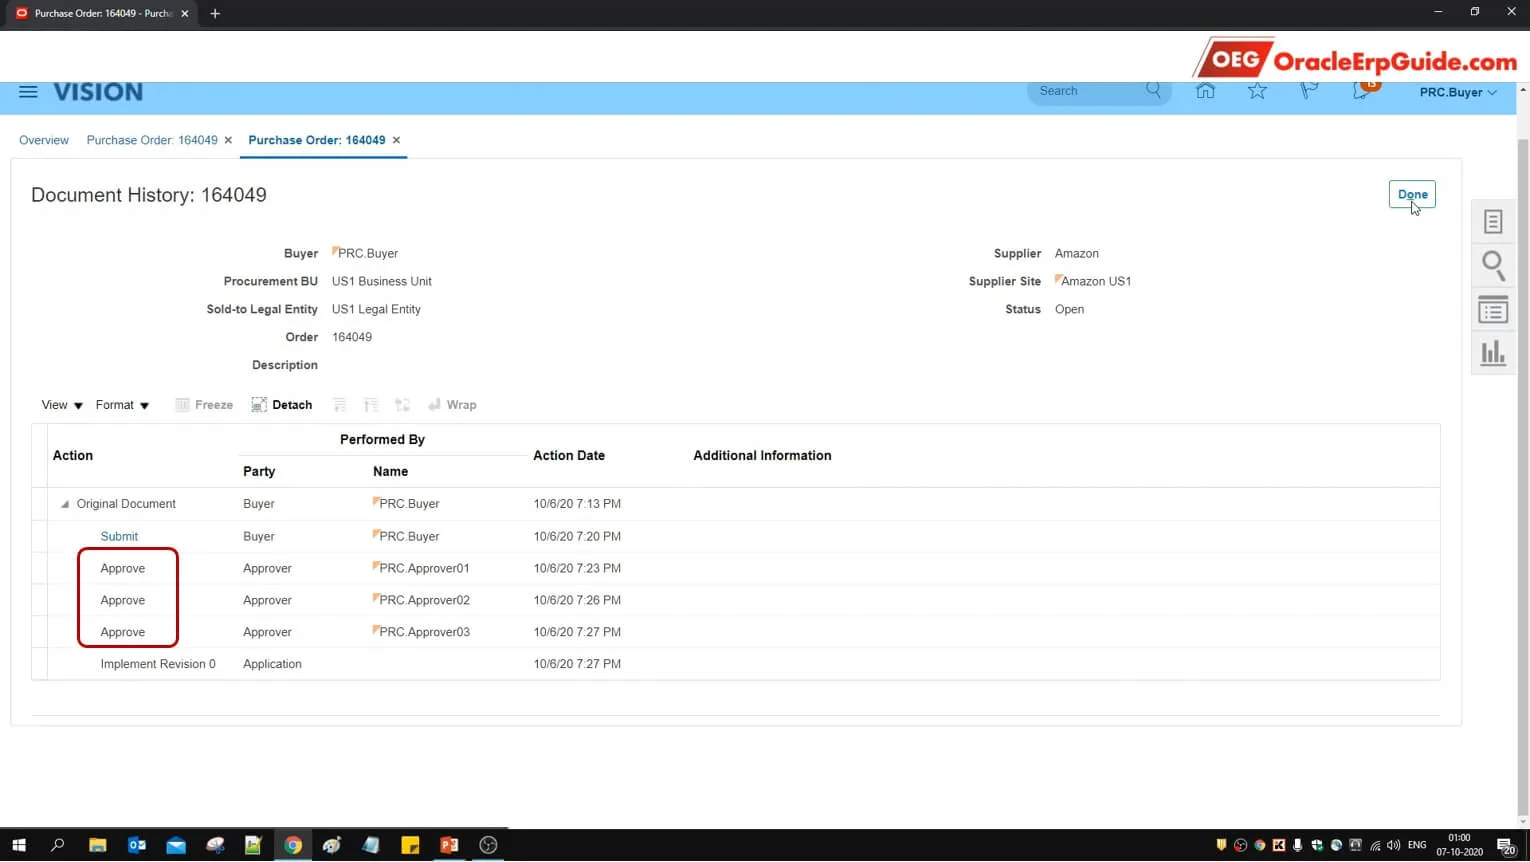
See that the approve response from all the 3 approvals has been registered in the system, hence the "Consensus" regime was satisfied and the order status was changed to "Open"
Parallel Approval - First Responder Wins
Configuration
- Go to Setup and Maintenance work area
- Search and select the task "Manage Purchasing Document Approvals"

- Disable the exiting rule
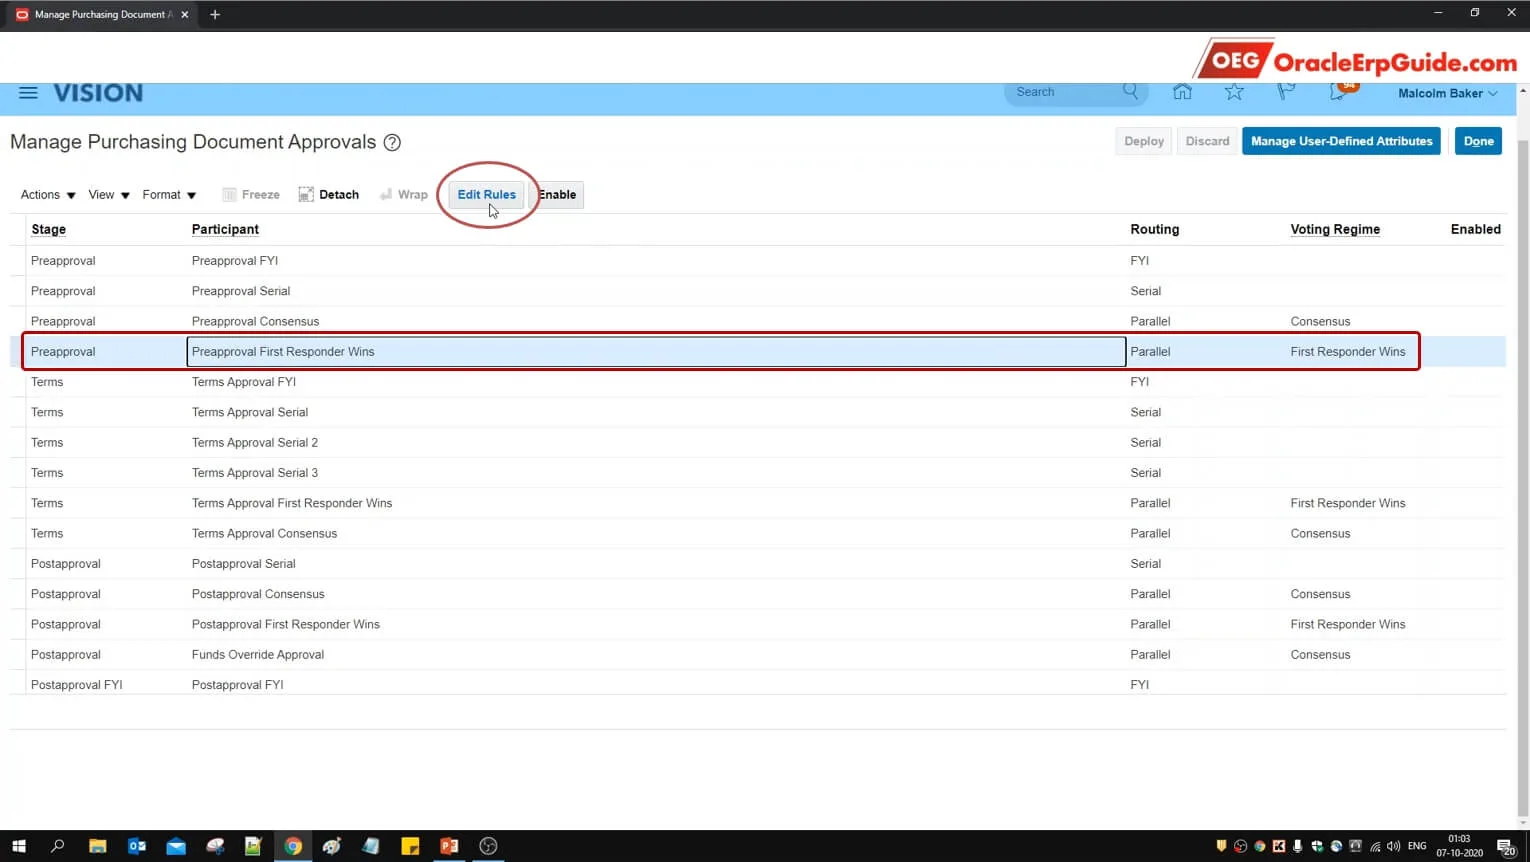
- Select the Preapproval row with Routing as "Parallel" and Voting Regime as "First Responder Wins"
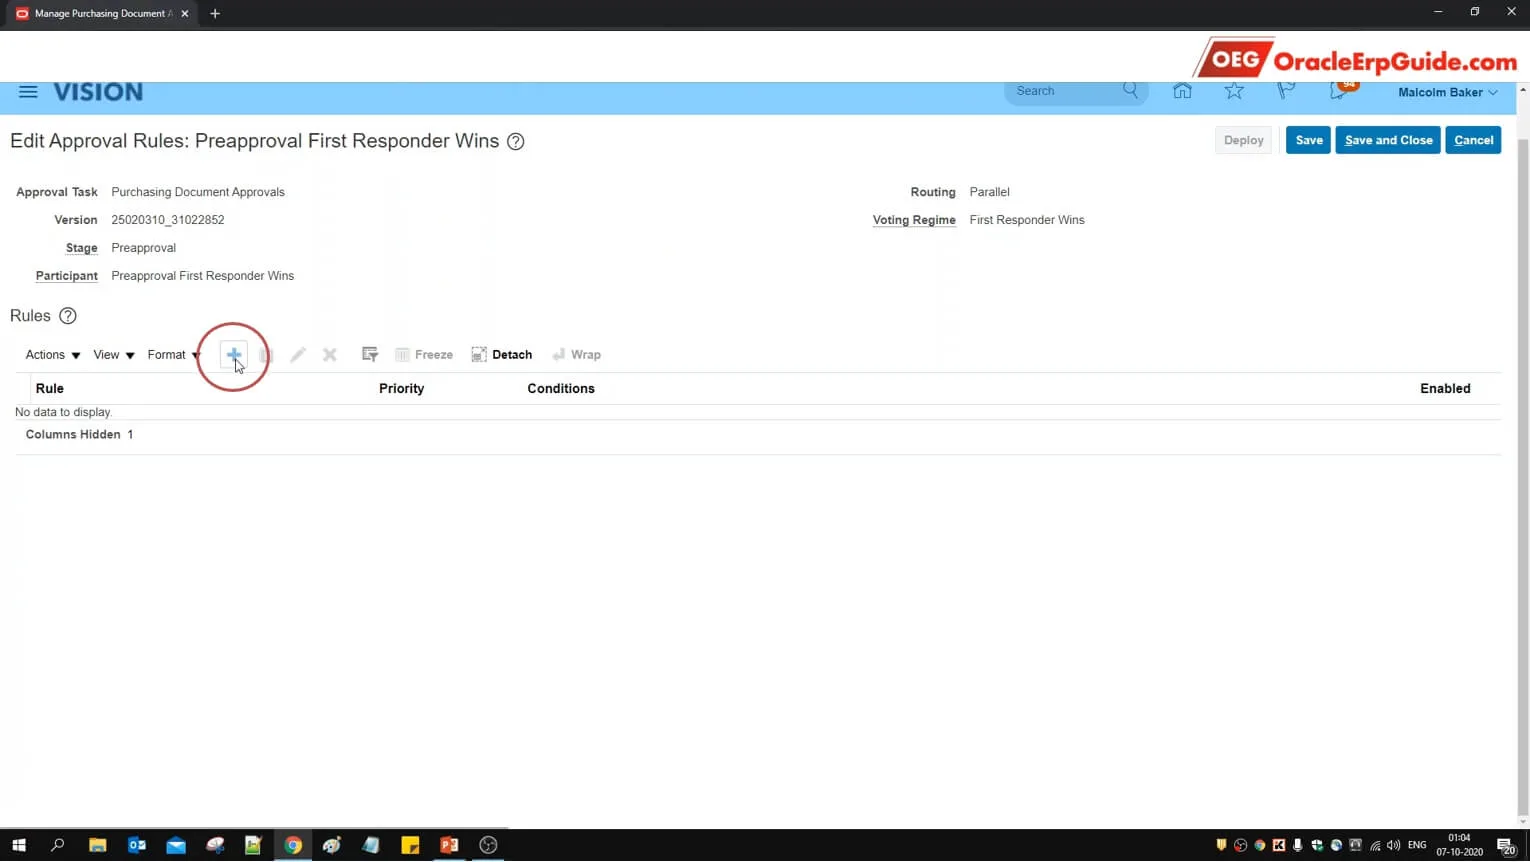
- Click +
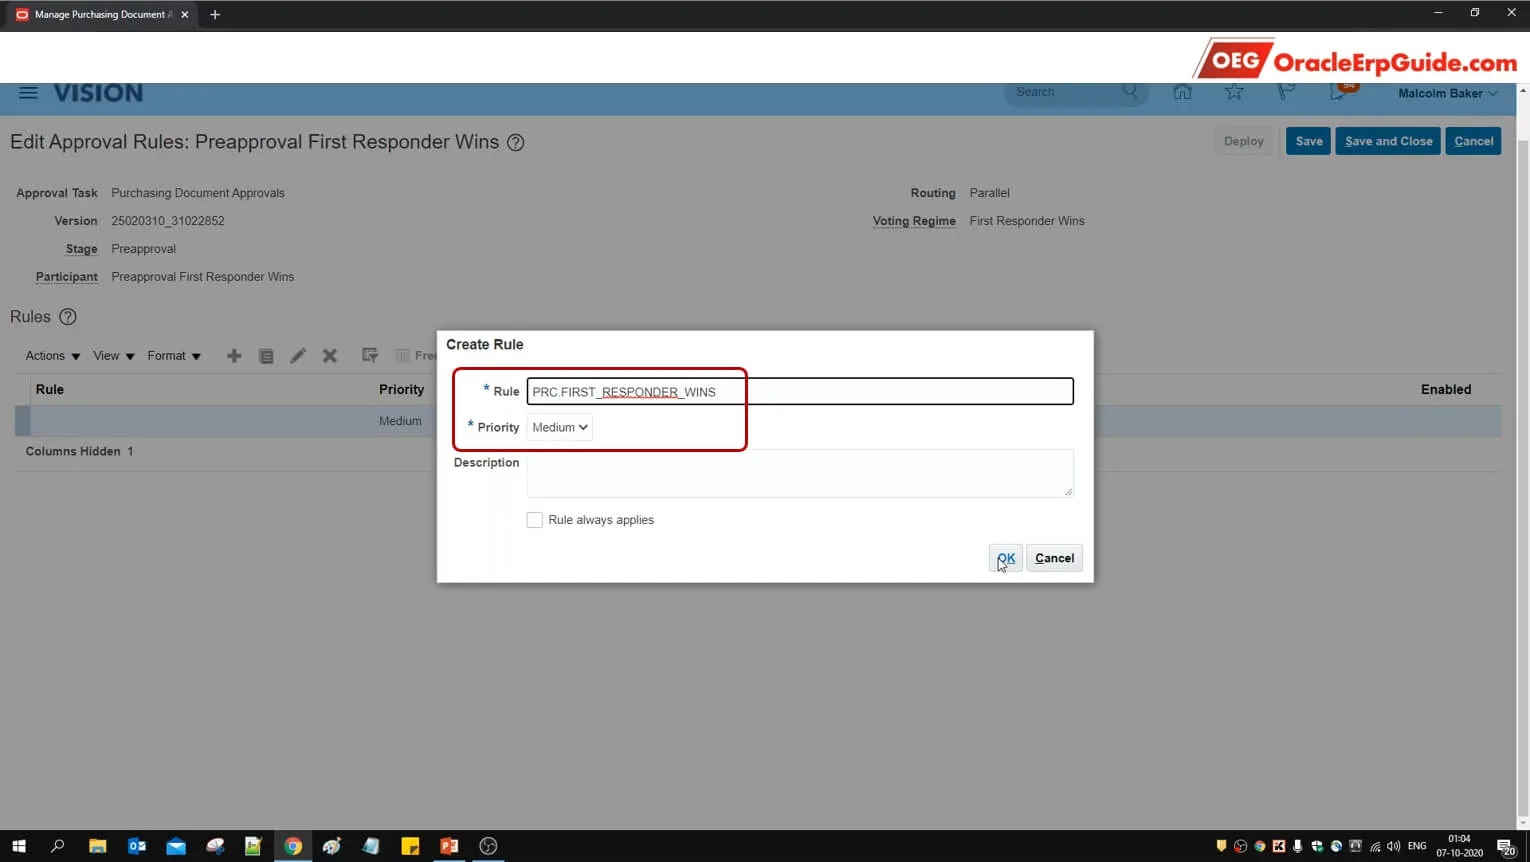
- Enter the name and priority and click OK
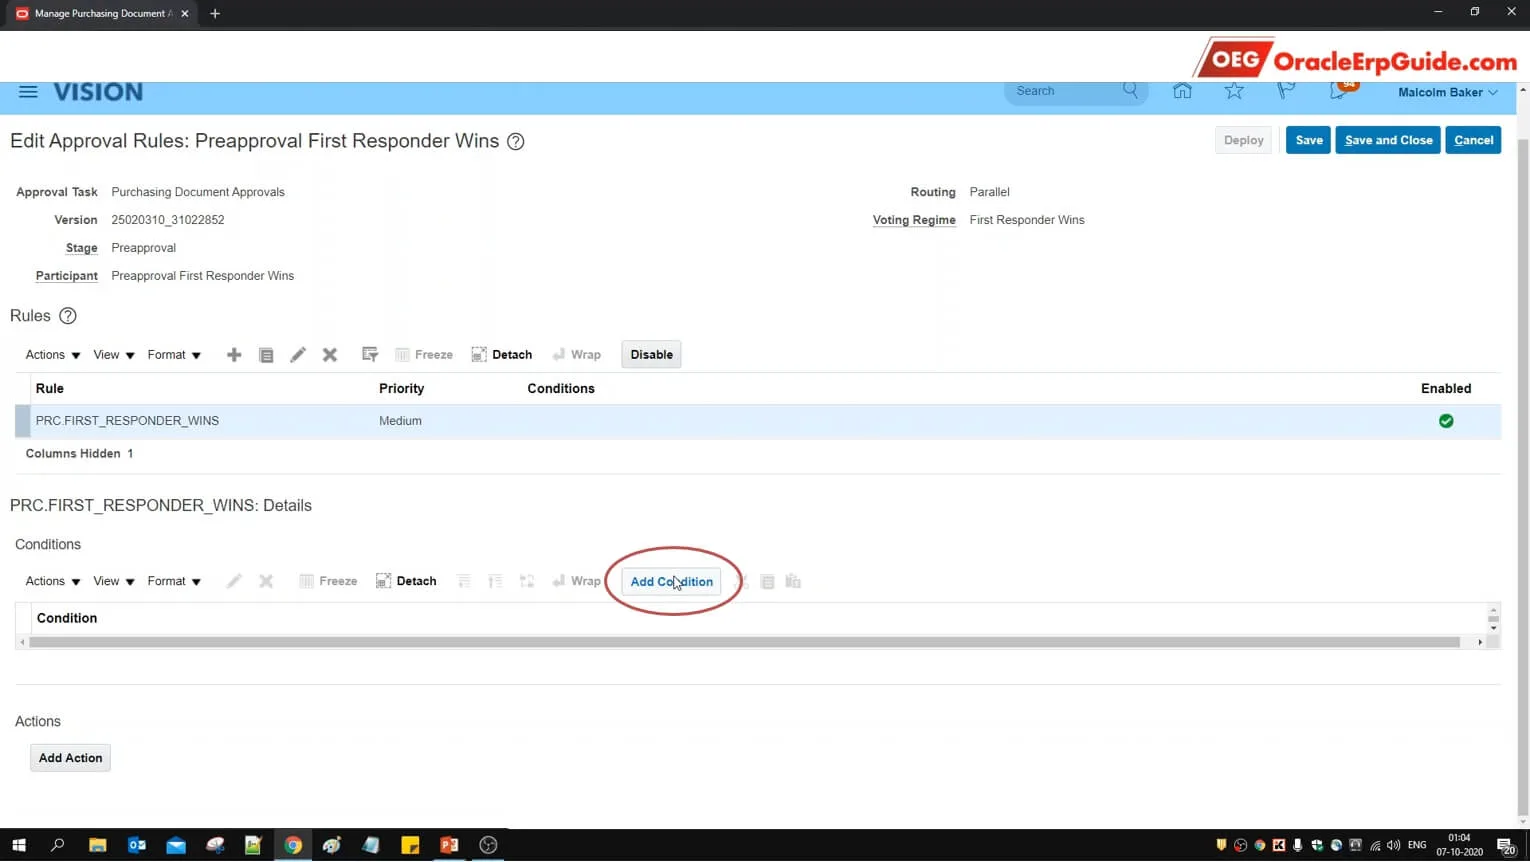
- Click "Add Condition"
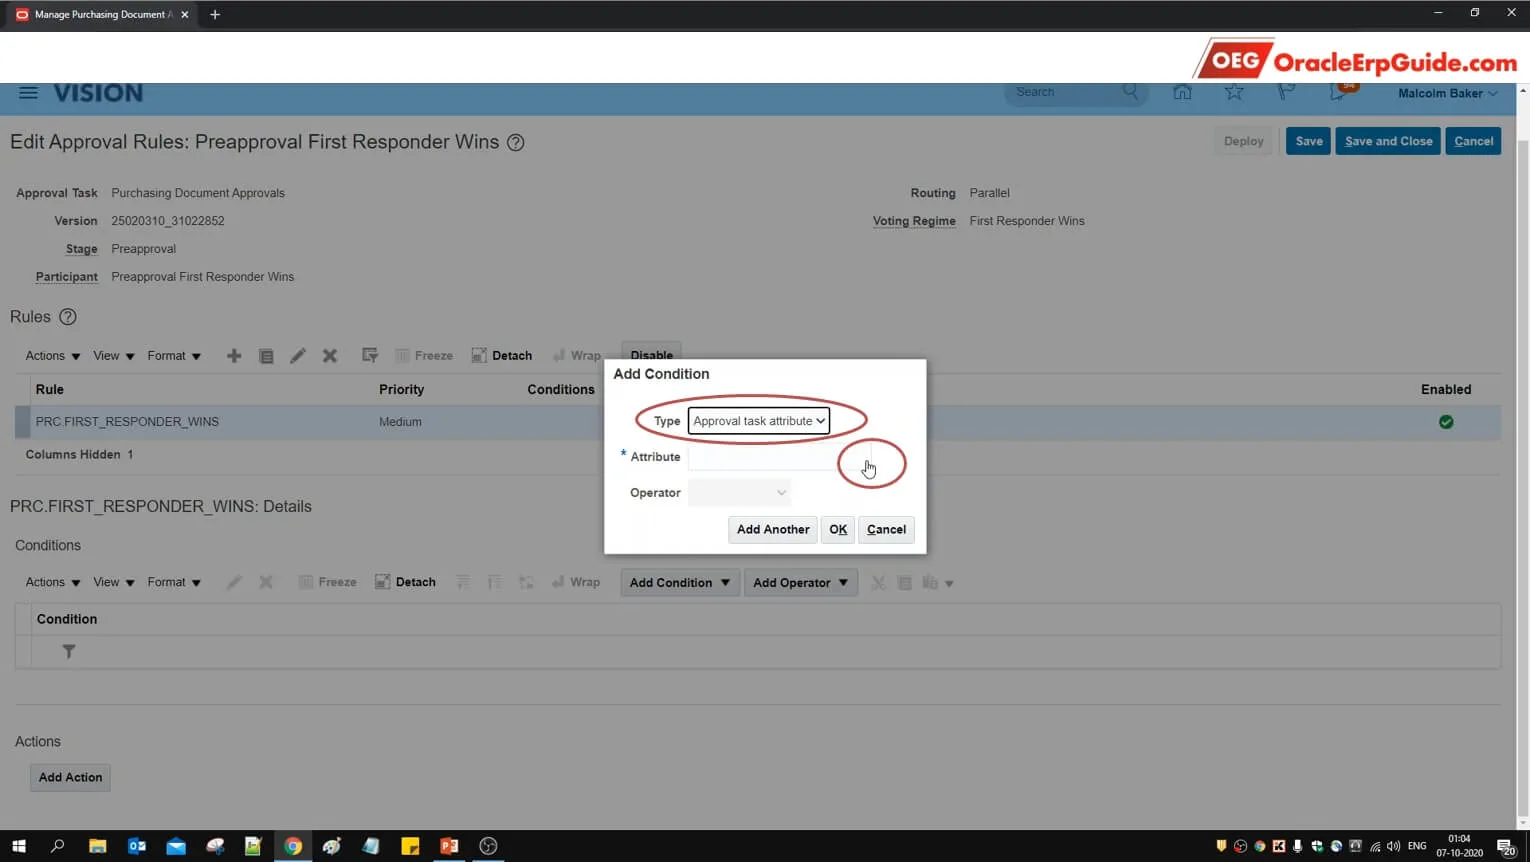
- Select the type as "Approval task attribute" as click on lens icon for Attribute
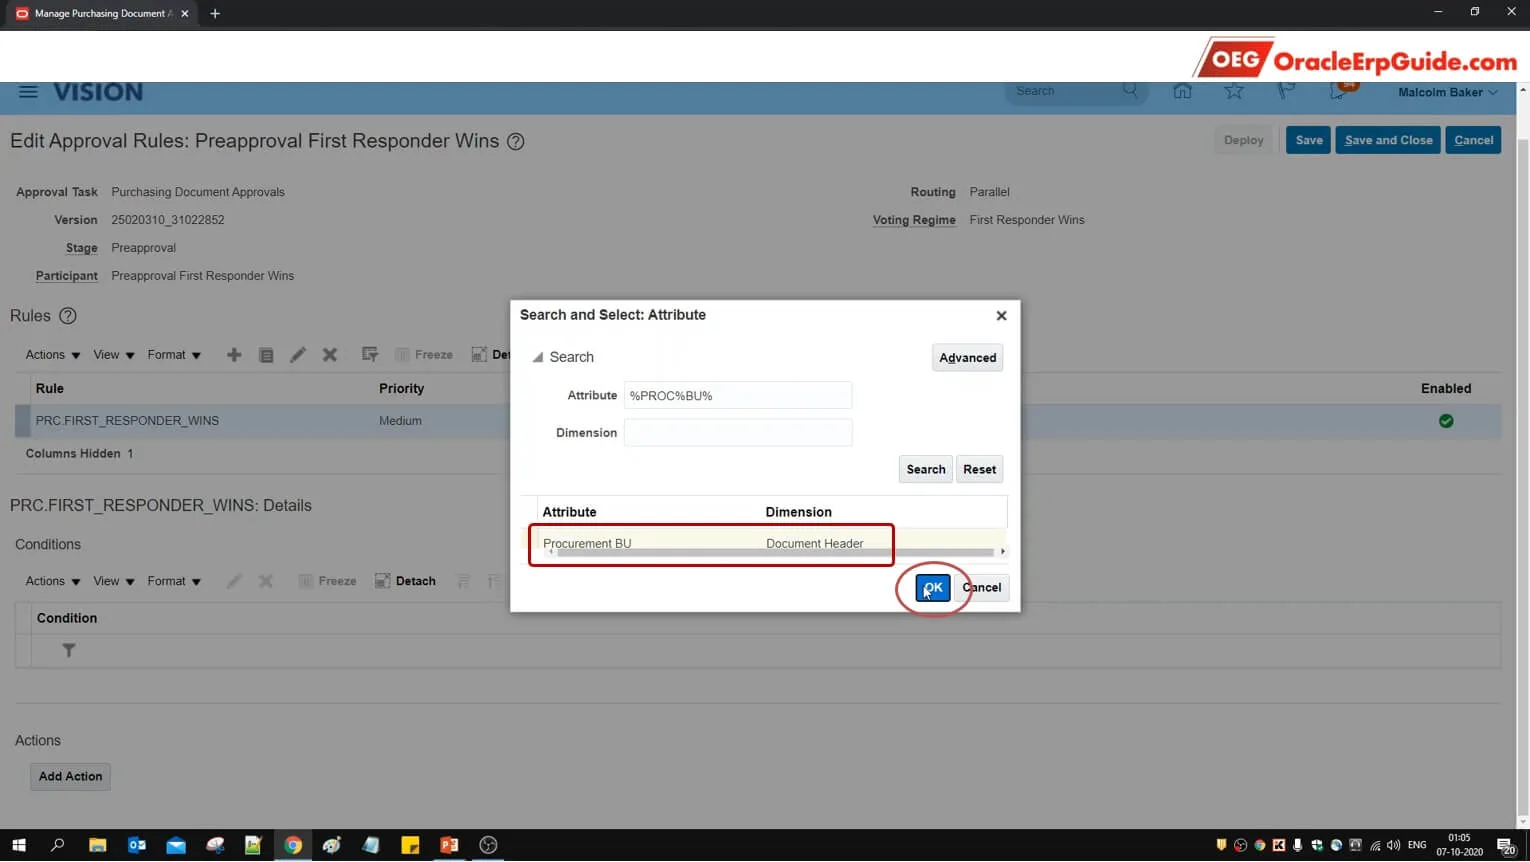
- Search for the Attribute "Procurement BU"
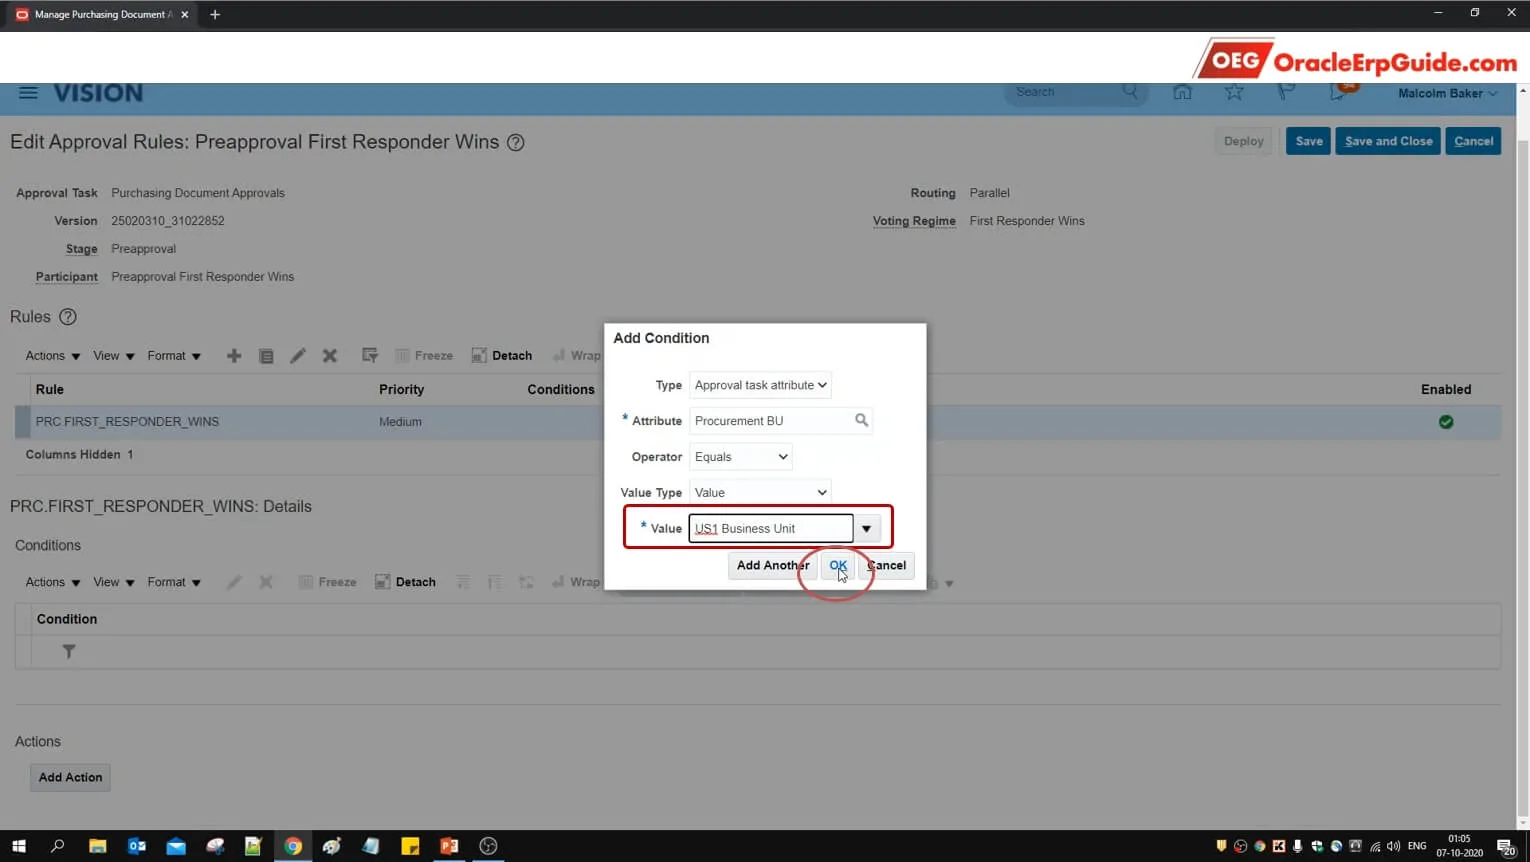
- Set the parameters as mentioned in the screenshot. (Procurement BU Equals "US1 Business Unit"). Click OK
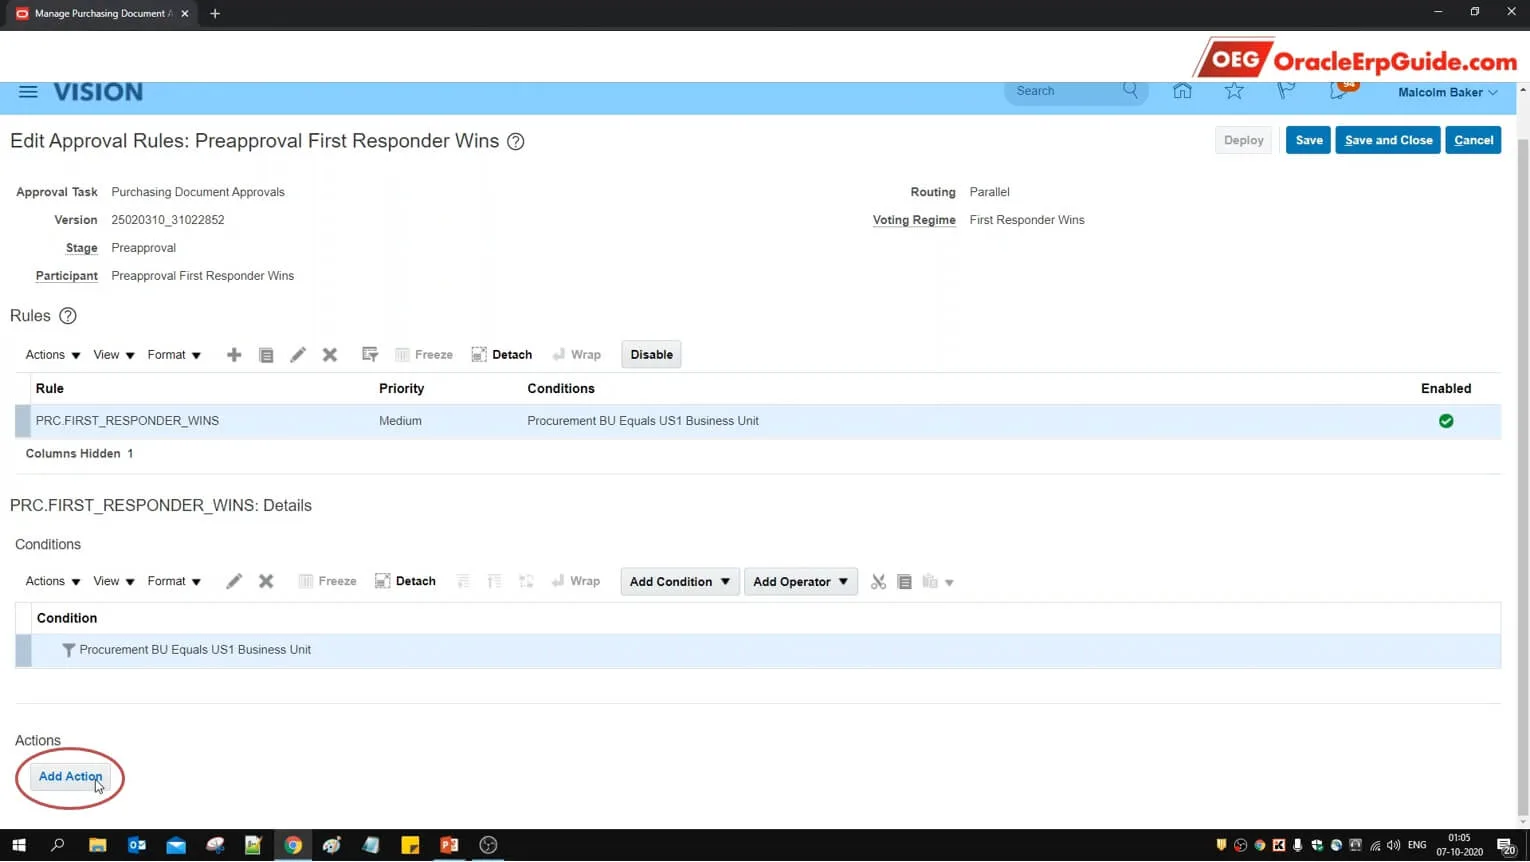
- Click on "Add Action"
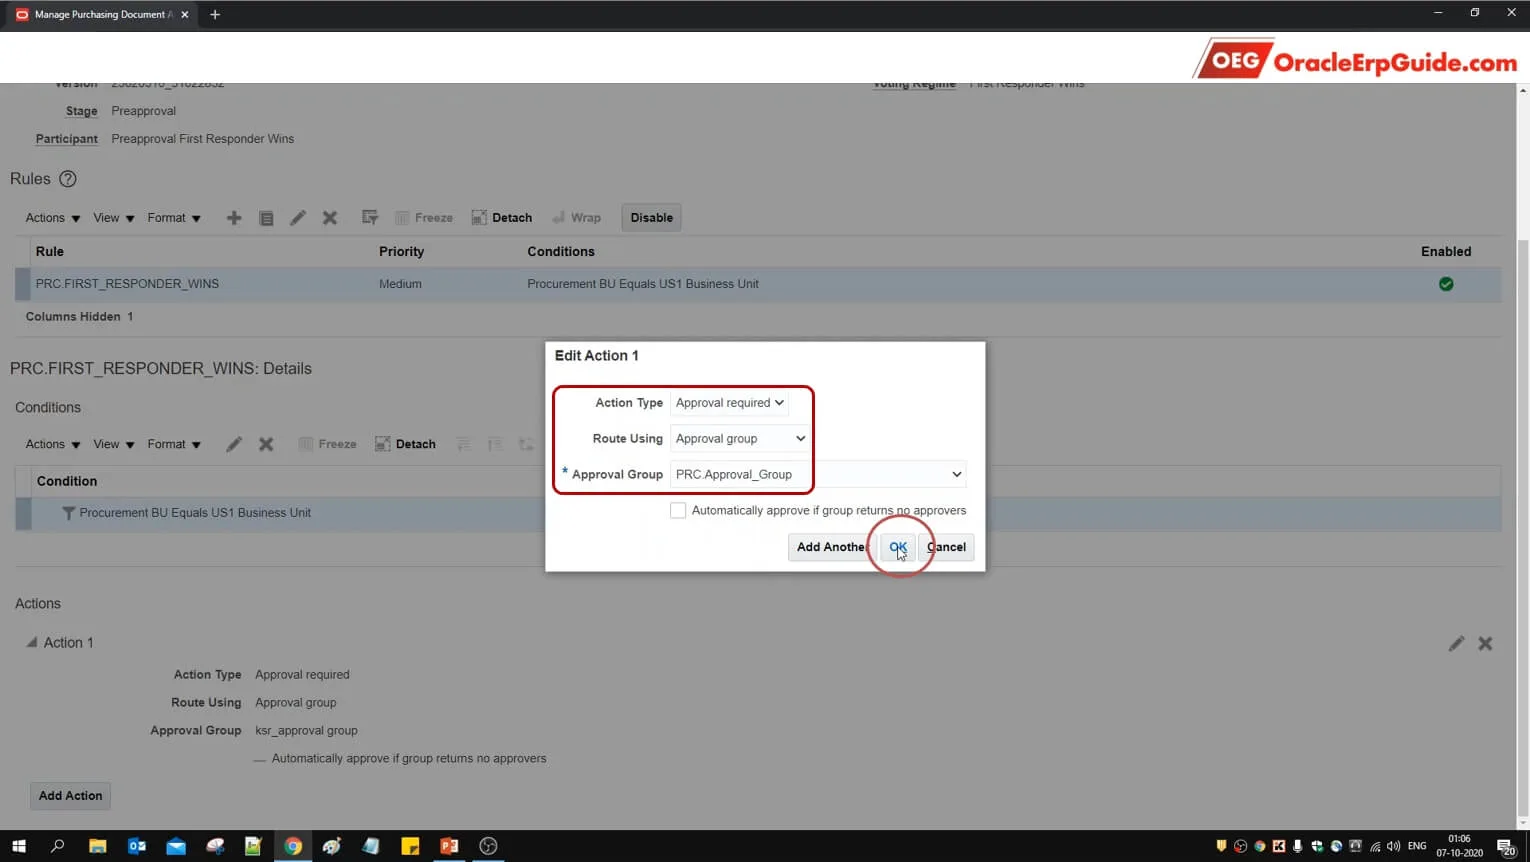
- Select the action type as "Approval Required" Route using "Approval group" select the approval group created in earlier
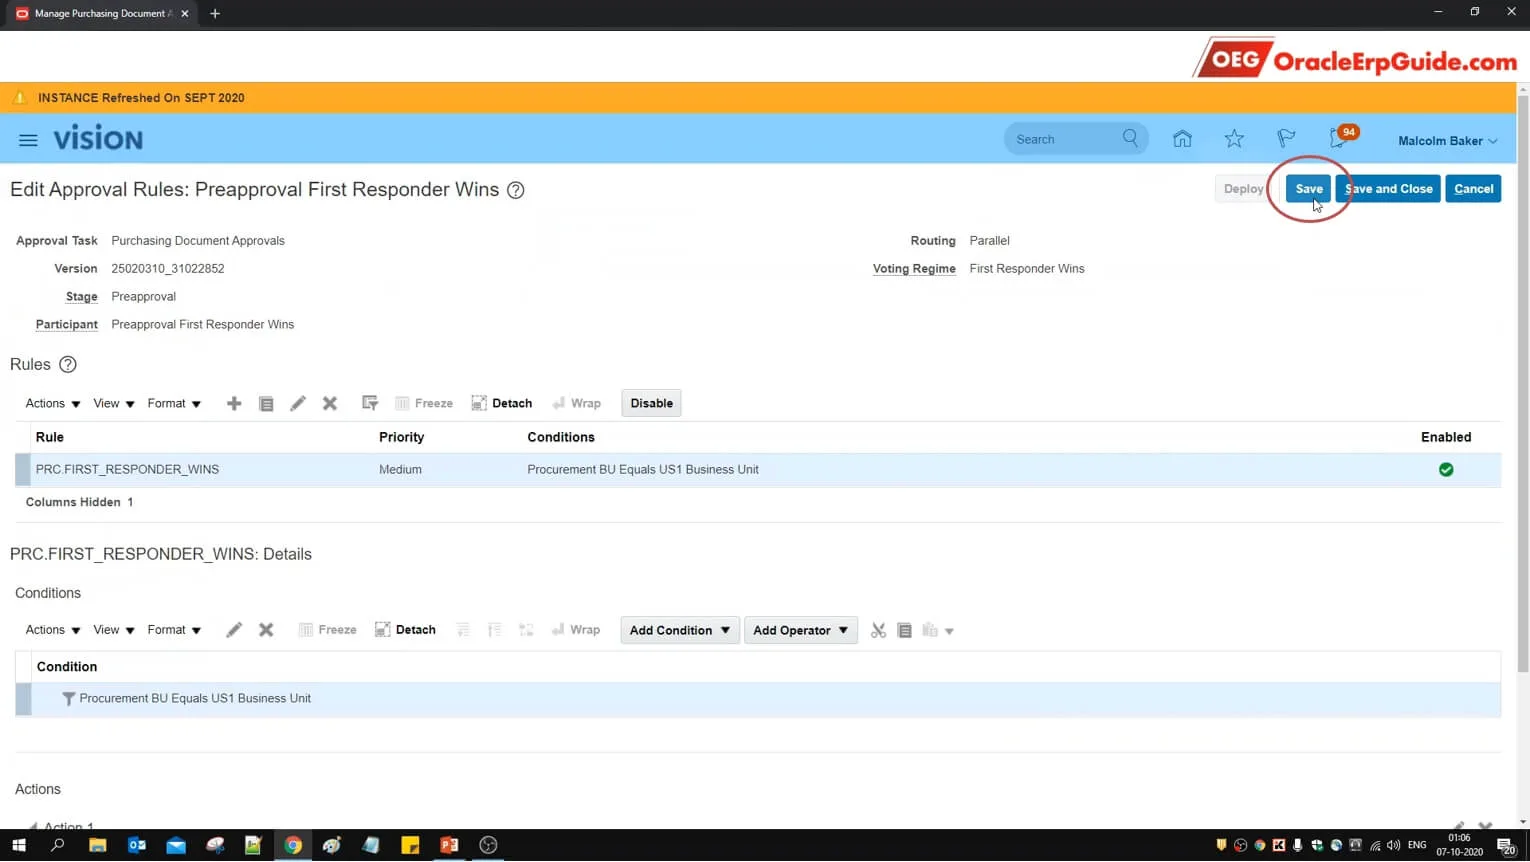
- Click "Save"
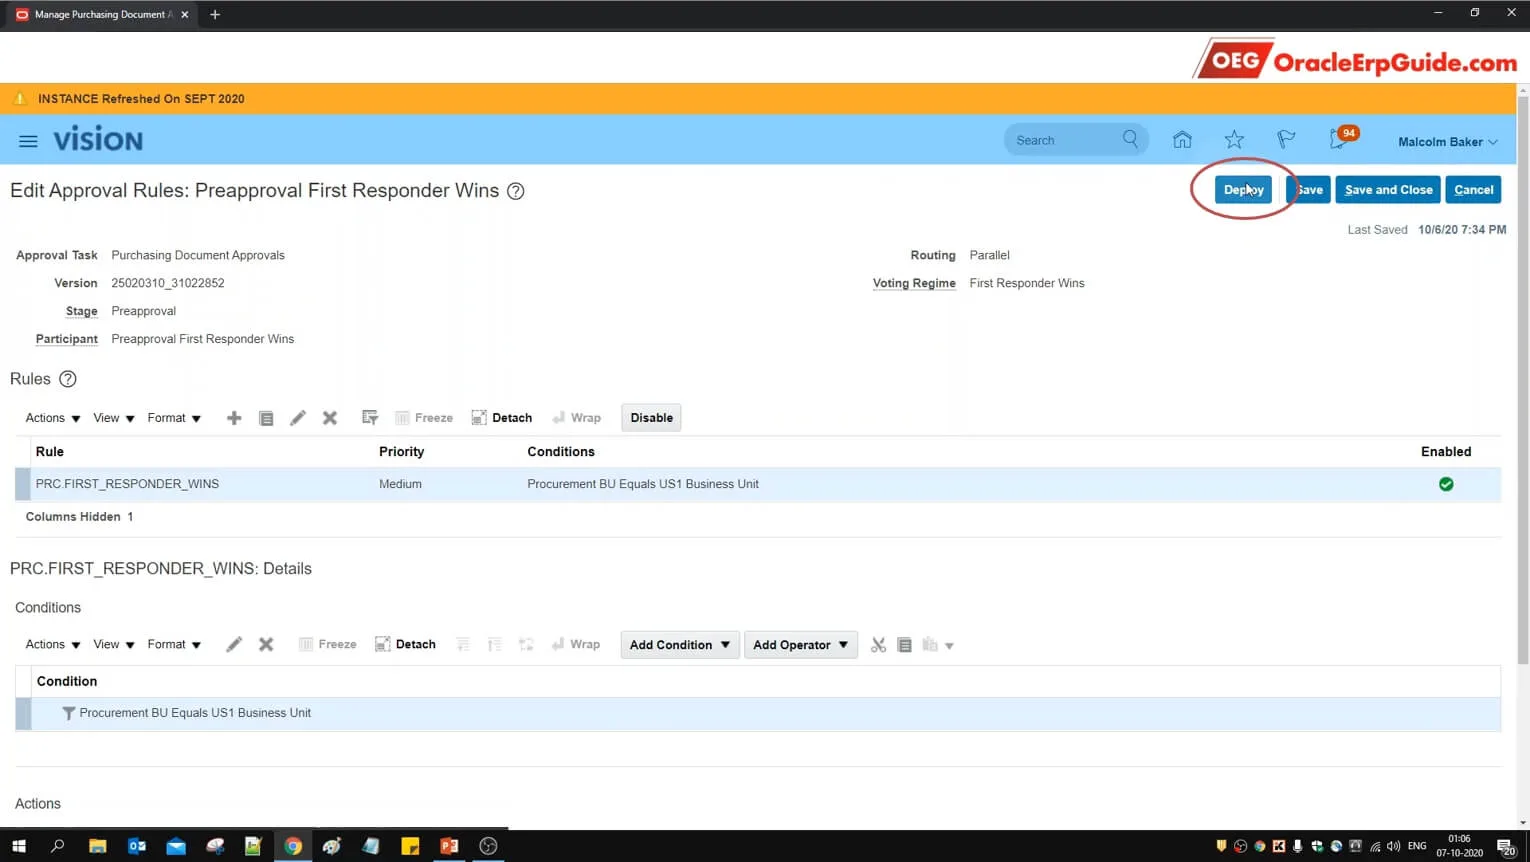
- Click "Deploy"
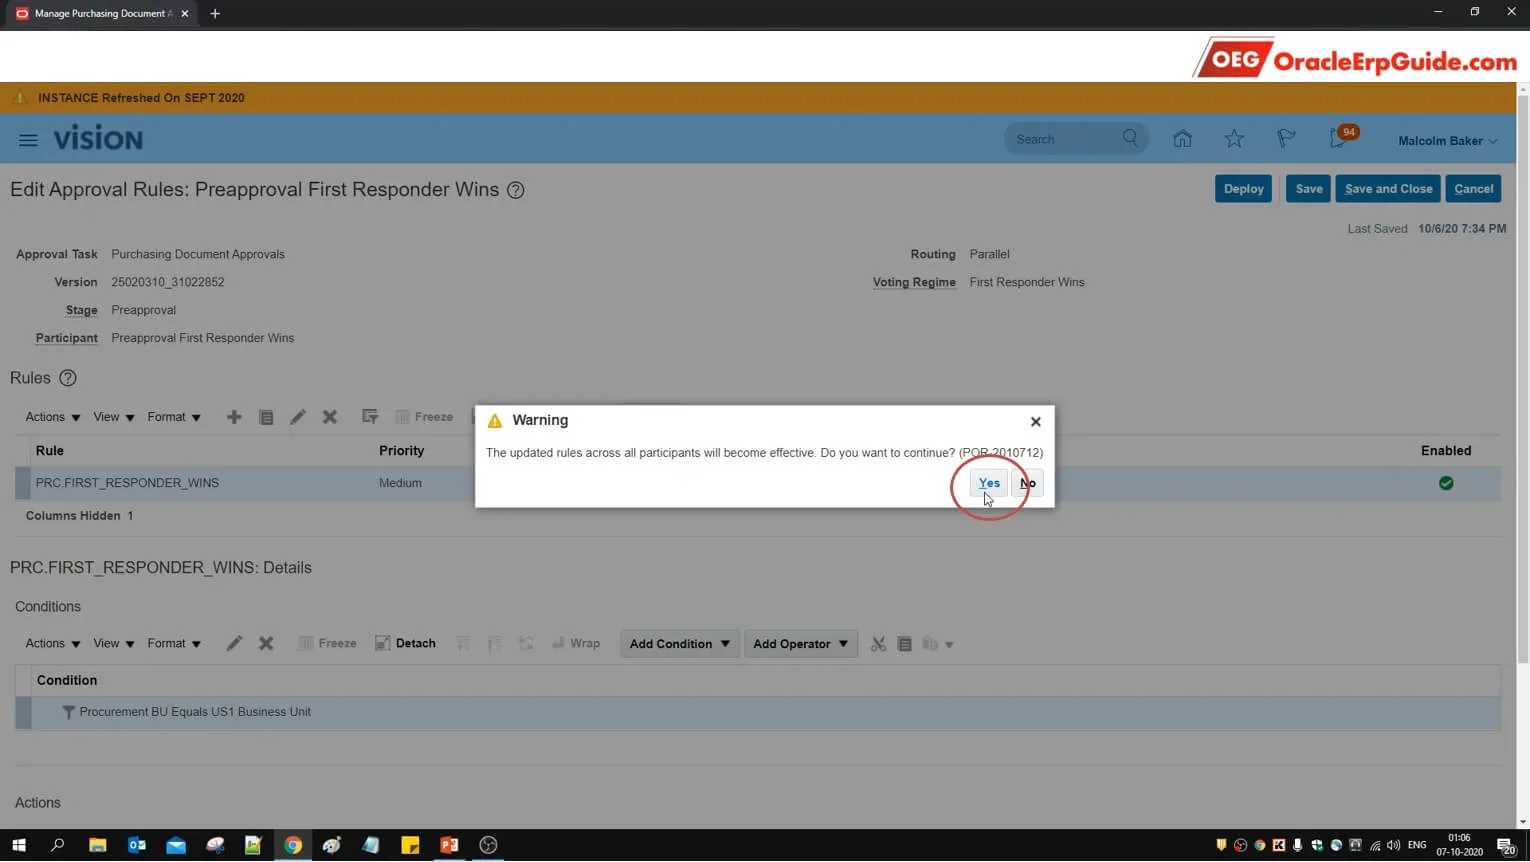
- Click "Yes"
- Click OK

- Select the row that we just configured and click "Enable"
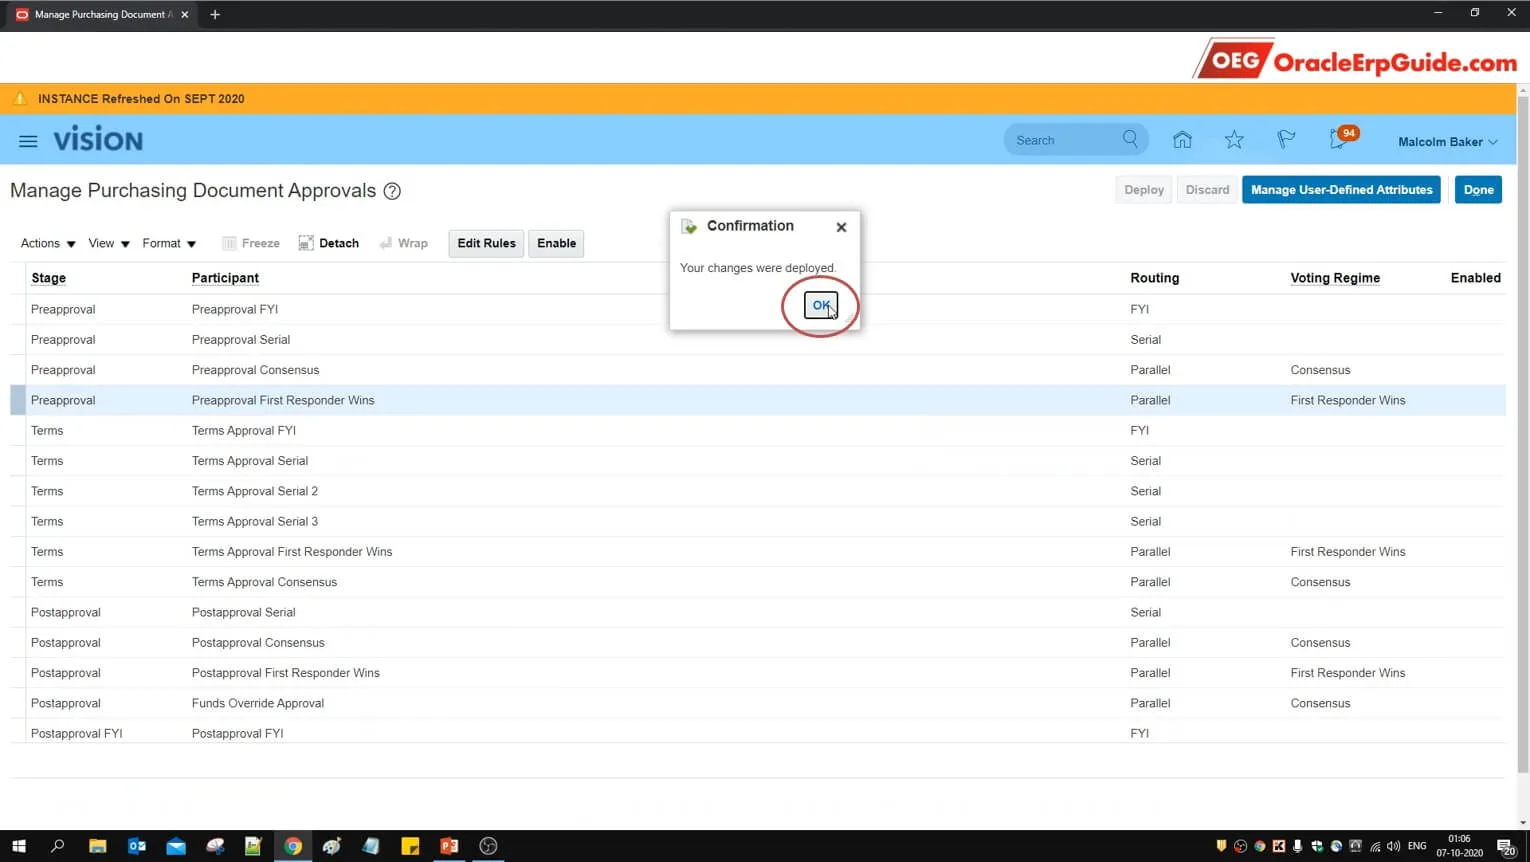
- See that the row has been enabled. Click "Deploy"
- Click OK. The Configuration is complete. Let us now verify the scenario of Parallel Approval – First Responder Wins
Transaction
- Login to the user account with the roles to create PO
- From Procurement go to "Purchase Orders"
- Click on the "Tasks" pane

- Click "Create Order"
- Enter the PO details. Ensure that the Procurement BU is "US1 Business Unit". Click "Create"
- Click + to enter the PO lines
- Enter the PO line details
- Click "Save"

- From actions, click "Validate"
- Click OK

- Click on "Manage Approvals"
See that the approvals have been routed to 3 approvers simultaneously since this is a Parallel Approval. Click "Submit" to submit the PO for approval
- Note the Purchase Order number. Click OK

- Login to the account of any approver
- Click on the bell icon to see the notifications. Click "Approve" to approve the PO
- Login to the account of the user from which the PO was created
- From Procurement, go to "Purchase Orders"
- Click on "Recent Documents"
- Click on the relevant PO

Since this is a "First Responder Wins" scenario, decision of the first responder is final. Since the first responder in our scenario has approved the PO, the PO status is now "Open" even when we have not approved from other 2 approver accounts
If you want to practice these approval patterns inside a larger requisition-to-PO flow, the Oracle P2P Procure-to-Pay Cloud Learning Subscription is worth reviewing next. It gives this BPM approval setup more context by connecting it with procurement transactions, accounting impact, and downstream processing.