Overview
Project roles are specific to a project, such as administrator, staffing owner, or team member, and can be either predefined or custom-created. Some roles are specific to project financial management, like the project administrator, while others, such as the project manager, are relevant to both financial and execution management. Each role has a name, description, and an associated enterprise role, which grants functional access and data privileges for the project.
This guide walks through the steps to create a new project role and assign qualifications and keywords to it in Oracle Fusion Cloud.
Creating Project Role and Assigning Qualifications & Keywords
Credentials: To log in to the Fusion instance, fetch your credentials from https://portal.oracleerpguide.com/oracle-fusion-cloud-instance-access/
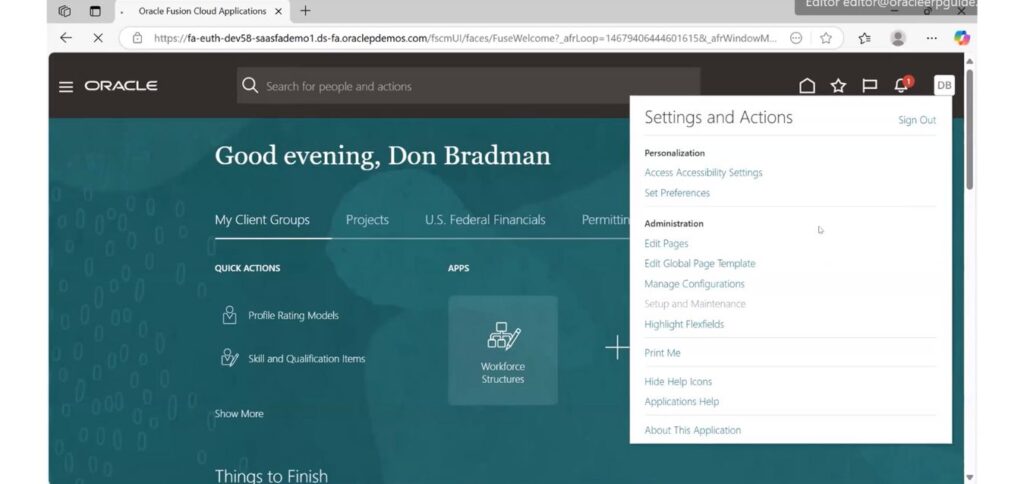
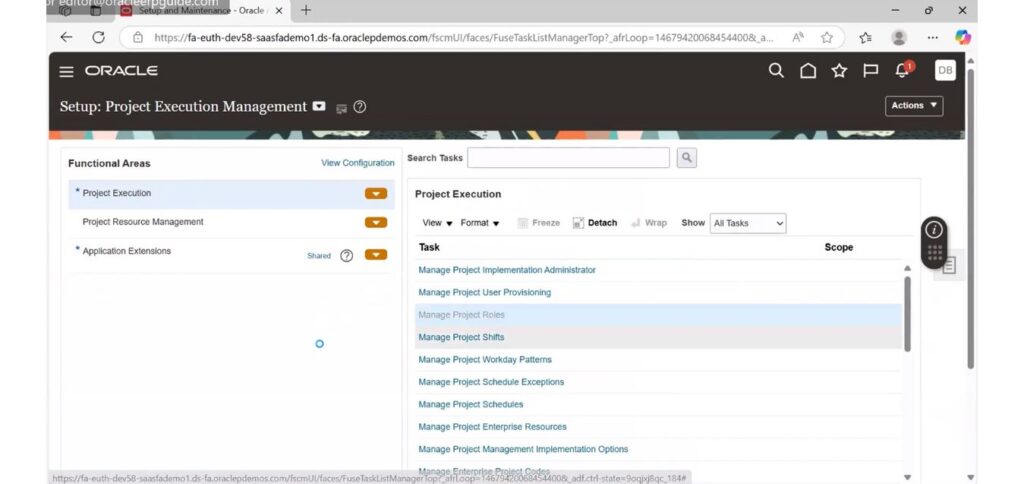
1. Go to Setup and Maintenance.
2. Select Offerings as Project Execution Management and Functional Area as Project Execution.
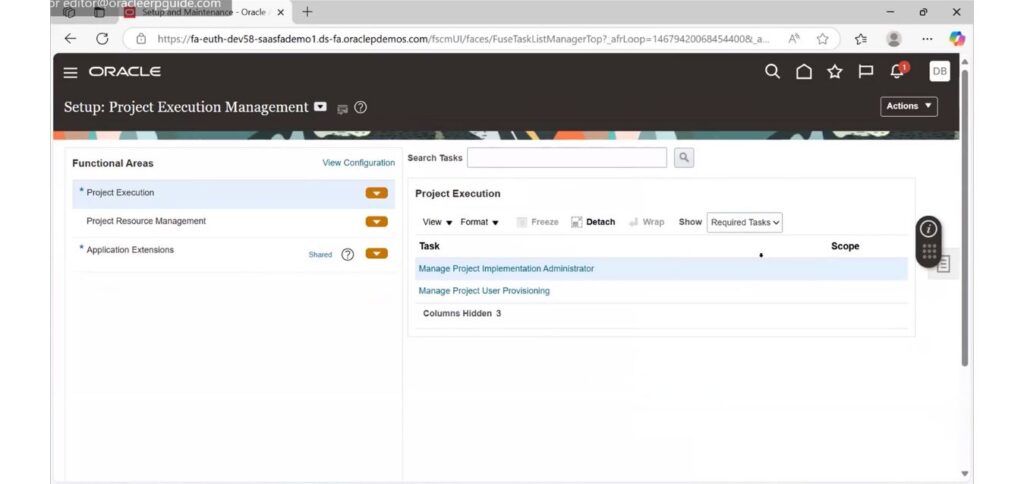
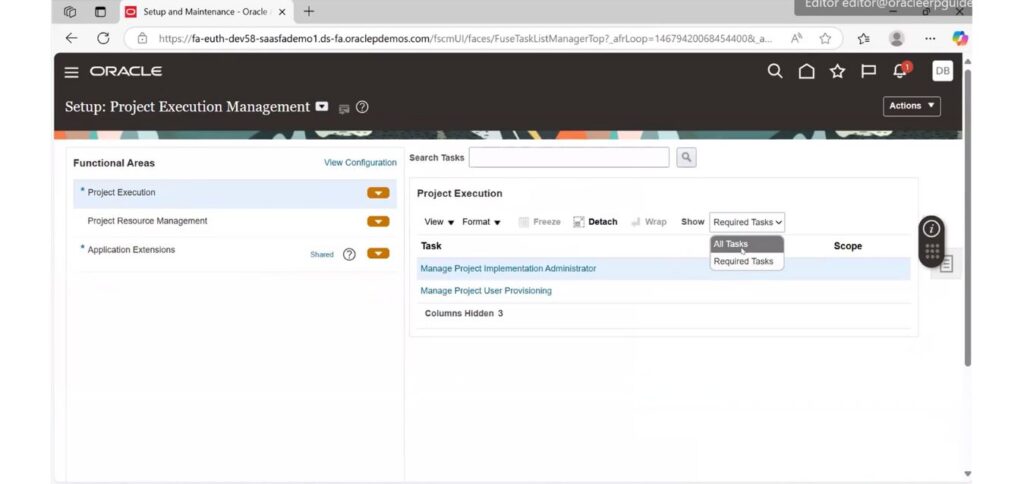
3. Click on All Tasks.
4. Click on Manage Project Roles.
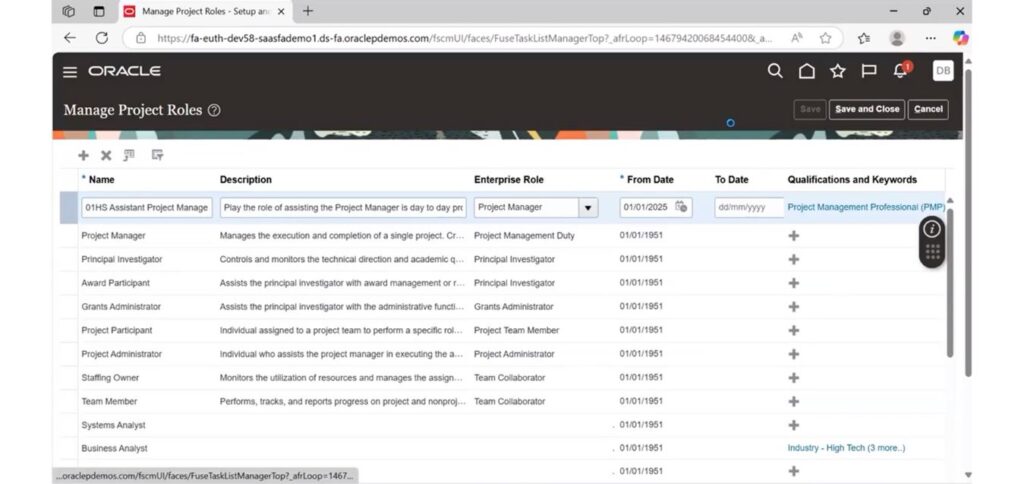
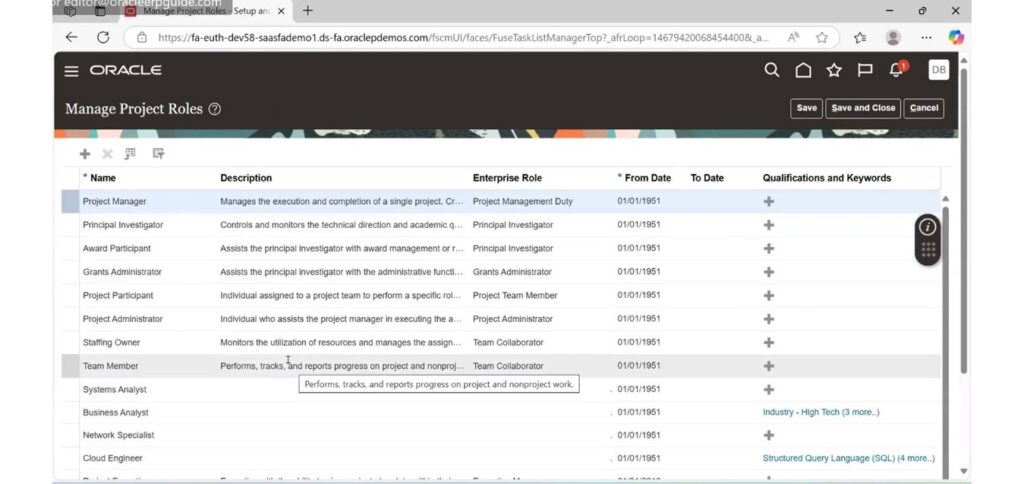
5. The Manage Project Roles page displays all existing project roles — both predefined and custom.
Create New Project Role
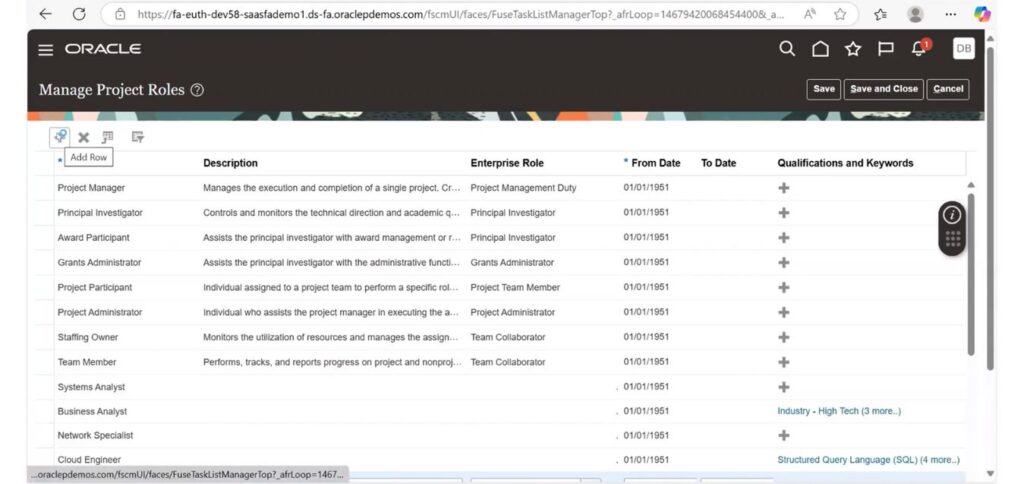
6. Click on the plus icon to create a new project role.
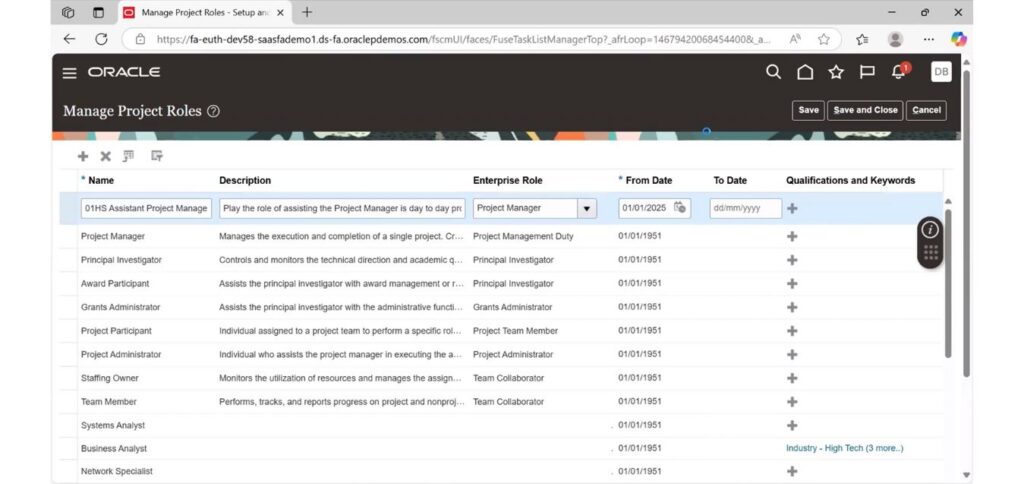
7. Give the following details to create a new role: enter the Name of Role as '01 HS Assistant Project Manager', write the description, set the Enterprise Role as Project Manager, and give the From date and To date.
Add Requirements & Keywords
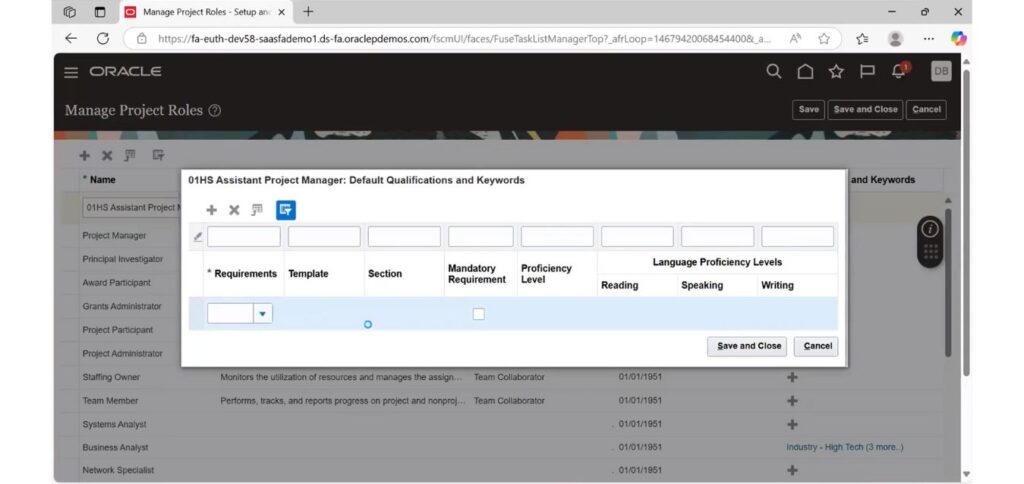
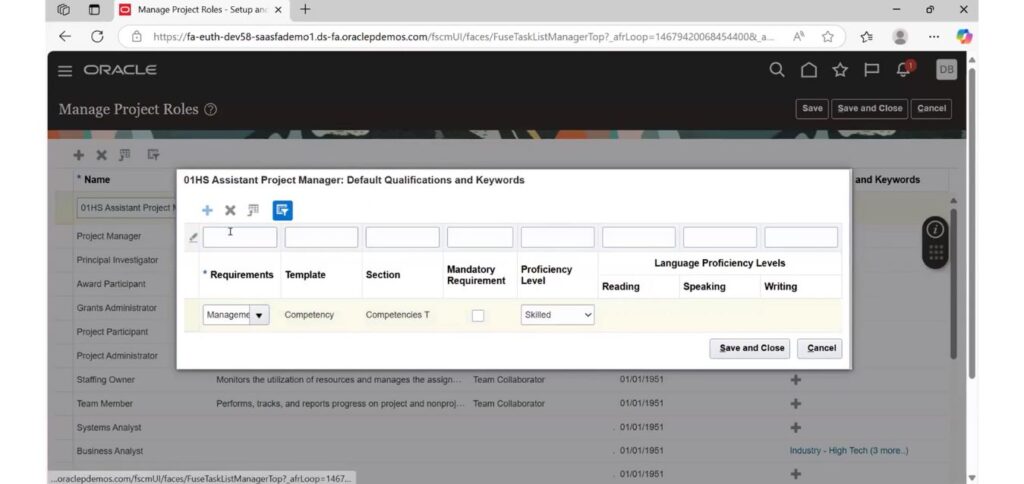
8. Navigate to the Requirements & Keywords section for the 01 HS Assistant Project Manager role.
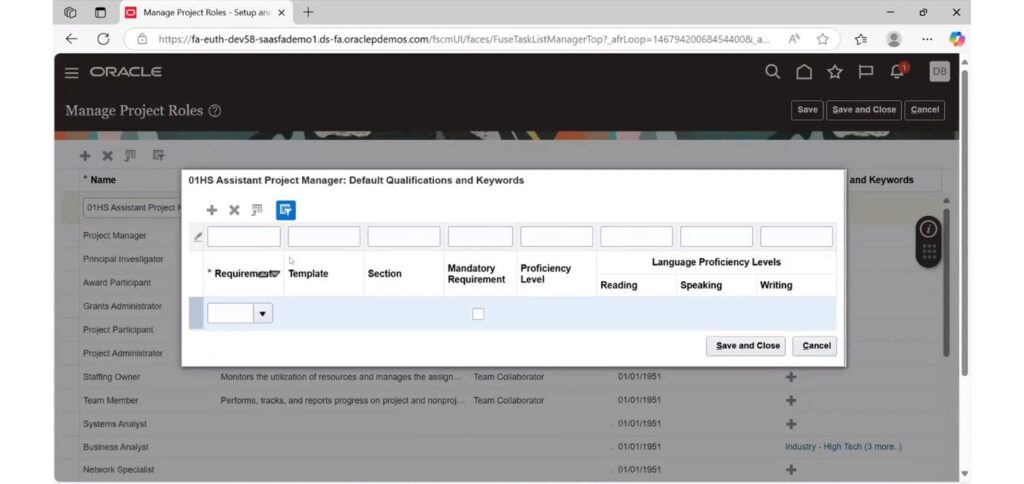
9. Click on the Requirements dropdown.
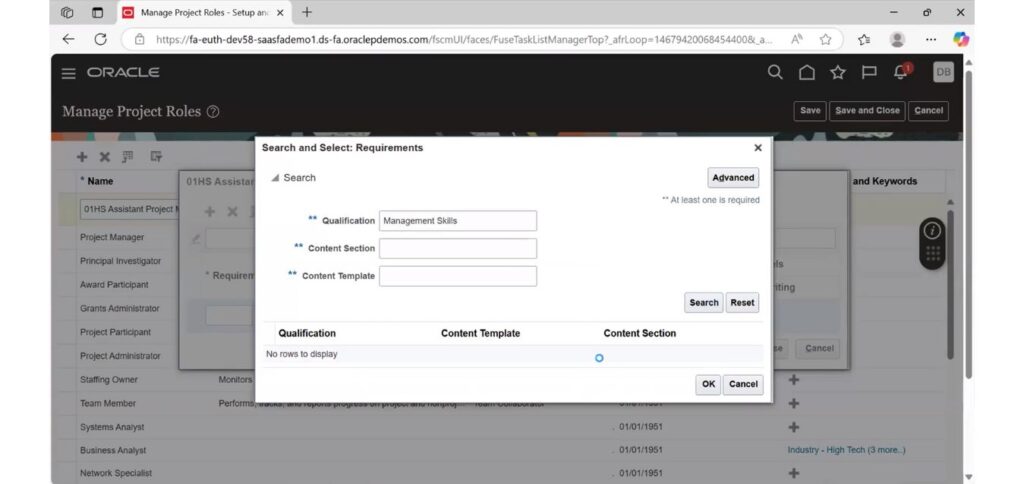
10. Search for Management Skills.
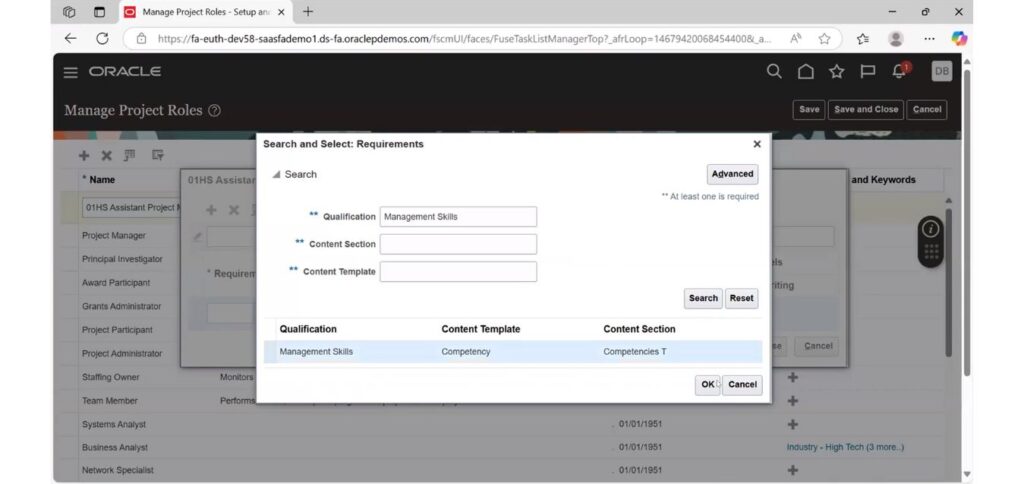
11. Select Management Skills and click on OK.
12. Click on the plus icon to add one more requirement.
13. Search for the Project Management Professional (PMP) requirement.
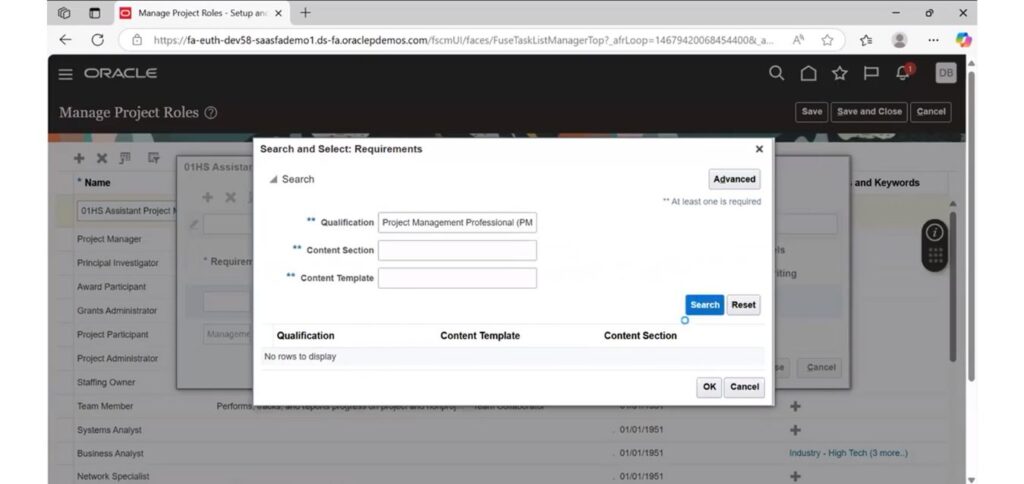
14. Click on OK.

15. Click on Save and Close.
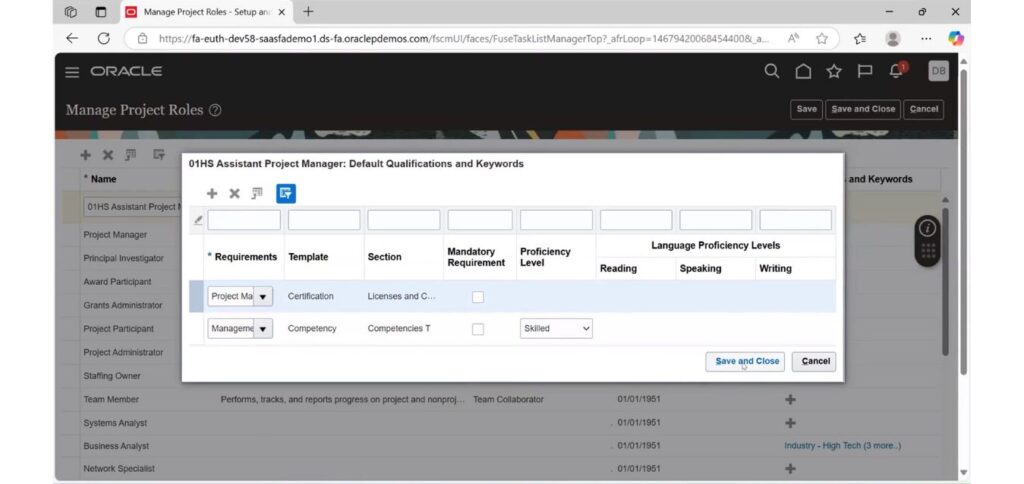
16. The Assistant Project Manager role has been successfully created with qualifications and keywords assigned to it.