Processing Constraints in Oracle Fusion regulate the changes that an order entry specialist makes on a sales document in Oracle Fusion Order Management Cloud. The controls can be of three types – Who, What and When:
1. Who:
Determines which users can make the said changes. This will depend upon the roles assigned to the user
Example: A person having custom role ATLANTA_ORDER_ENTRY_SPECIALIST cannot submit orders with Supply warehouse as SEATTLE Warehouse
2. What:
Determines on what field we have the constraint
Example: Constraint will apply if Warehouse Name is not “Atlanta”
3. When:
Determines the stage of order processing when the constraint should apply
Example: Constraints can apply when you Submit / Validate / Update etc an order
Components
Following are the components in the task “Manage Processing Constraints”
1. Record Set:
It is a set of records bound by a common attribute. A record set contains related records such as lines, lines in a shipment set, or lines in an order
2. Validation Rule Set:
This is the condition which needs to be satisfied for the constraint to get triggered
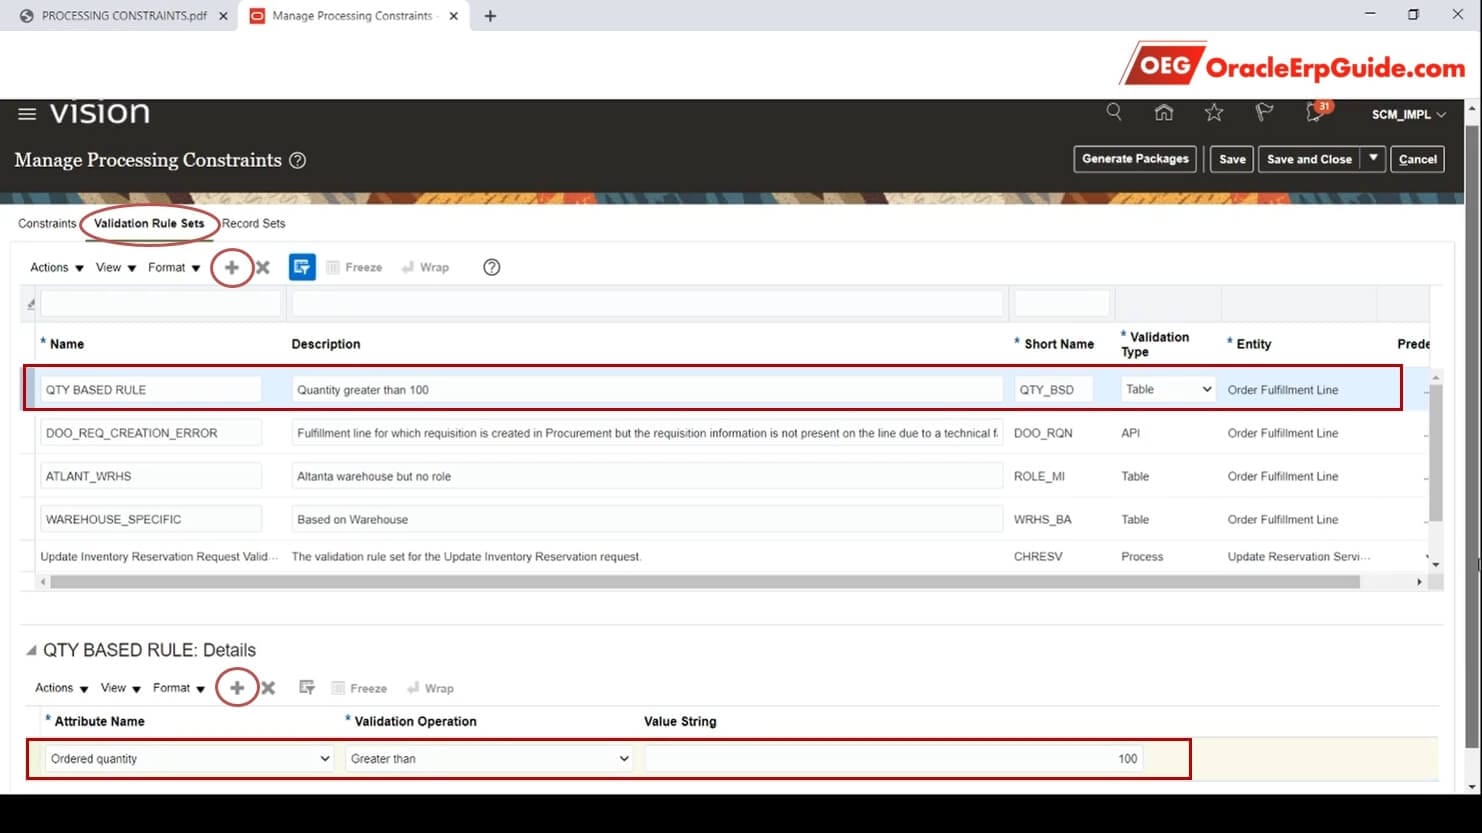
Example: You can restrict the orders with quantity greater than 100
3. Constraints:
Constraints tab will bring together all the factors relevant for placing the restrictions
Scenario
Suppose a client has a requirement that an order with quantity greater than 100 AND the Line type as “Buy” should not be allowed to Submit. This restriction should apply to all the users regardless of the roles assigned to them.
This requirement can be satisfied by Processing Constraints functionality. Let us see how to execute this scenario in the Oracle Fusion Cloud Instance
Configuration
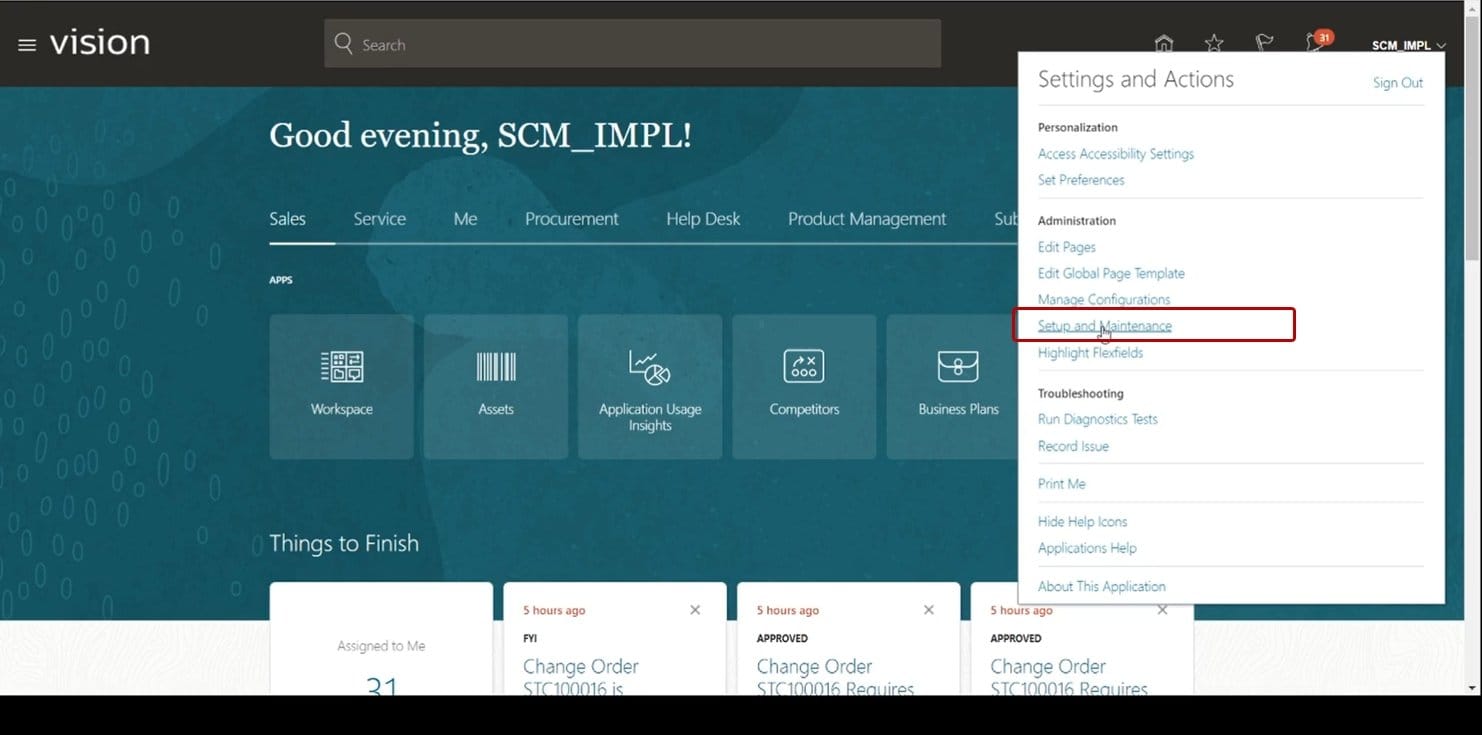
Go to “Setup and Maintenance” work area
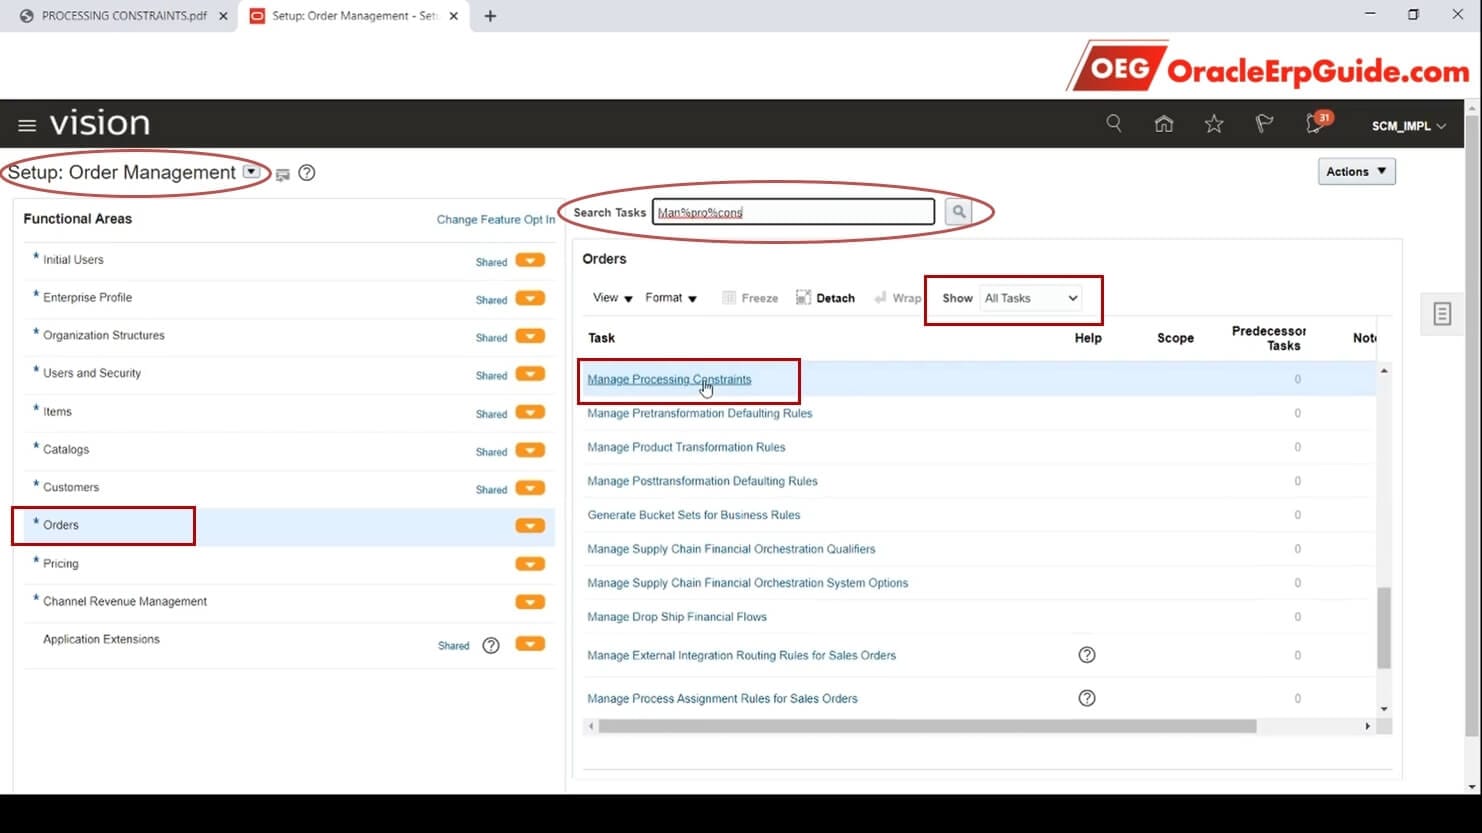
Select “Setup” as Order Management. Select the Functional area as “Orders”. Set Show as “All Tasks”. Search and select the task “Manage Processing Constraints”
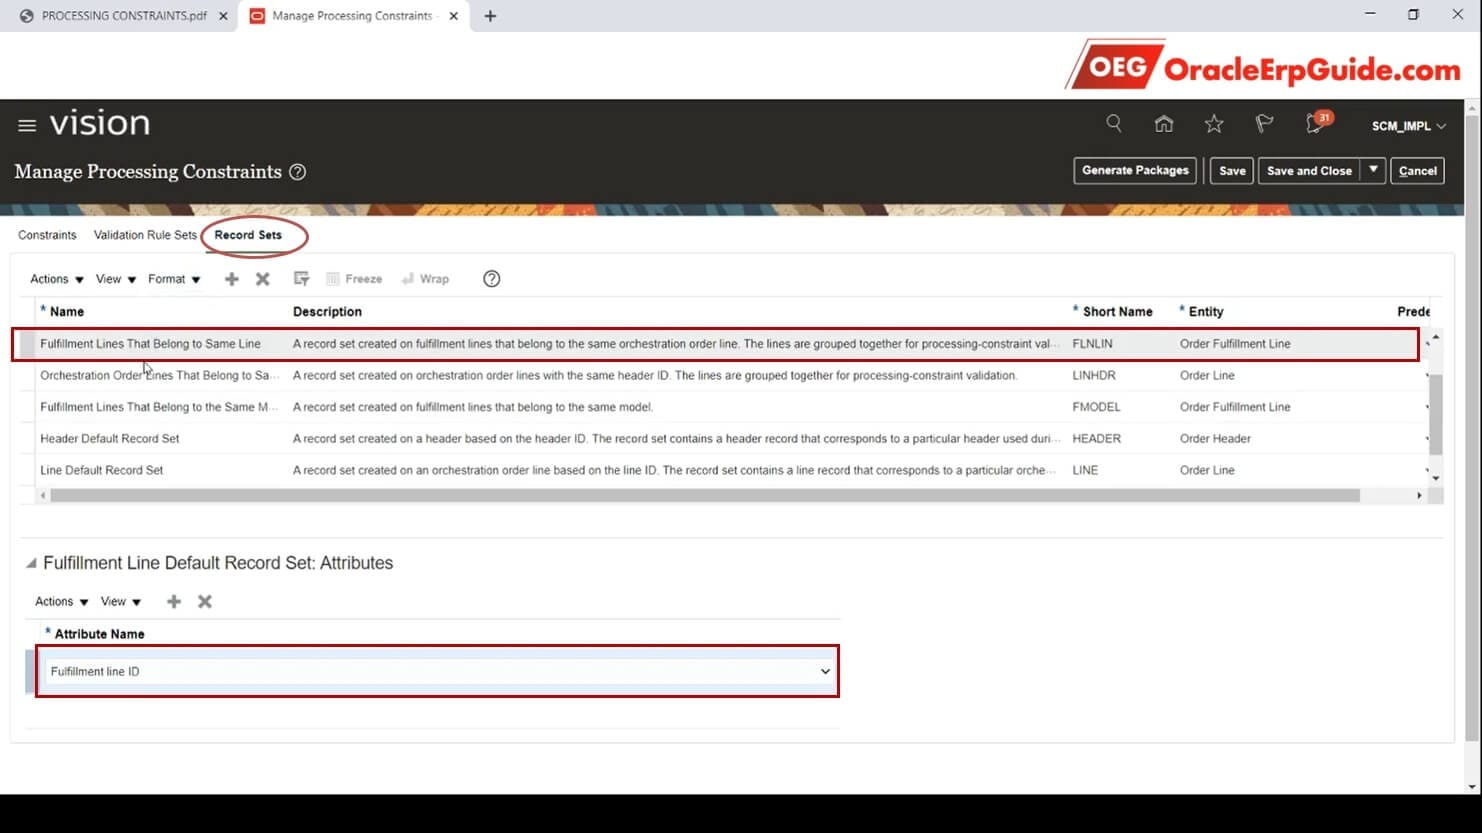
Select the Record Set Tab. We can define a custom record set if required. To do so click “+” in the upper section. Enter the relevant Name, Description, Short Name, Entity. Now Click “+” in the lower section and select the required attribute from the dropdown
In this example, we will use a seeded record set, with name as “Fulfillment Lines That Belong to Same Line” and Attribute Name as “Fulfillment ID”, since our requirement in the scenario does can be fulfilled without a custom record set.
Select the “Validation Rule Sets” Tab. Click “+” to add a row. Enter Name, Description, Short name, Validation Type and Entity. Click “+” in the Details section. Enter the relevant condition / constraint
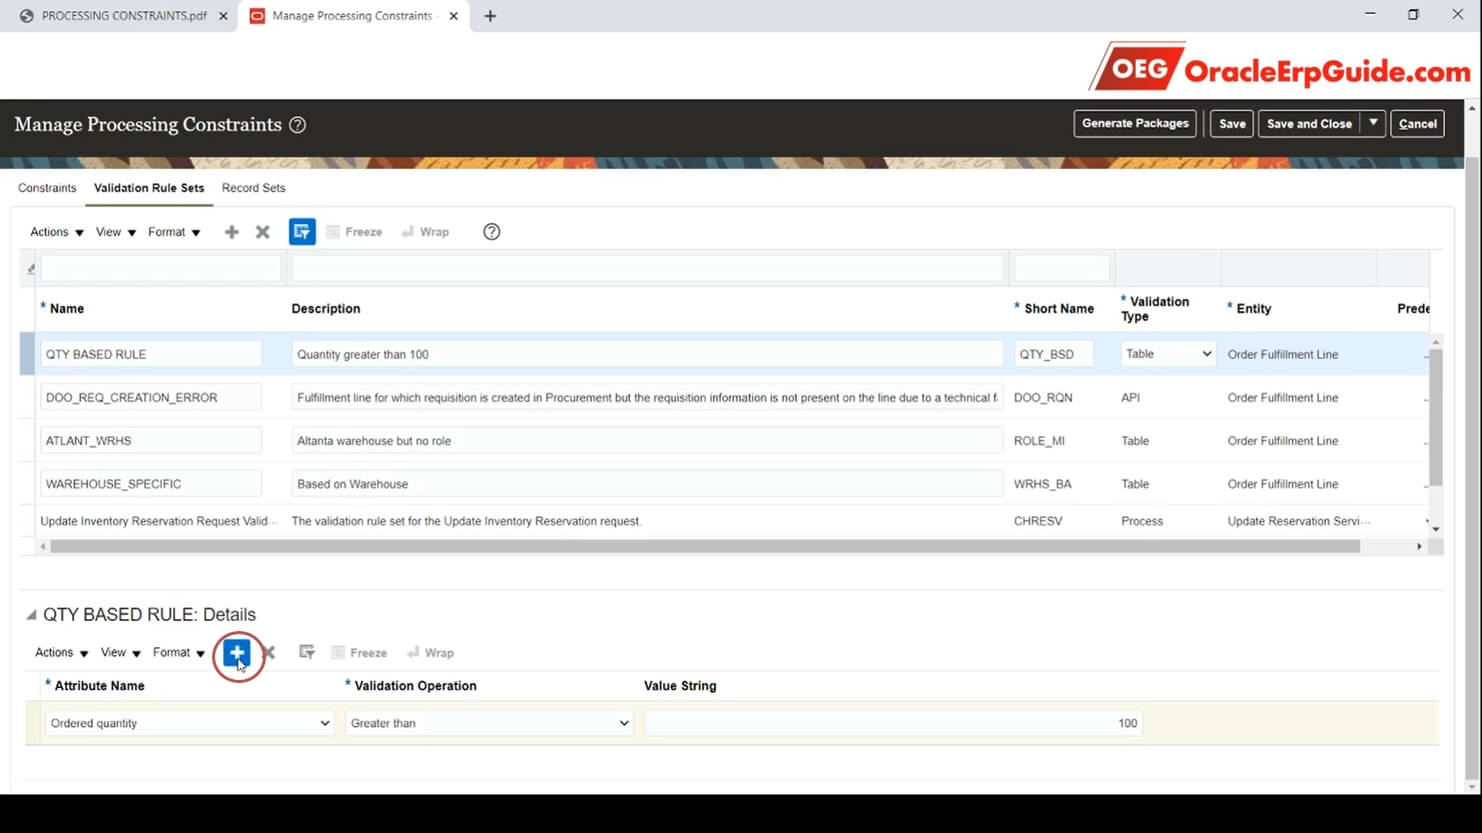
To add multiple conditions, click “+” again. When you add multiple conditions, all the conditions need to be satisfied for the constraint to apply
To add multiple conditions, click “+” again. When you add multiple conditions, all the conditions need to be satisfied for the constraint to apply
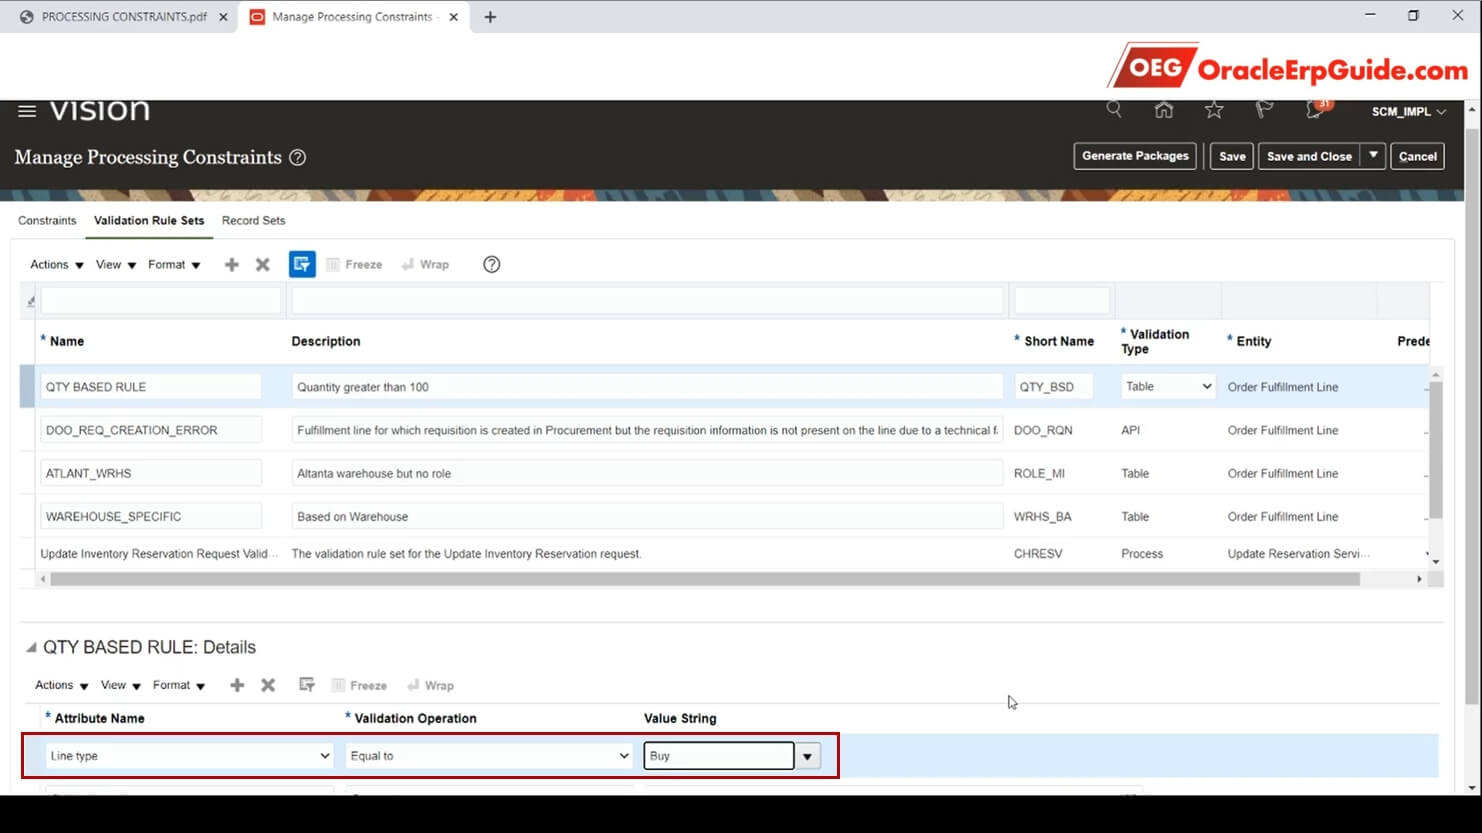
Enter the relevant condition. In this scenario, condition is Line type – Equal to – Buy.
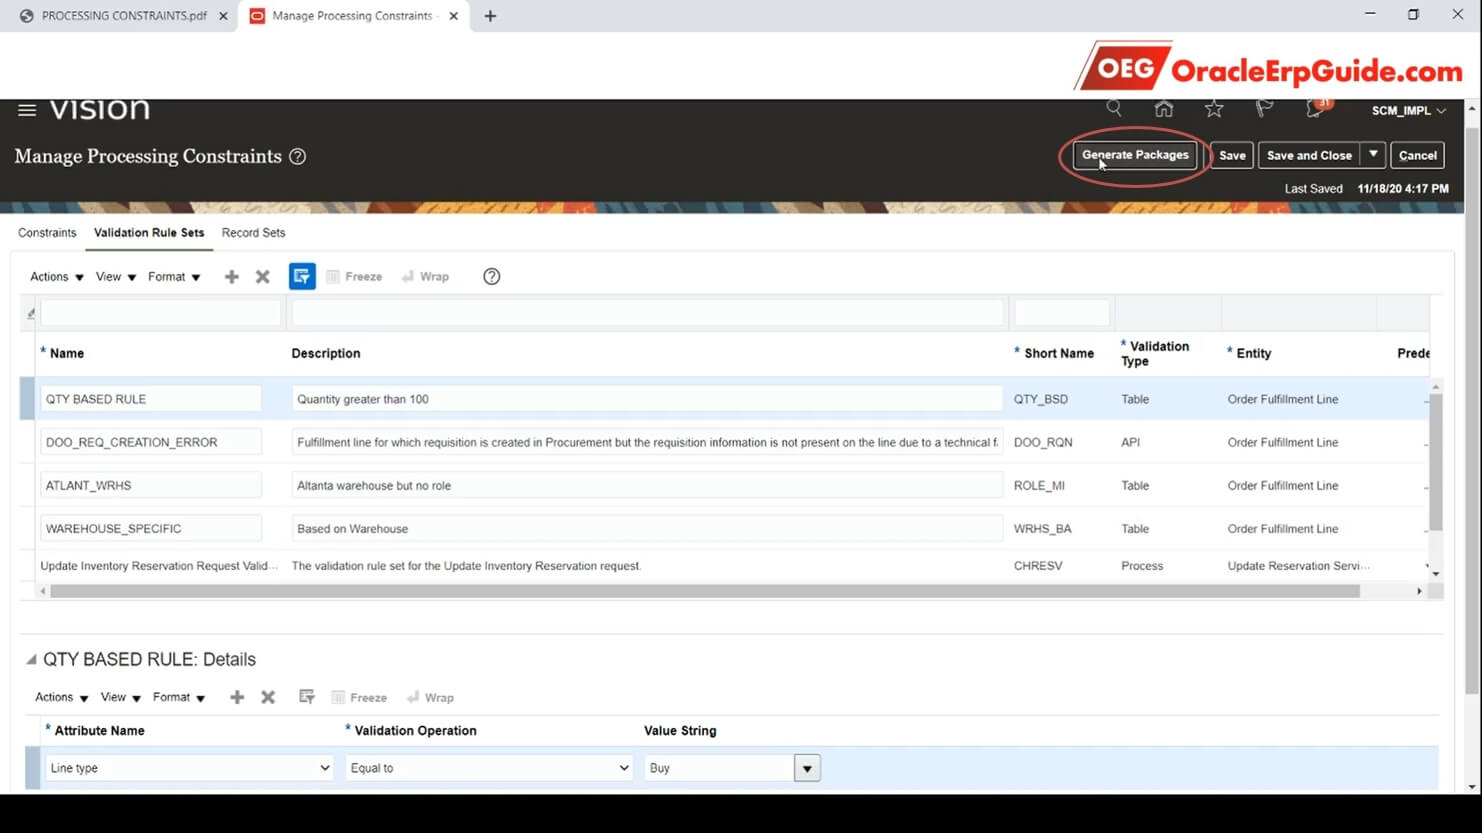
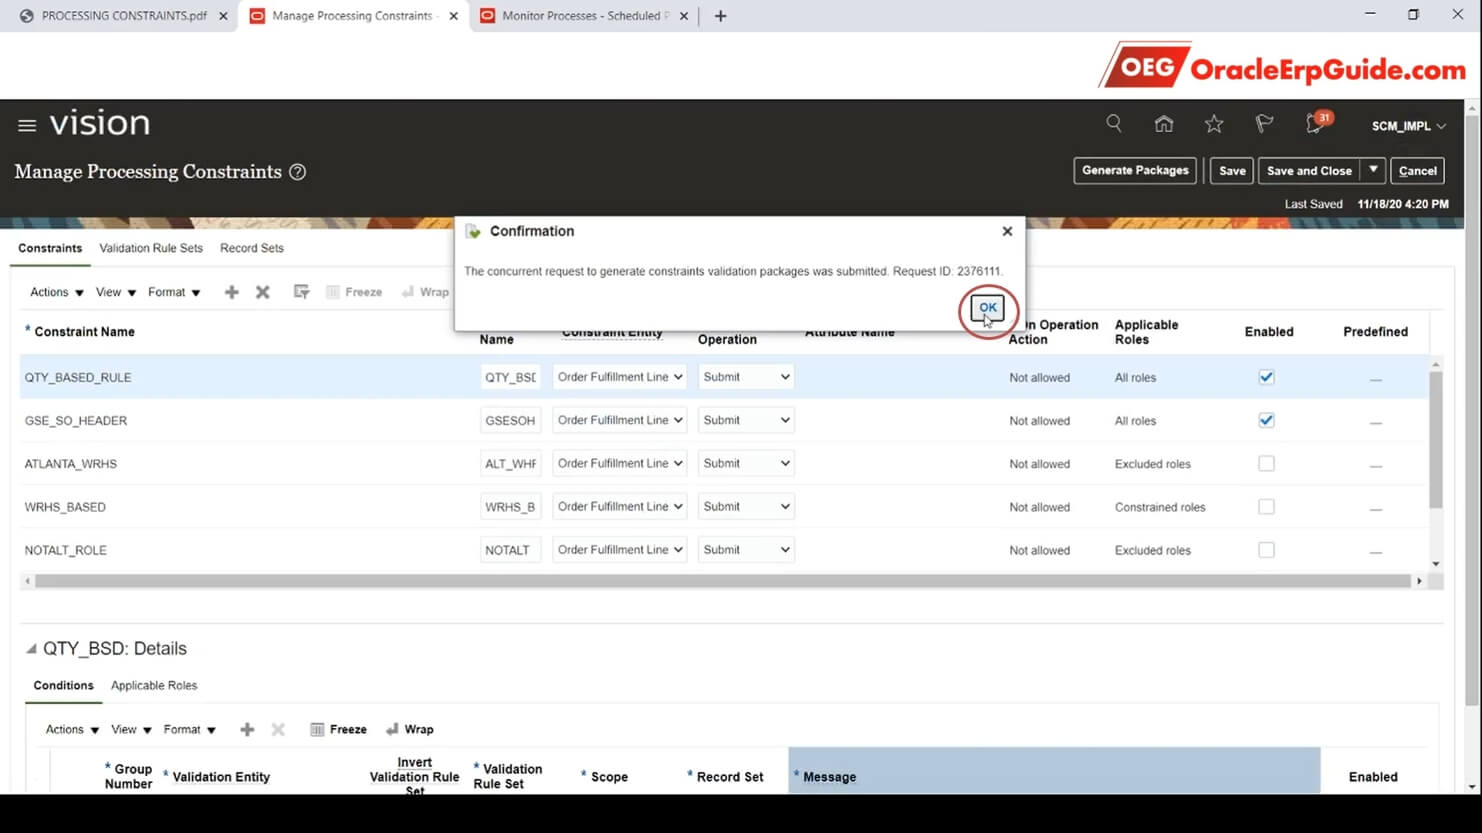
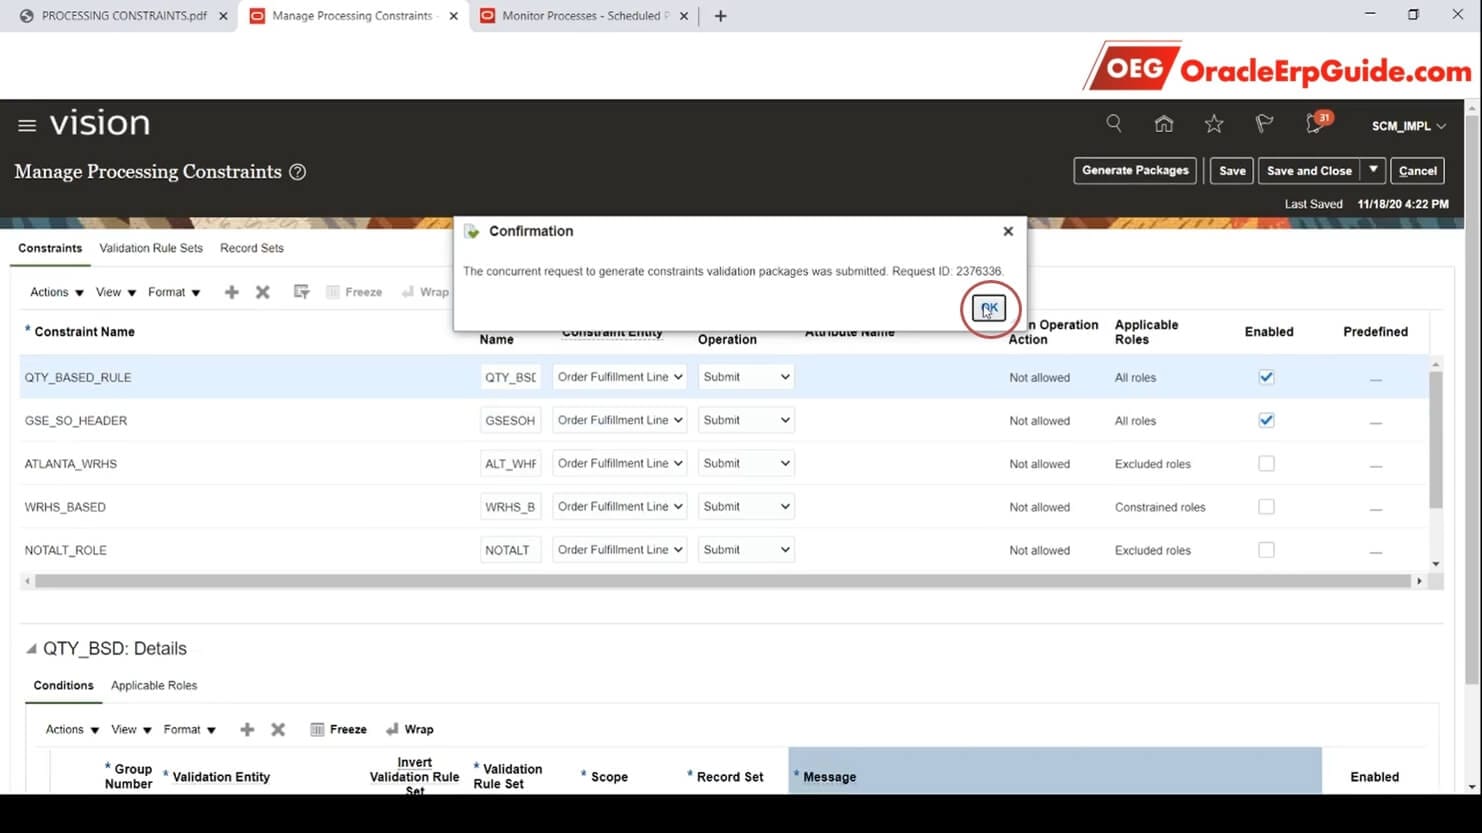
Once the conditions are entered, click on “Generate Packages”
Note the request ID and click “OK”
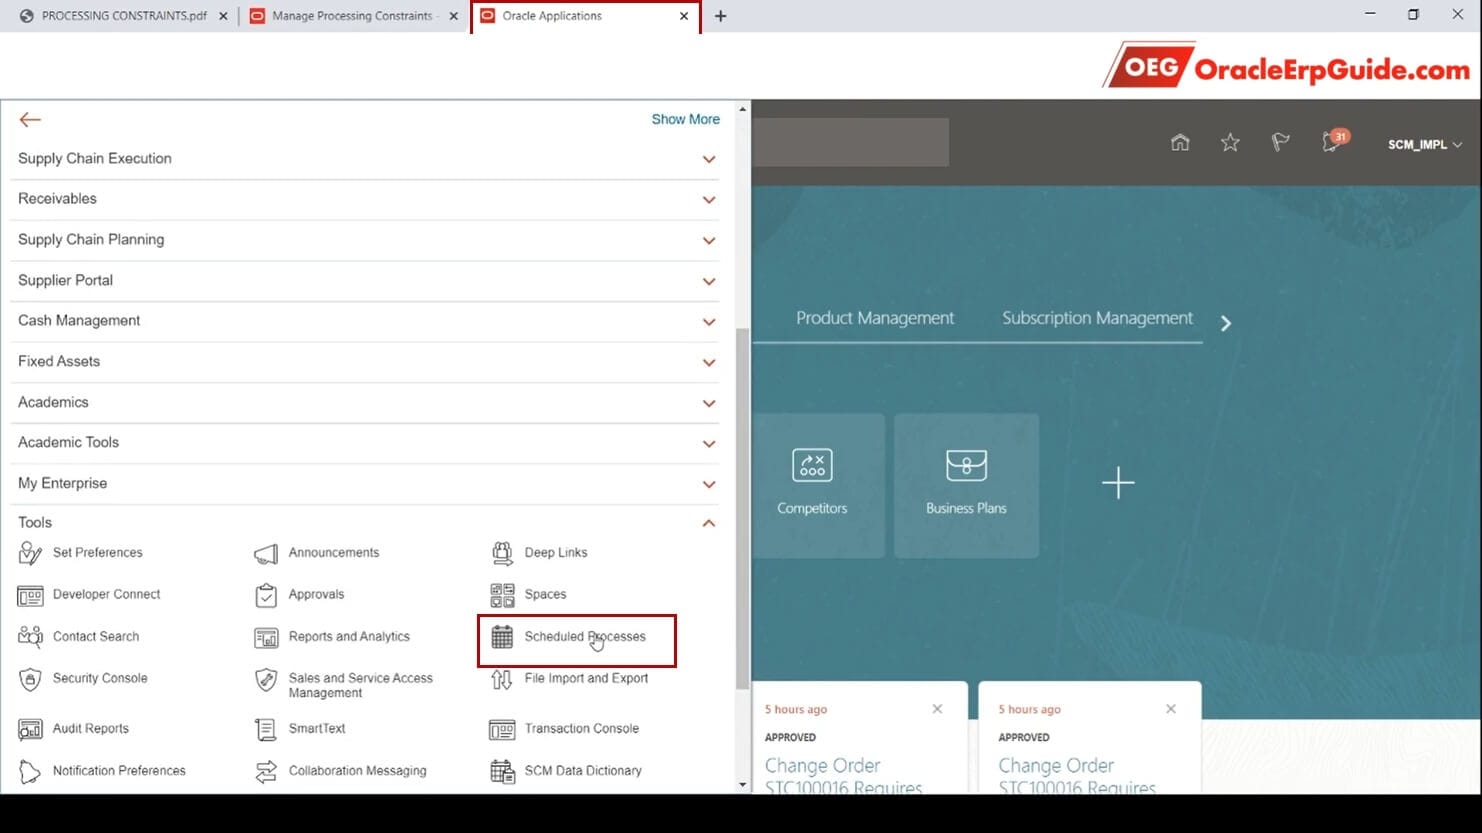
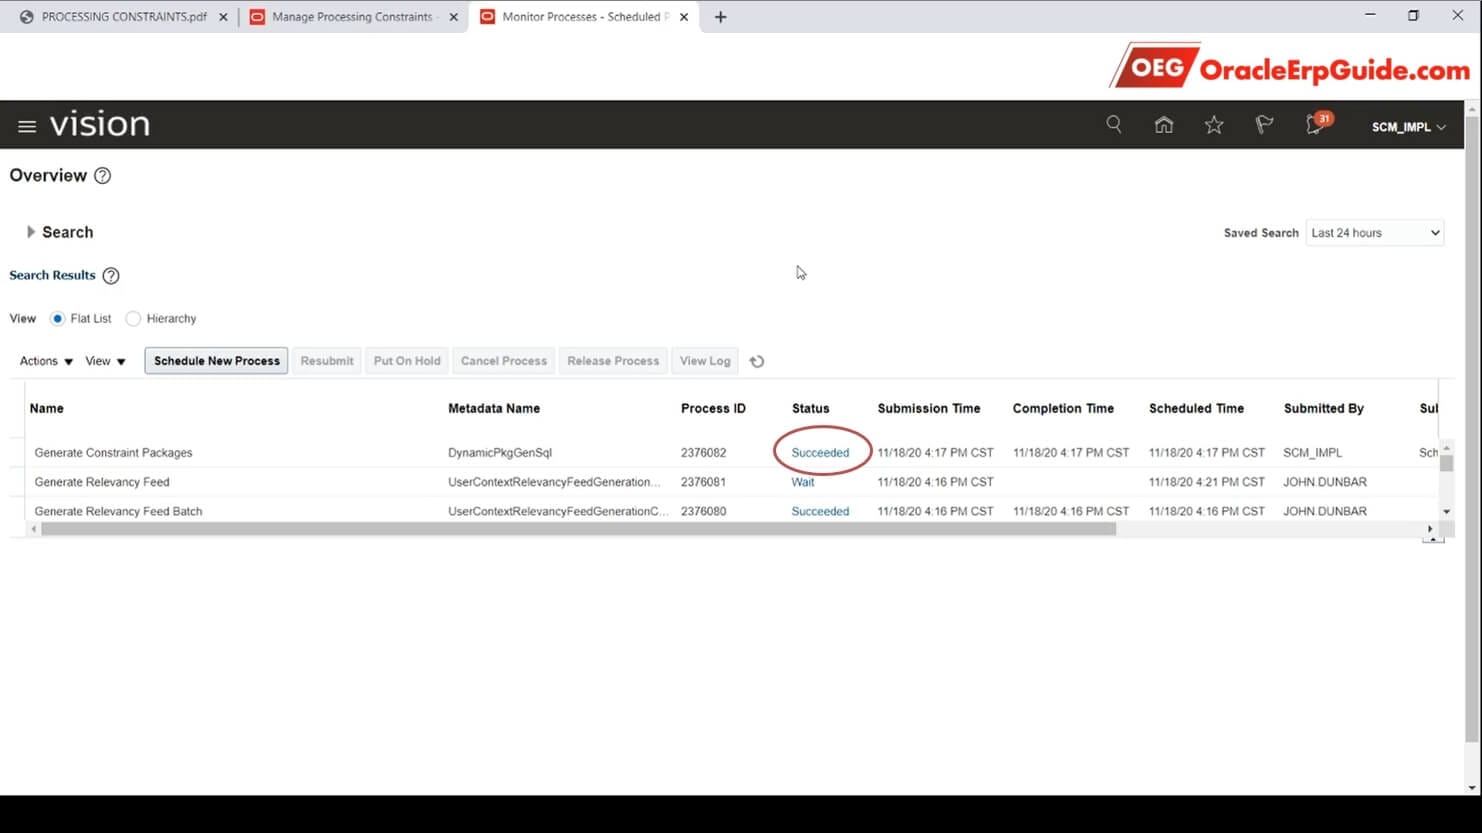
Open the instance in a new tab. Navigator > Tools > Scheduled Processes
See that the “Generate Constraint Packages” process has been Succeed.
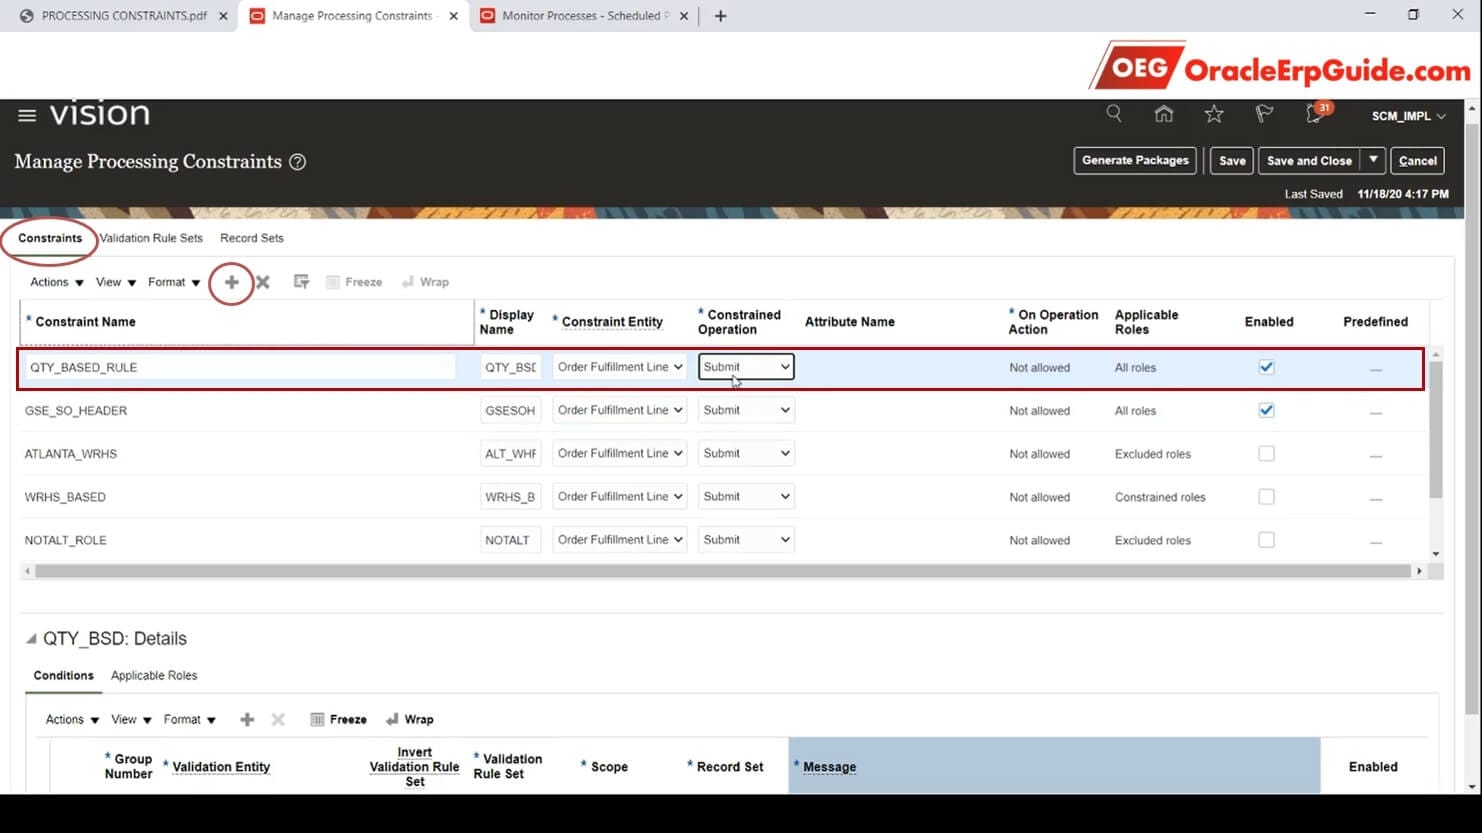
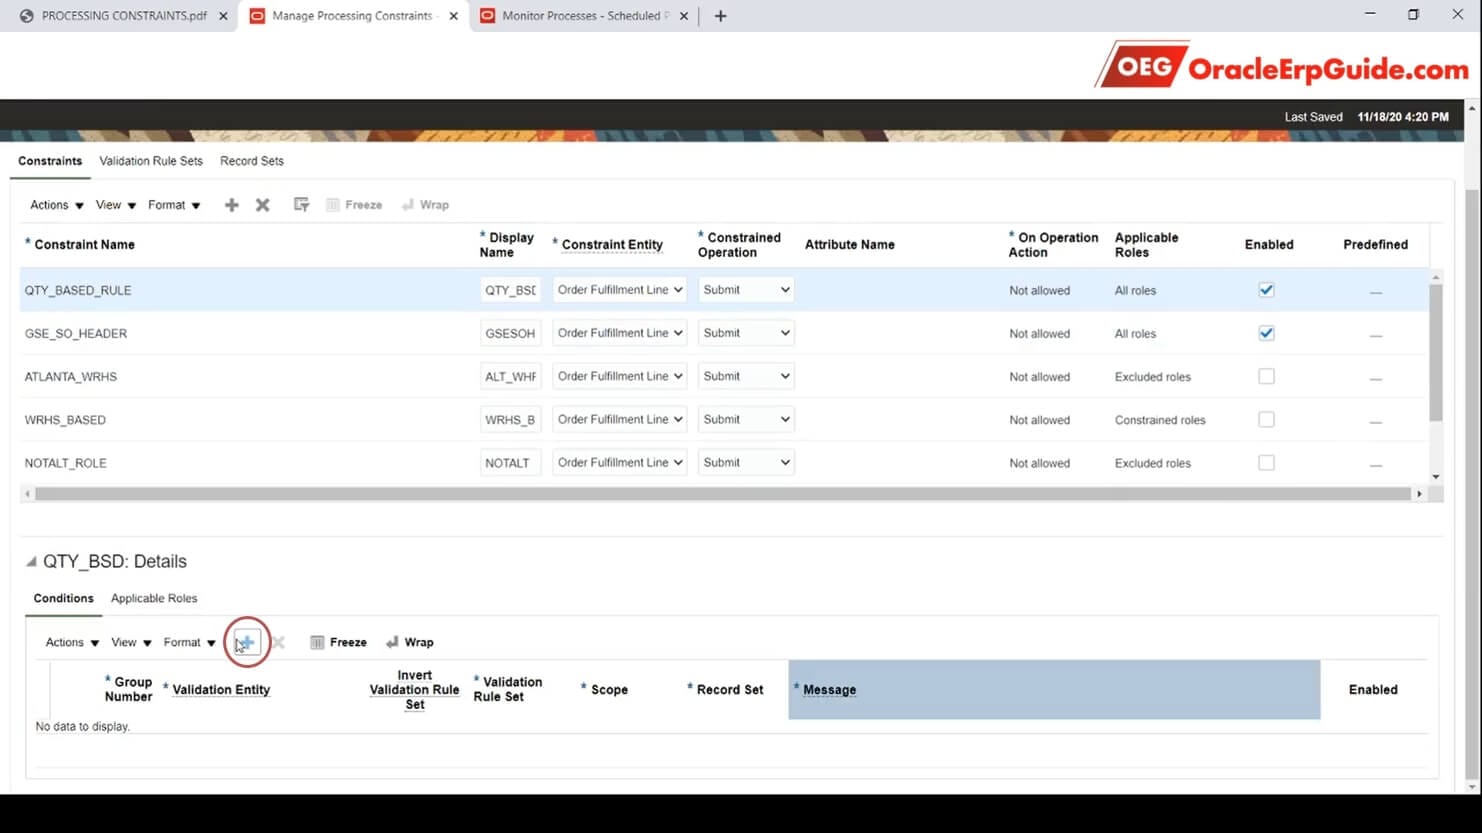
Go back to the “Manage Processing Constraints” task. Open the “Constraints” tab. Click “+” to add a row. Enter the details as above
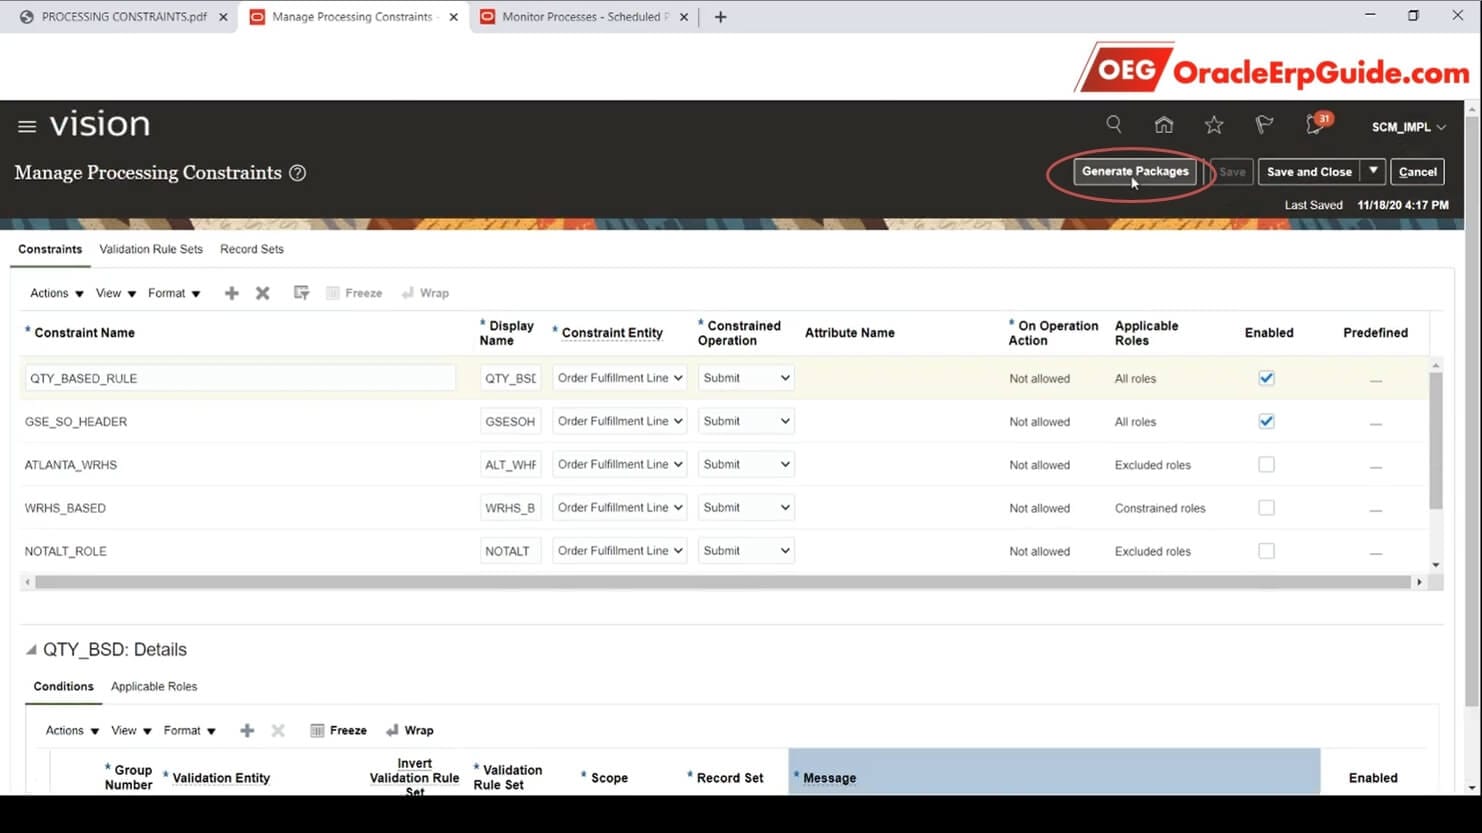
Click on “Generate Packages”
Note the Request ID and click “OK”
To add the conditions, select the row that we just added (highlighted in blue) and click “+” in the “Details” section in the lower area
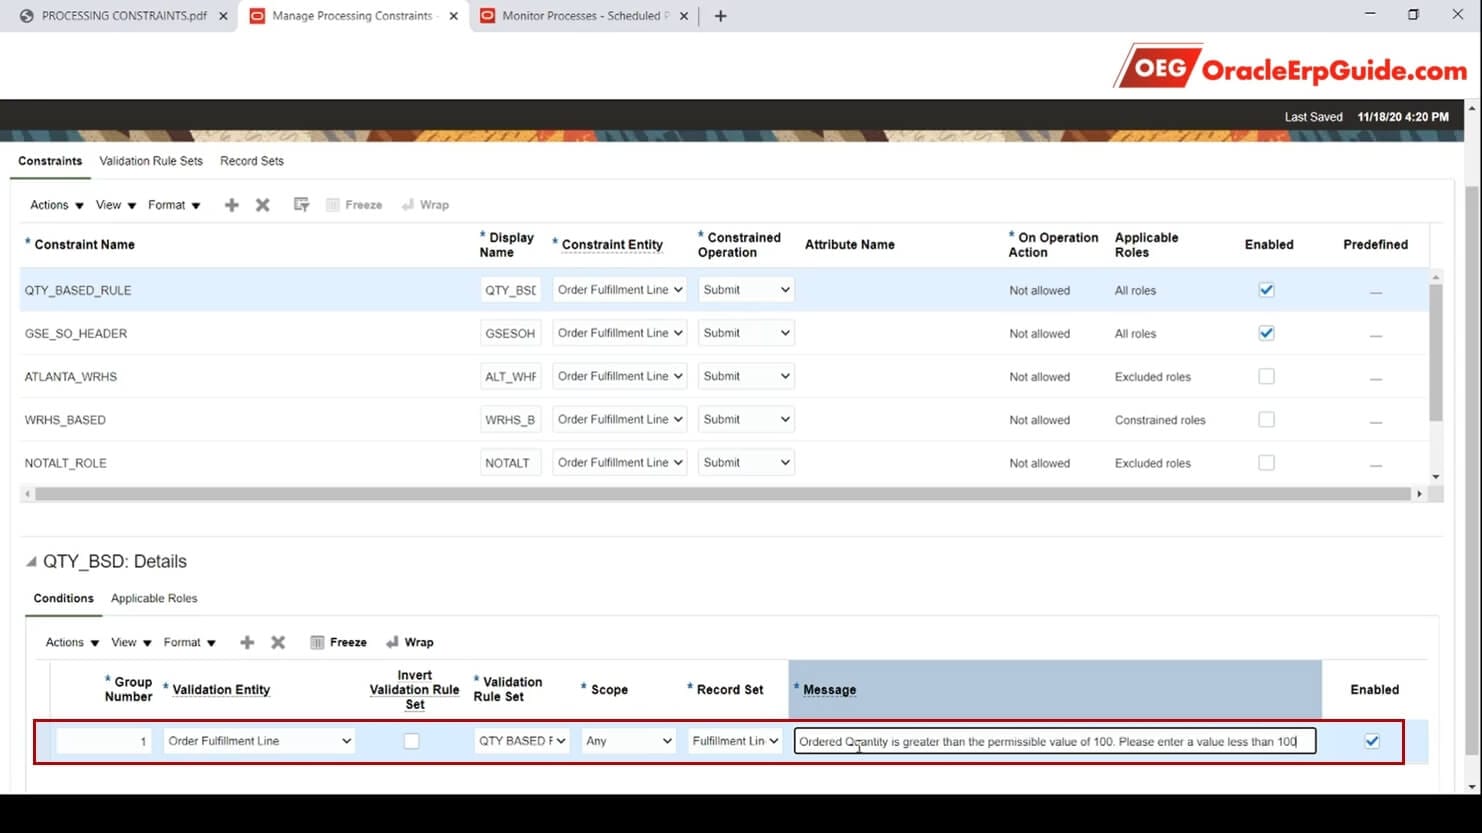
Enter the validation entity. Validation rule set will be the rule set we defined in the earlier steps. Select the relevant seeded / custom record set. Enter the Custom error message
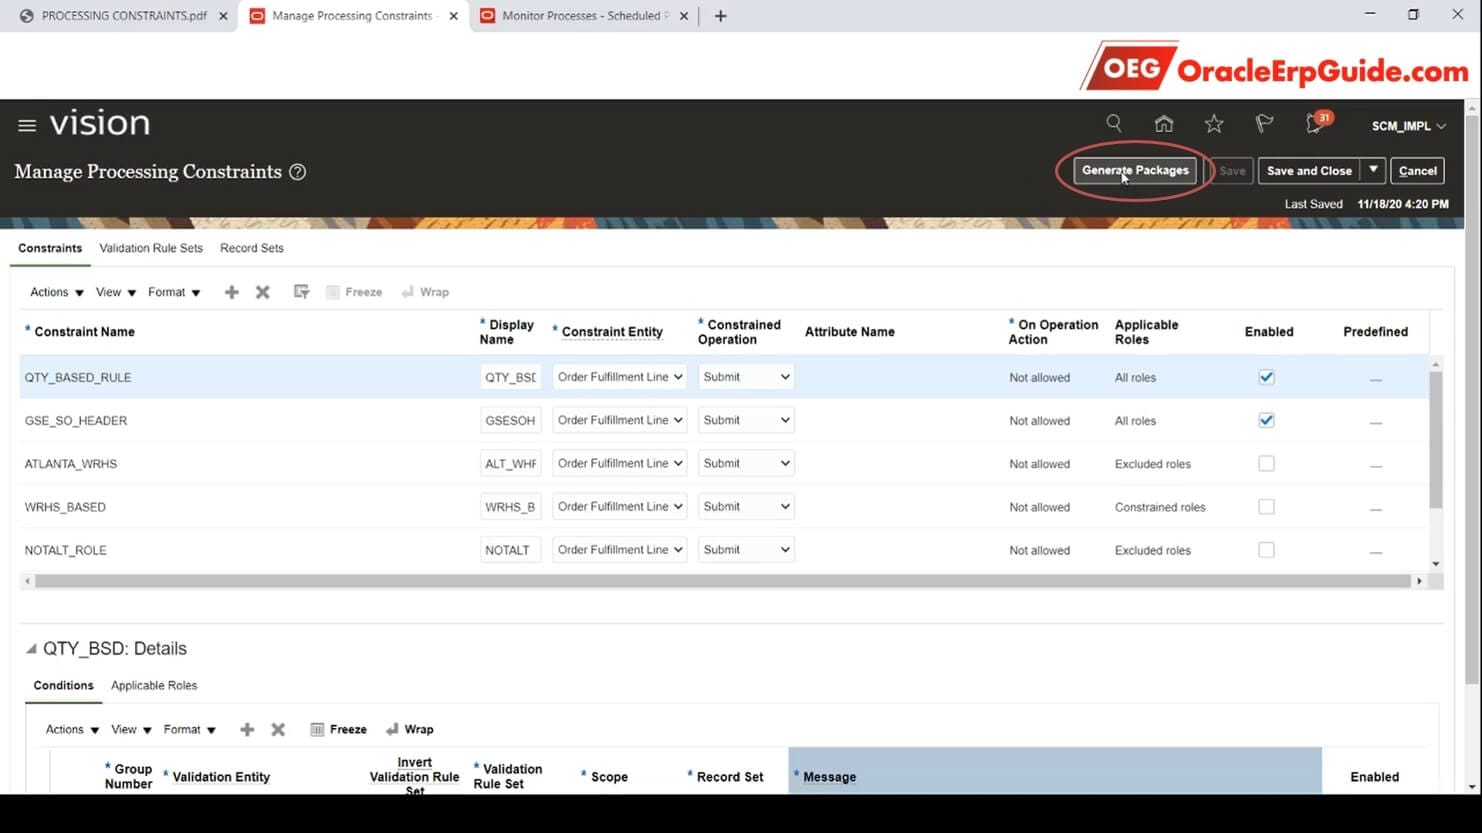
Click “Generate Packages”
Note the Request ID and click “OK”
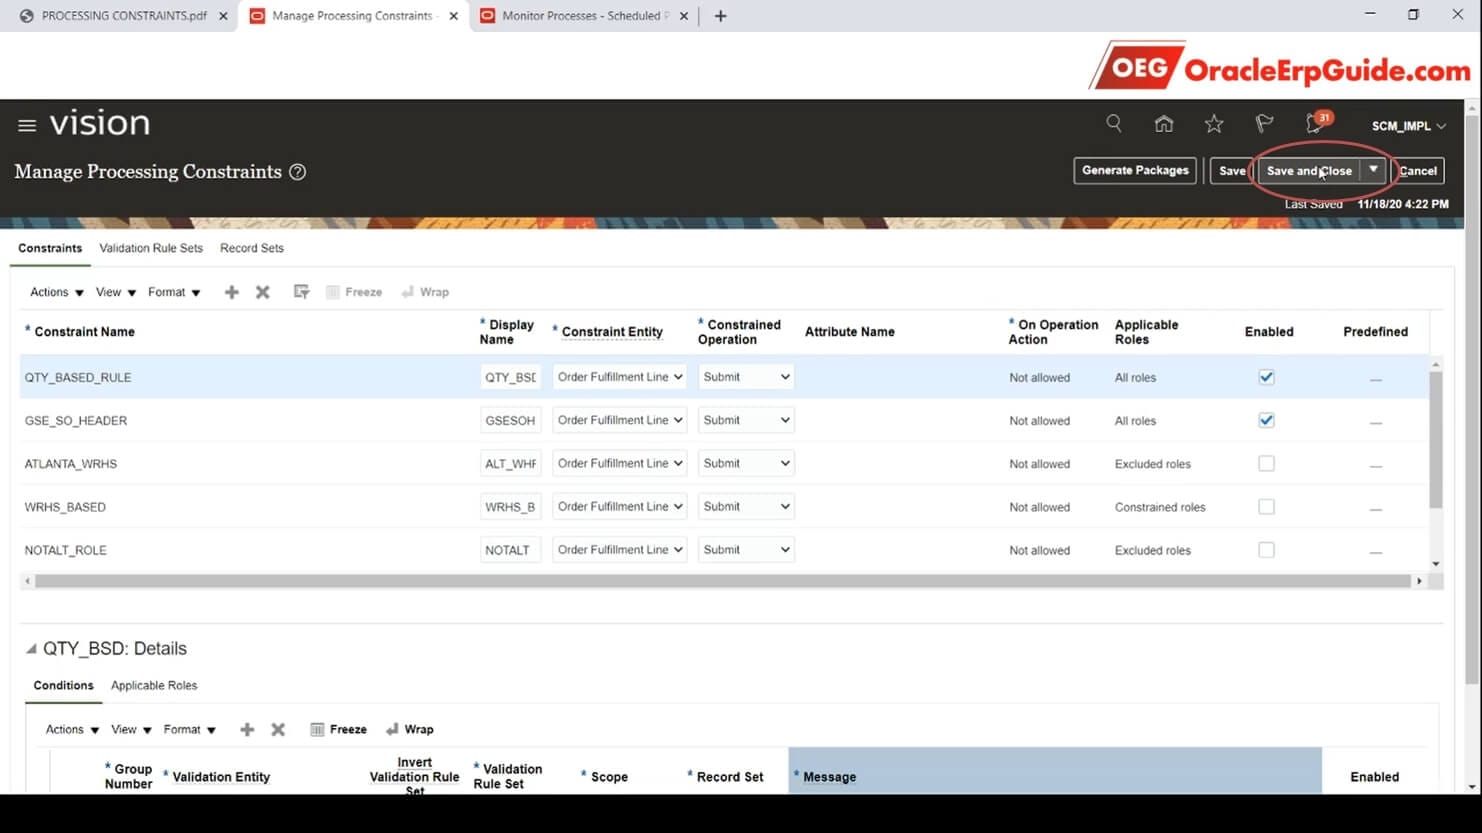
Click “Save and Close”
Transaction
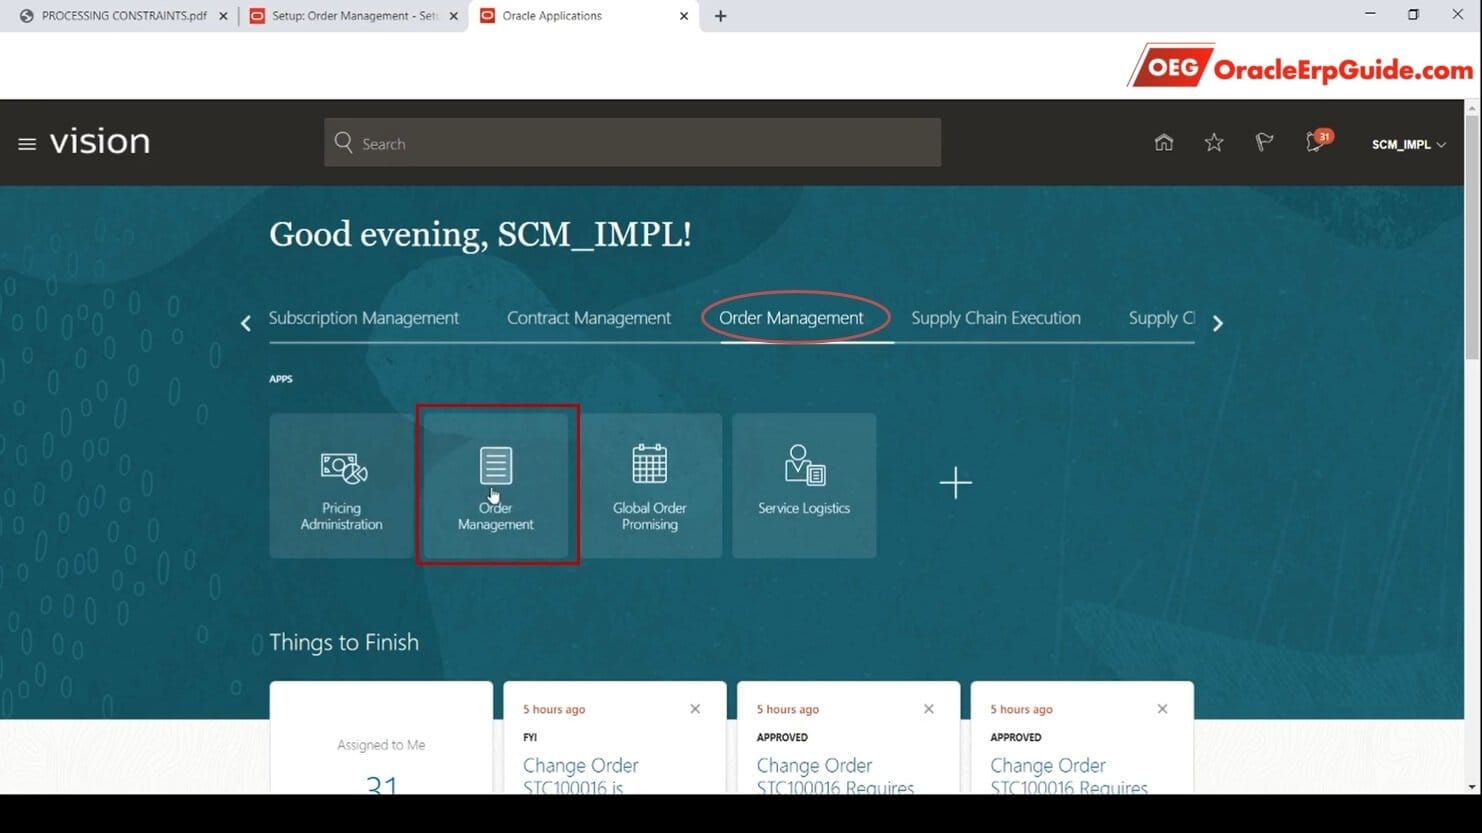
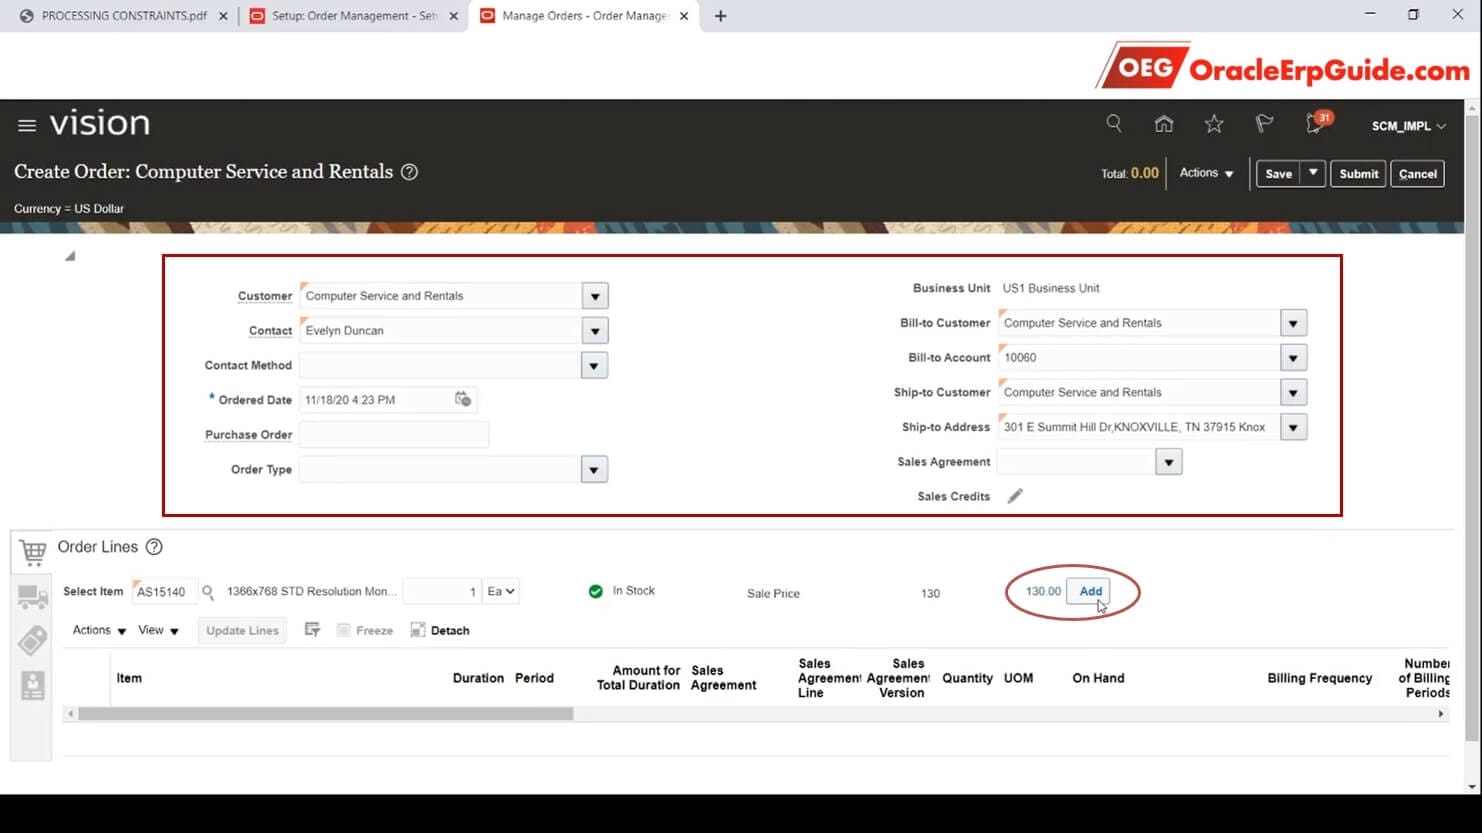
Select “Order Management” from the Springboard. Click on the “Order Management” tile
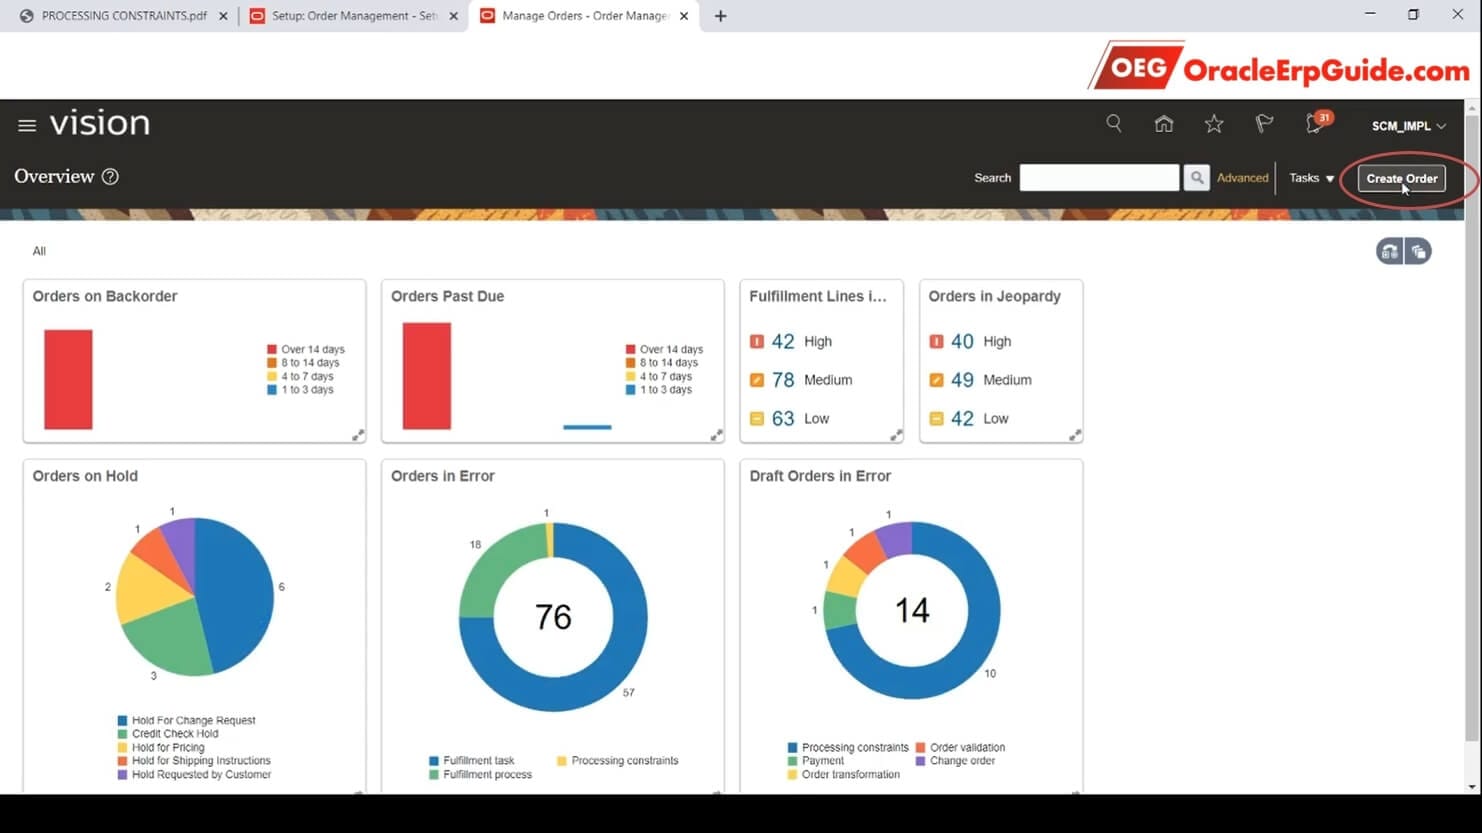
Click “Create Order”
Enter the Order Header Details and add an item to the Order Lines
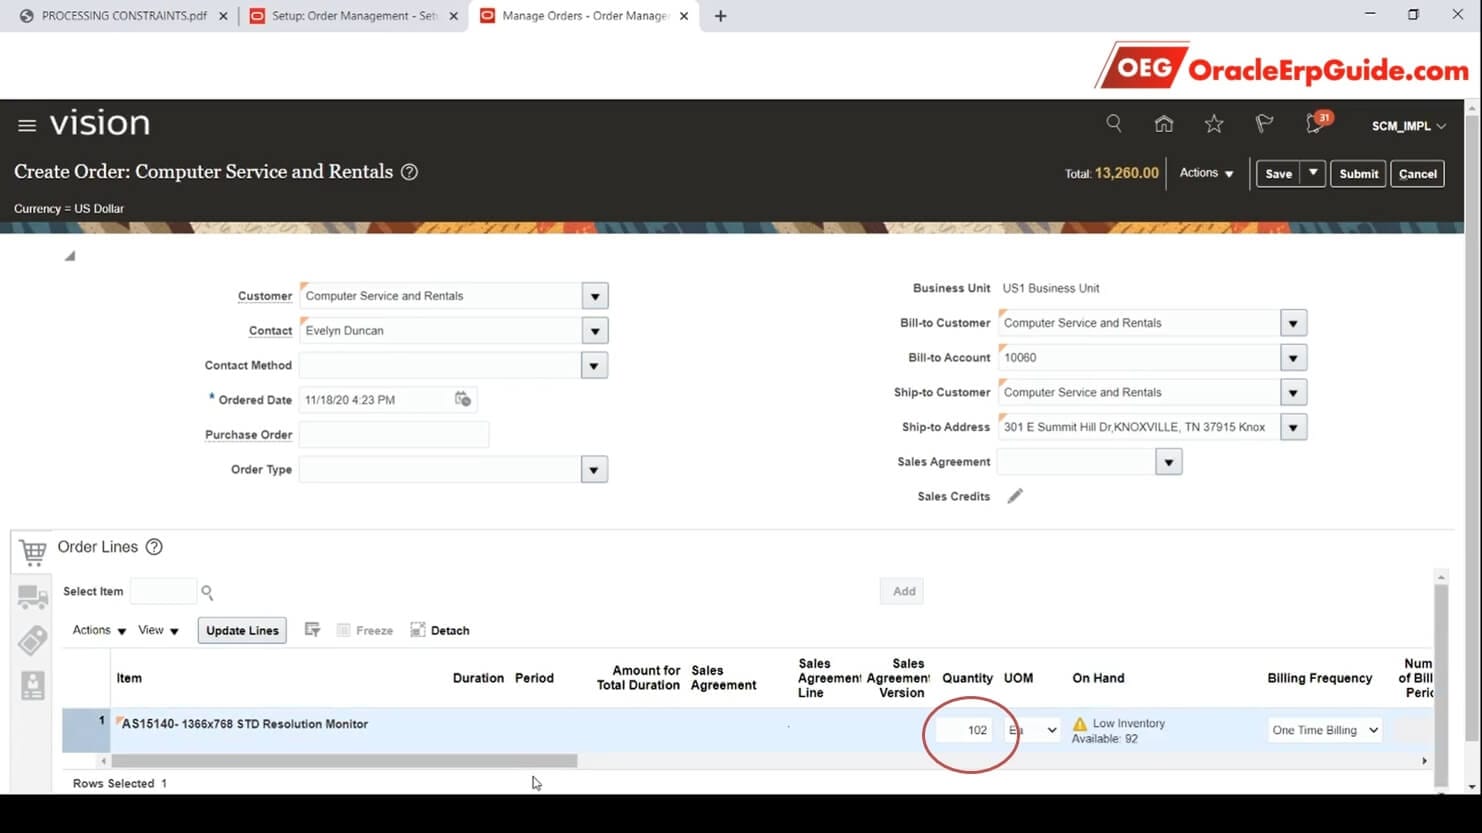
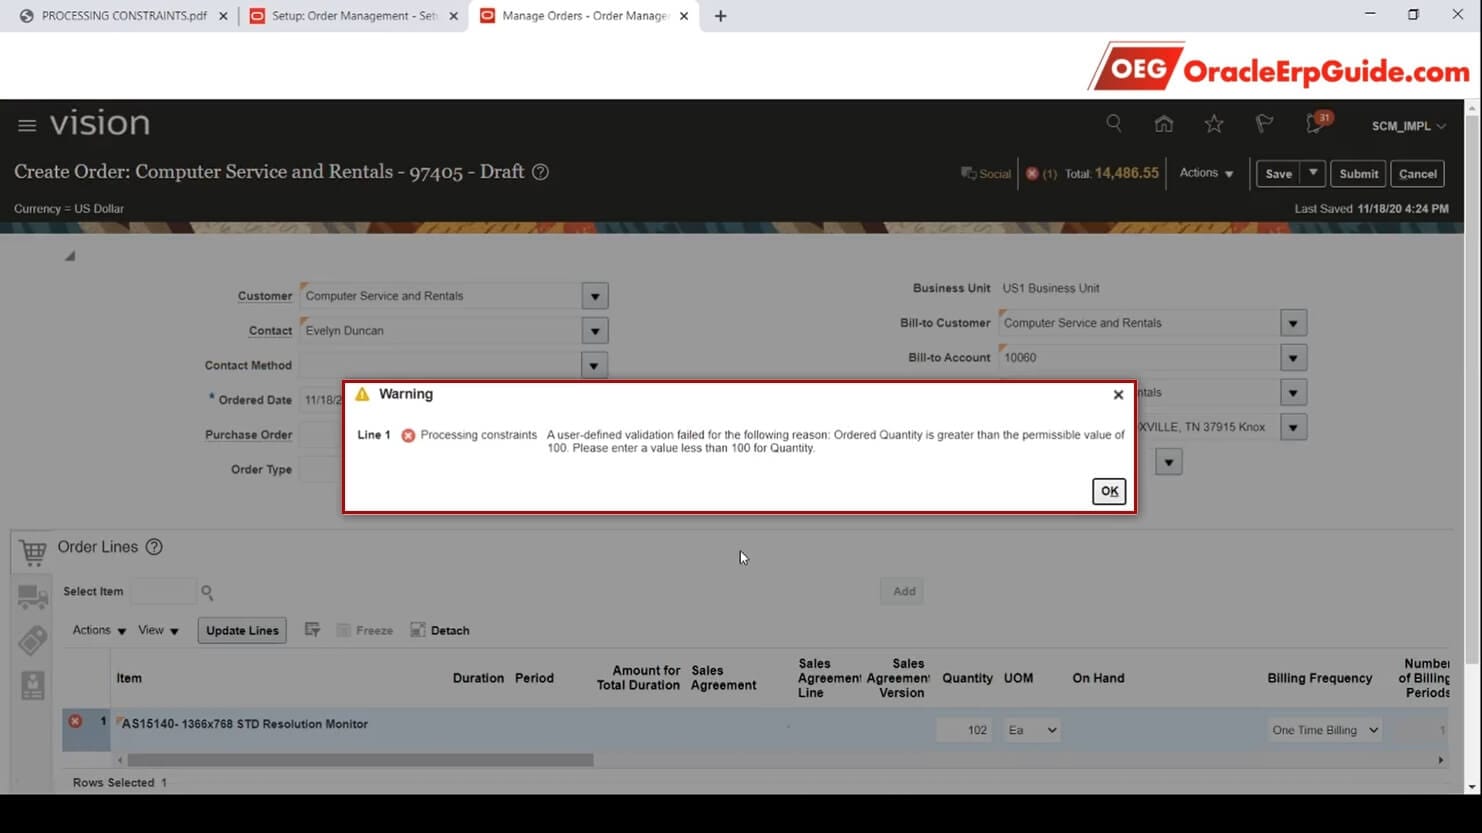
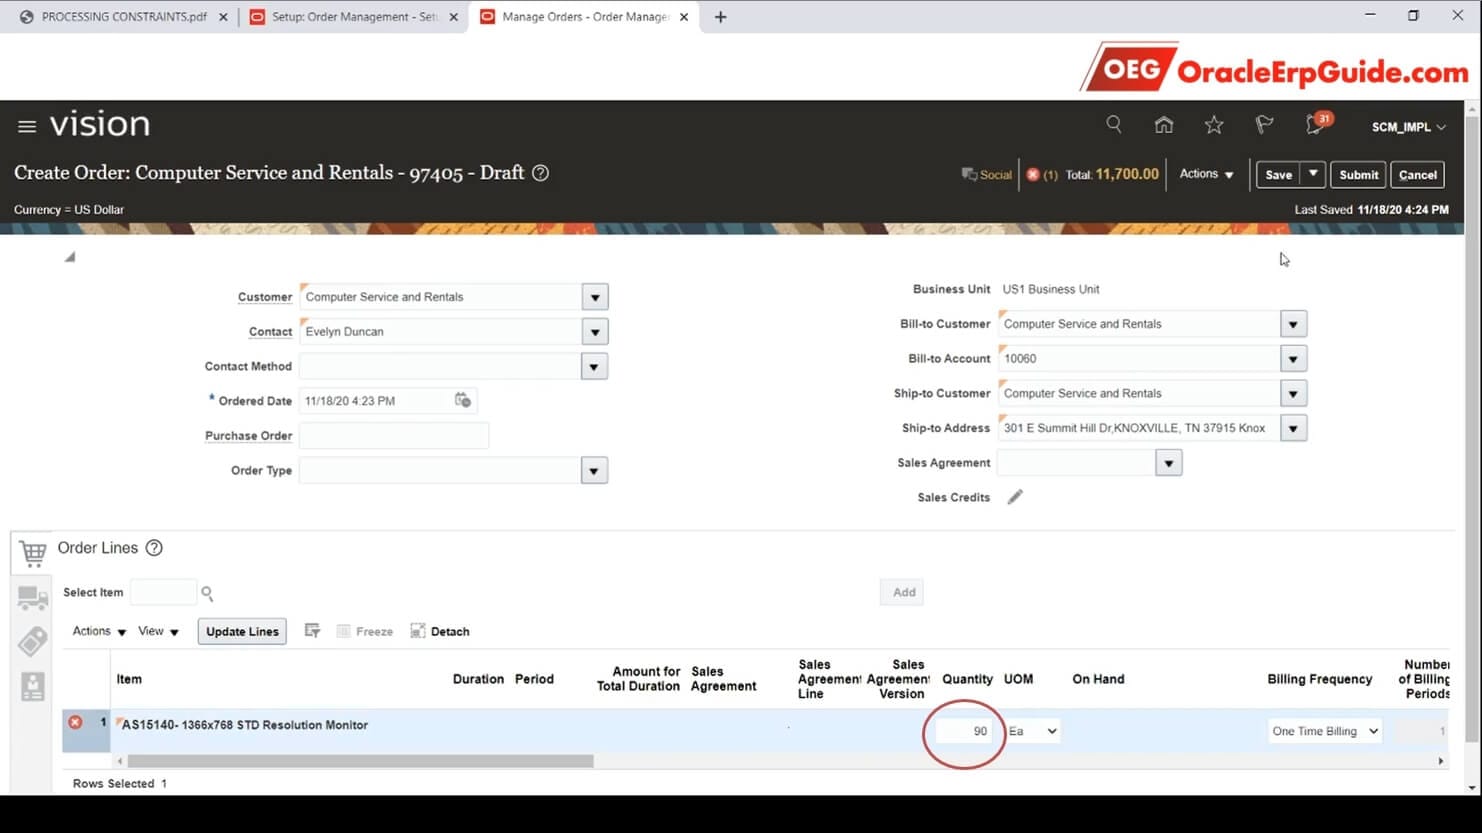
Enter the quantity as 102
Enter the line type as “Buy”
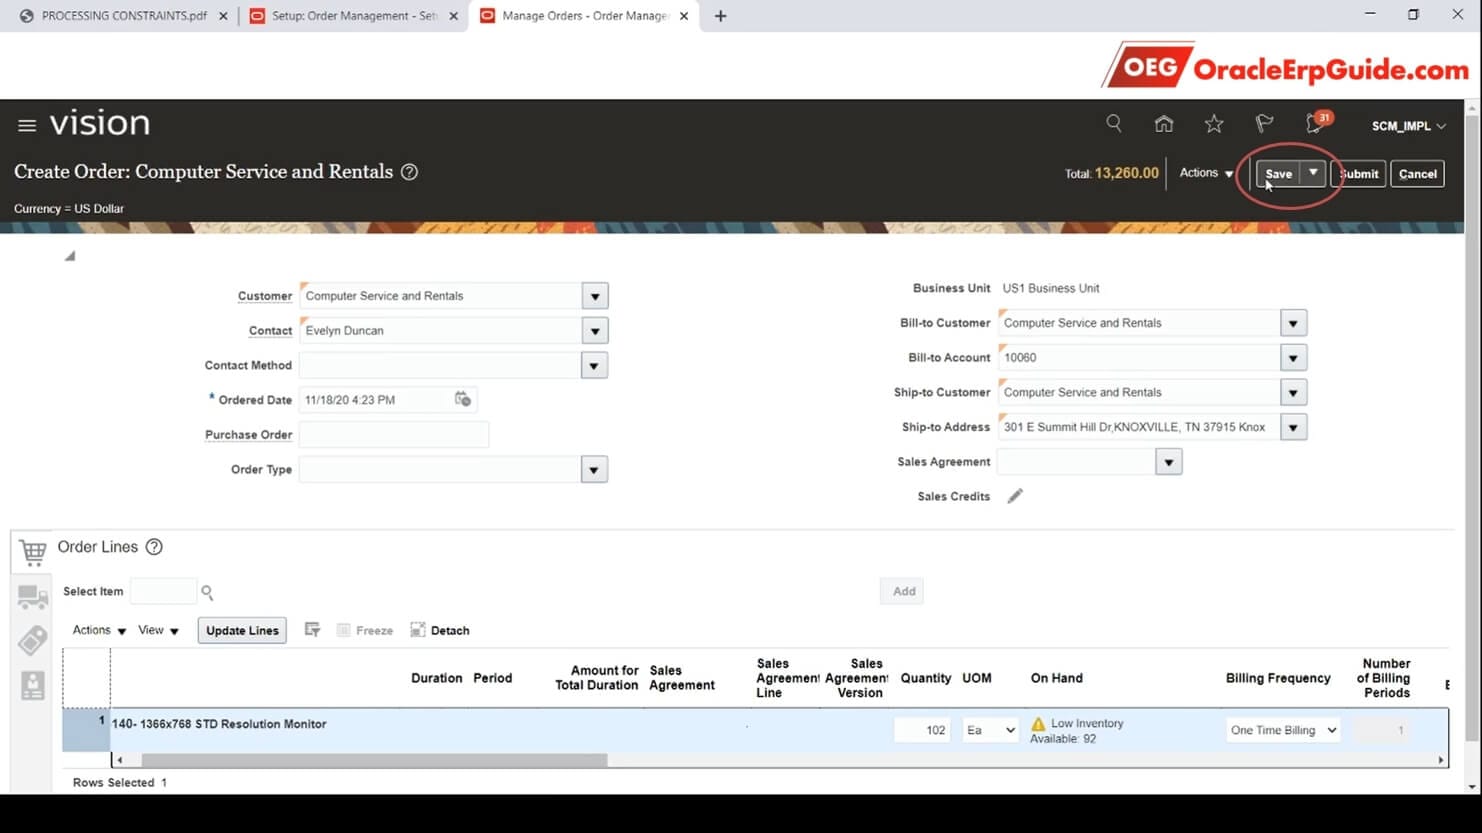
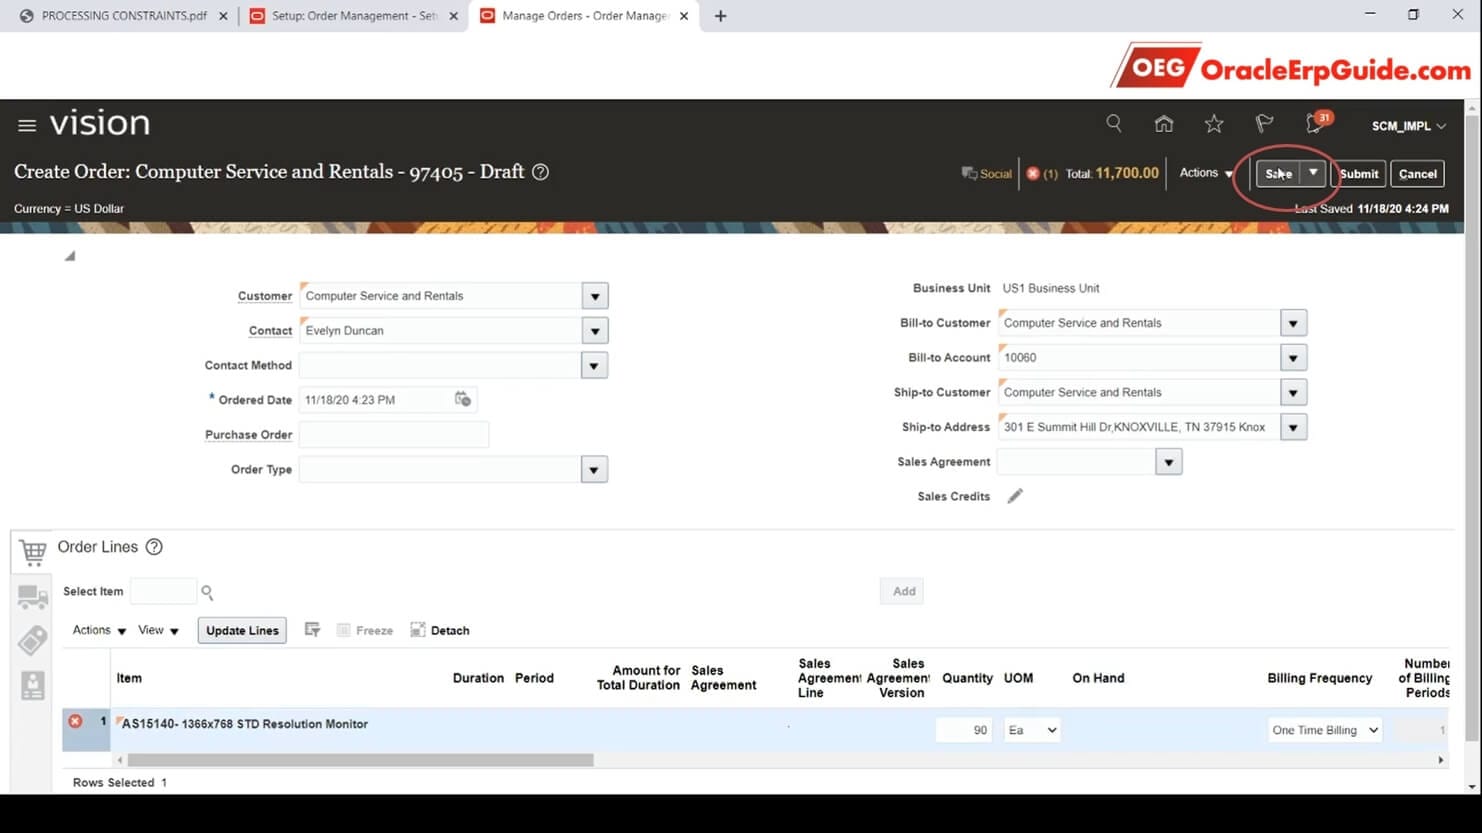
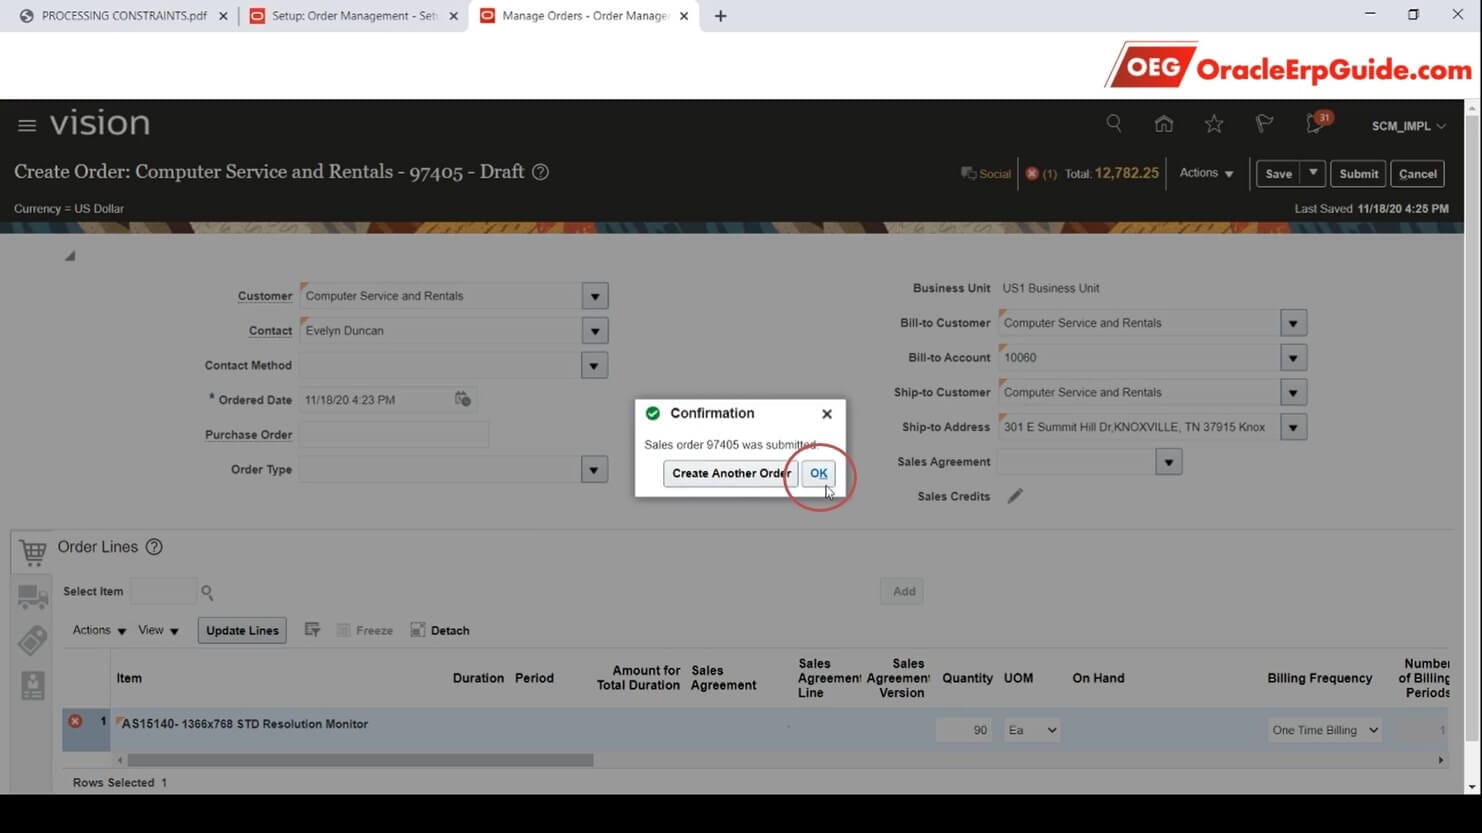
Click “Save”
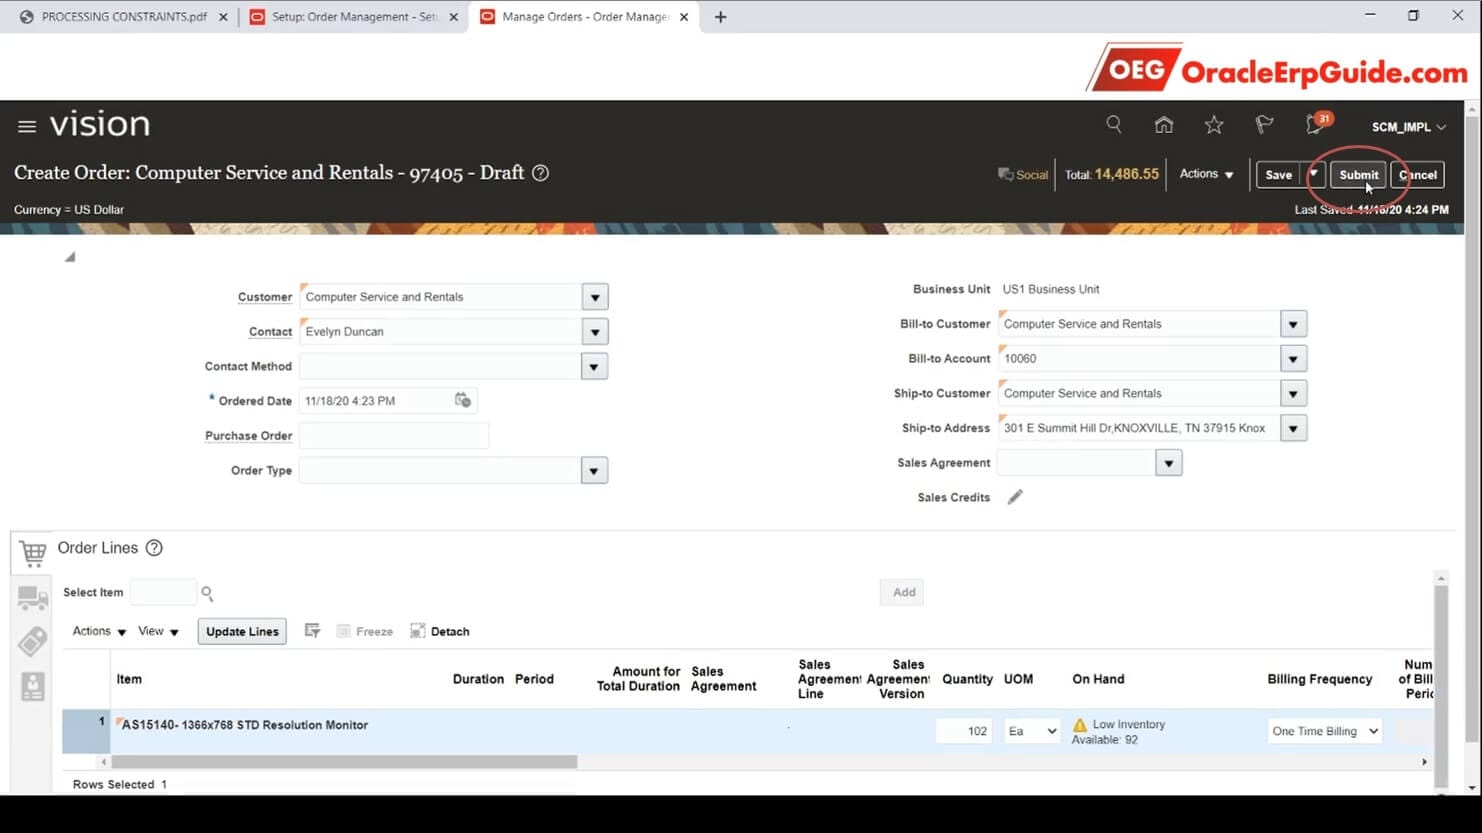
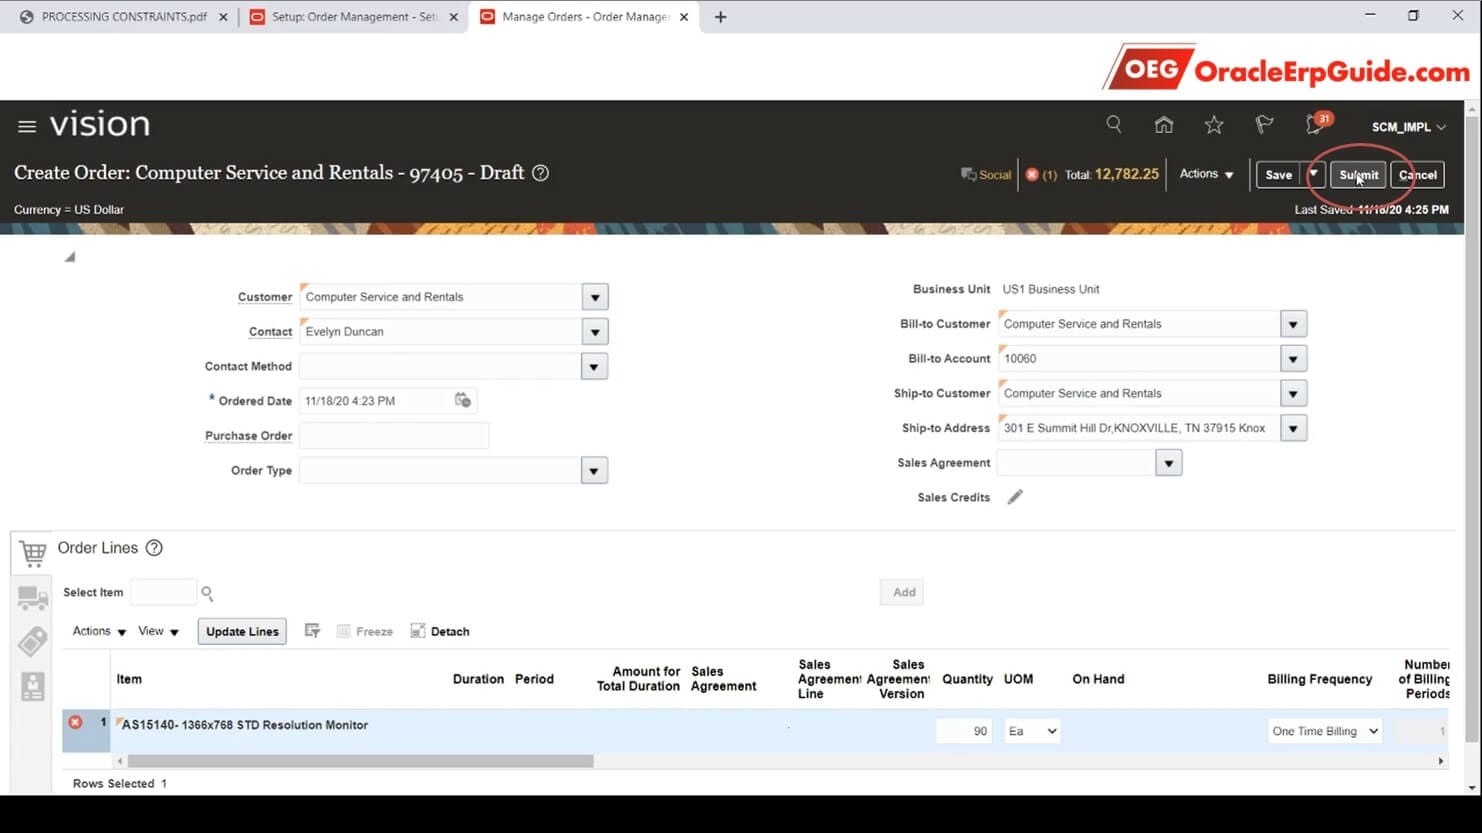
Once the order is saved, click “Submit”
Since conditions for the constraint have been satisfied (Order quantity > 100 and Line Type = Buy) system will not allow us to Submit the order. See our custom error message on the screen